


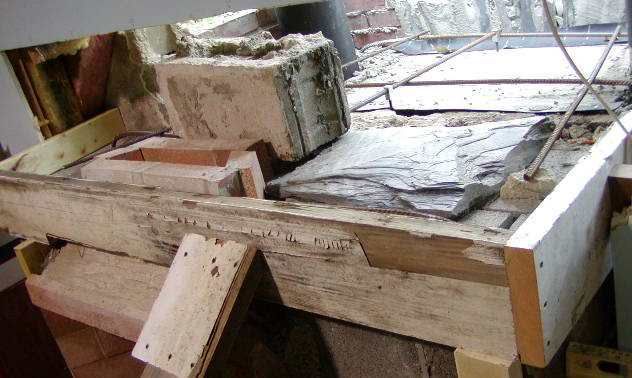
Tonight since I'm getting close to putting up the dome, I did as much dry assembly as I dared without a very good armature.
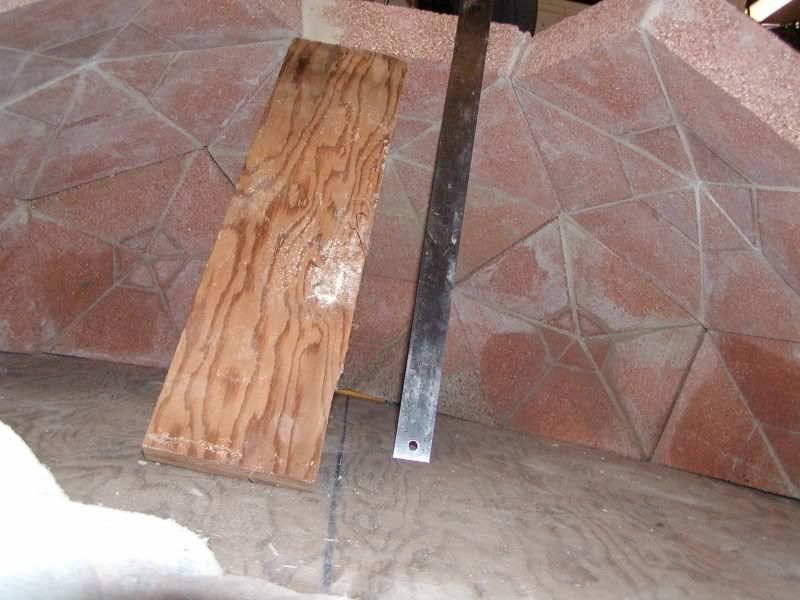
The first two rows pretty much support themselves. I used a stick to hold up the first hexagon, thinking that the others would lean against that. Uh, no. I managed to get three hexagons up without endangering the structure too much.
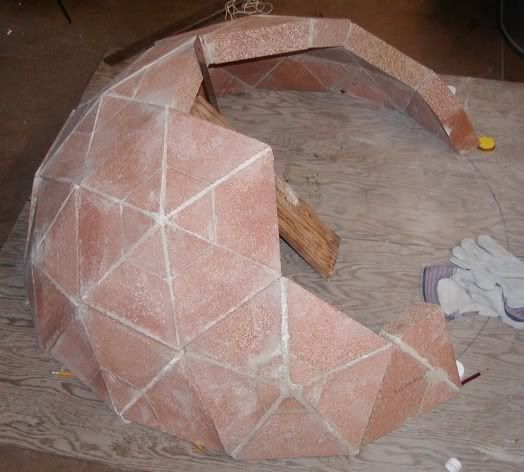
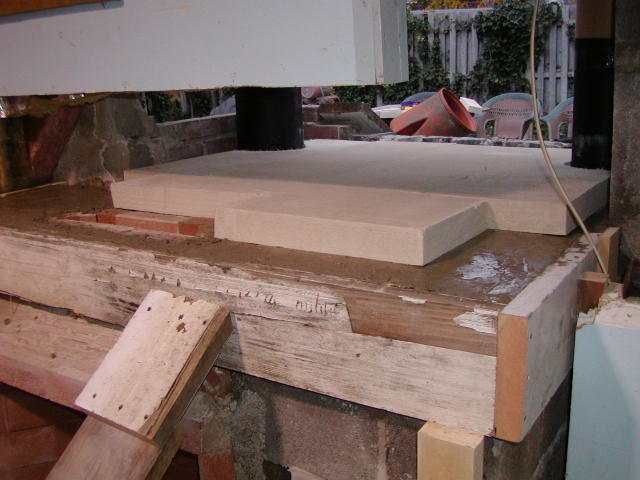
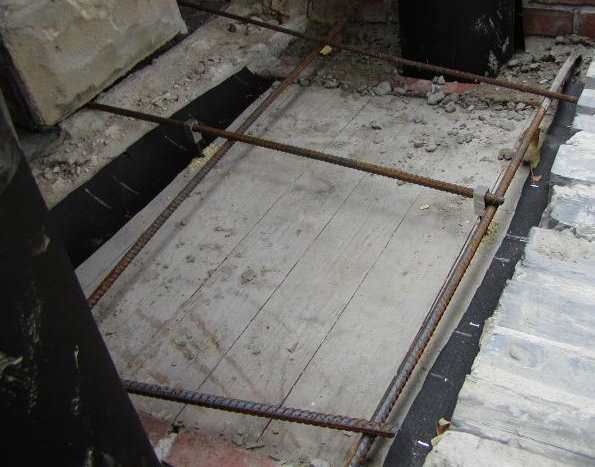
Here's a top view:
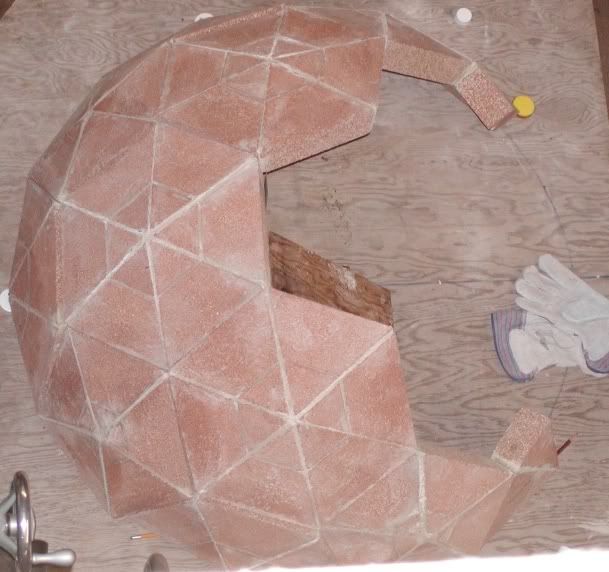
and another one.
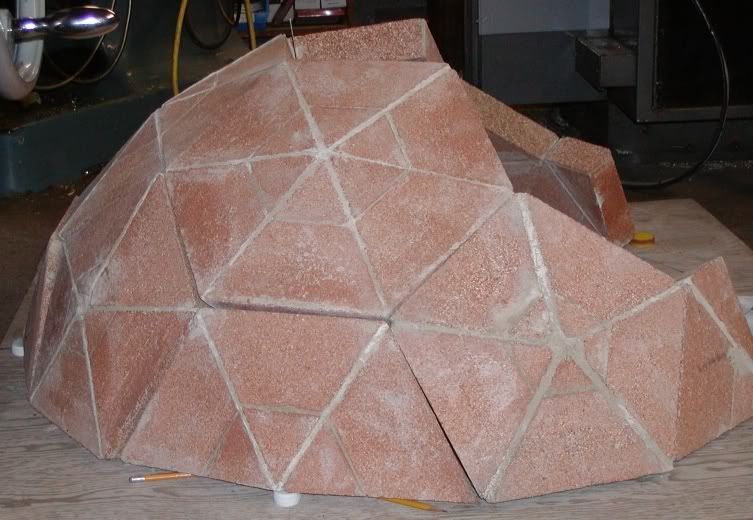
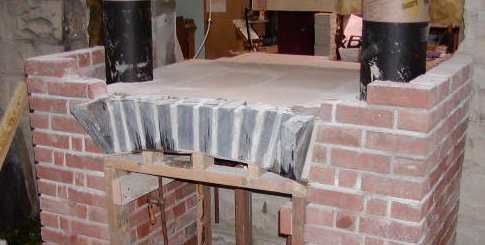
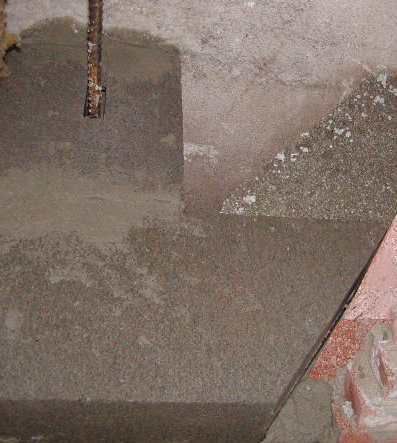
This side view shows that the pieces don't fit together like legos. The pieces are slightly out of flat, which effects their fit.
What did I learn?
I need a better armature, to support the center of each piece. The slight variance in the flatness of the bottom which showed up as 5/16 of an inch at the center of each half hexagon in the drawing is in reality almost half an inch.
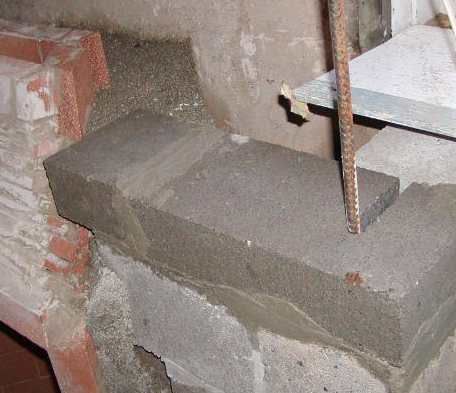
If I use a full height (4") soldier course as drawn, I'll end up with a 20 inch high dome, and indeed that's what I drew. I now know that it shouldn't be any higher than half the dome diameter, so I'll have to cut those bricks in half. Just as well, as it looks like I'll have to zig zag the support layer to get things to fit together.
It looks like the outside diameter of the oven fits, which I was worried about, since the rumford throat ended up a little bigger and a little further toward the oven than planned.
Leave a comment: