 Tweet
Tweet
Originally posted by Karangi Dude
View Post


-
Thanks for that image Karangi. I was wondering how you got that piece of steel into that shape. Not familiar with working with metal but I can get a piece like that manufactured with a metal shop if I can accurately describe what needs to be done. -
Any powdered clay is ok, but don’t use Bentonite because its extremely small particles lead to even more shrinkage. I don’t use the term “fire clay” because although that’s commonly used in the US to describe the clay used by the building industry as a mortar improvement. In Australia it is referred to, more properly, as “bricklayers clay”. To a potter fire clay is a highly refractory, able to withstand extreme temperature (well outside the range we use) more than twice as much. This makes it an expensive choice over the cheap fire clay supplied by the building suppliers.
You want a dense castable which will be thermally conductive with plenty of thermal mass to store heat. Adding perlite or vermiculite to the mix reduces conductivity and thermal mass as well as making the resulting casting weaker. It is a good insulator but should be used as an insulator outside the dense inner casting.
There will be no give in the fibreglass mould. Make sure you use a release agent. I use a 50/50 mix of kerosene and motor oil. Not too much because you don’t want the casting to be coated with the stuff or you’ll need detergent to clean it off.
The very fine pp burnout fibres should be added at 1% by volume. They are hard to disperse so should be pulled apart and carefully added then mix way more than you would think.
Getting the right consistency of the mix is difficult but extremely important. Too much water will lead to slumping and excessive shrinking, to little will lead to more voids. The finished casting should be demoulded after around 48 hrs, then the voids filled, then kept moist and covered for at least a week.Last edited by david s; 06-11-2023, 02:22 PM.Kindled with zeal and fired with passion.Comment
-
Nouvopizzas, I just used some 3mm plate in 1200mm lengths it was high enough to come up about 100mm above the insulation making it about 200mm.
We put a fold at the front and tacked it to the base, then with pieces of 90mm timber used as spacers we just bent it around the base of the oven tacking it as we went, 3mm plate bends very easily
Did you have a look at my build here is the Link; https://community.fornobravo.com/for...-s-mobile-ovenAttached FilesComment
-
-
David S.
Do you by chance have any information for how I could look up the two people you mentioned that have trailers with two smaller ovens instead of one large oven? I would love to look into them and see how they do things.
Thanks in advance.
NateComment
-
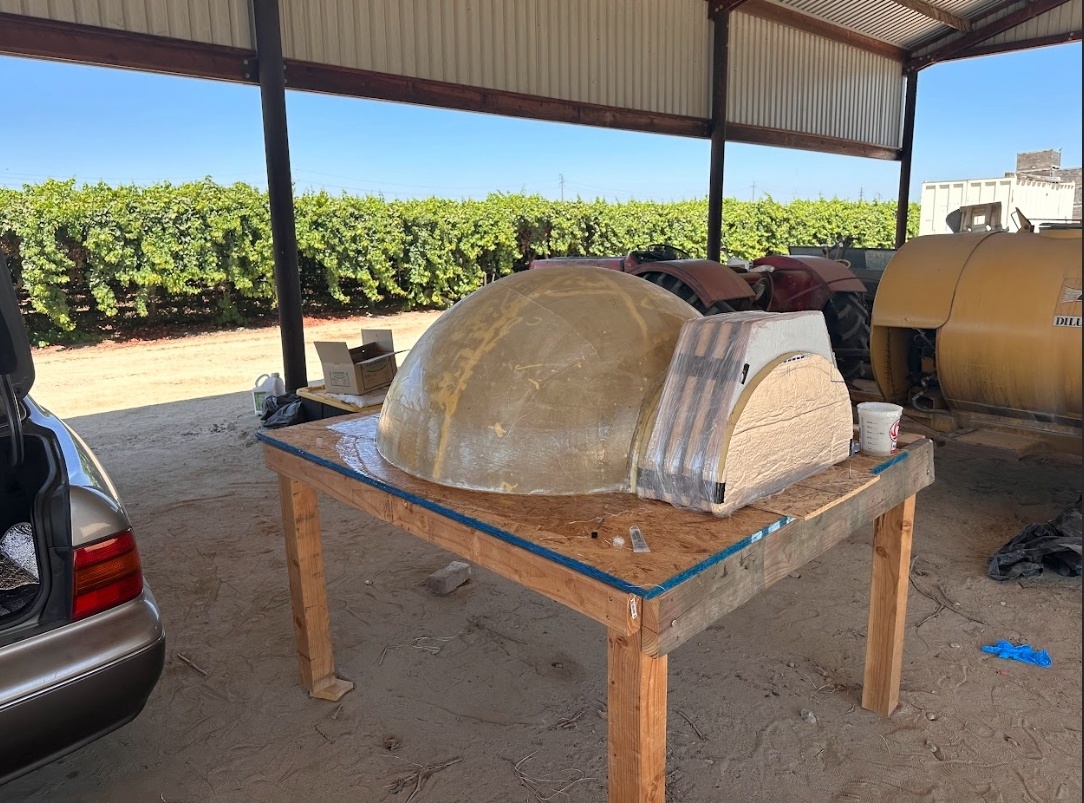
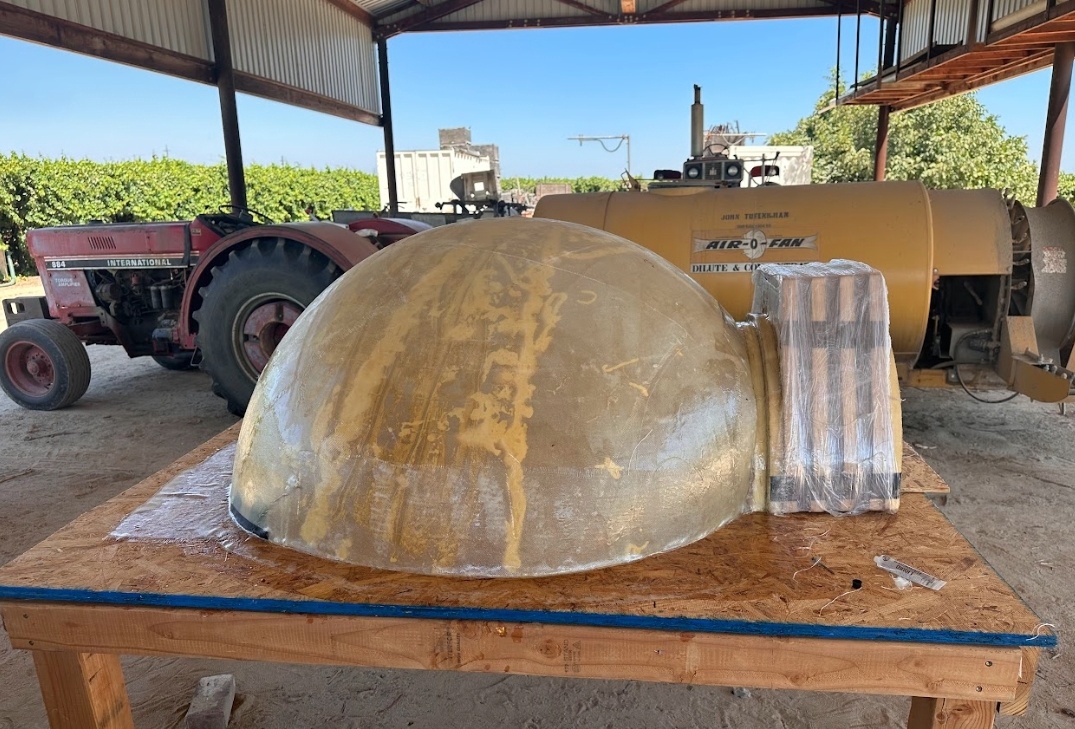
Hey guys, I put my oven build to a halt for awhile as I was getting other aspects of my business ready, like ordering and designing the trailer which has a 2 month lead time. I figured during that 2 months (which started recently) is when I would focus in on getting the oven built.
The links attached show the final fiber glassed mold that I will cast the refractory cement atop.
I am going to go with Karangi Dudes method more or less for designing the stand. His design seems simple yet effective, so thanks for the idea Karangi.
I have a couple of general questions that you all may have some input on. The first being, I was initially going to use homebrew, but I decided to look for proprietary mixes that would be more reliable. I found a distribution company about an hour and a half away that sells a product called KS-4T and I was wondering if anyone had thoughts on it. The mix is very similar to what forno bravo says they use for their ovens. I will link the spec sheet. Data Sheet - KS-4T.pdf Bakeout - KS-4T.pdf
The next question is, do you think I could cast a floor using this product as well? I know that the general consensus is that fire bricks work and have proven to be reliable so why risk something going wrong, but I can't help but think how nice a single cast floor would be when making many pizzas at a time, I think I could get very consistent cooking on the underside of the pizza, more so than bricks. Let me know what you all think!Comment
-
That product is suitable, although at the service temperatures we use the high temperature aggregates are really a waste of money and just add to the freight costs. In addition as the material does not get vitrified at the temperatures we use it relies on its strength from the chemical bond of the calcium aluminate cement. It is really designed for a much higher service temperature as used in furnaces and kilns where it is fired carefully under a strict firing schedule to service temperatures that vitrify the material.Look at the strength after 1000F compared to 2500F. That's not to say it doesn't work, it does, just not that much better than the homebrew mix.
Regarding the floor, it really is worth the effort to use a firebrick floor. If you use castable and do the floor in one piece, it will certainly crack, probably right down the middle as any large cast section is prone to do from uneven heating and therefore uneven thermal expansion. Because the floor has the fire directly on top of it in the centre the temperature spikes up way to fast for the material to adequately cope with the uneven thermal shock. A cast refractory floor can also be prone to surface spalling. Having said that my home oven was built back in around 2007 with a one piece cast refractory floor and although it developed one crack right down the middle, still fires as it always has, but only gets used about once a fortnight, not daily as you might want.
The other big problem with all mobile ovens is transport. Being heavy brittle material they do not like bumps and vibrations. Make sure you have the springs rated for the appropriate load an fit shocks to the trailer.Last edited by david s; 08-03-2023, 06:44 PM.Kindled with zeal and fired with passion.Comment
-
Luckily the distributor is only an hour and a half away so I’ll be making the drive to pick them up. It’s 60$ for a 55 lb bag. I am not extremely experienced with masonry and I don’t feel like going out and sourcing a bunch of different elements of the home brew mix. It’ll be easier to get the premix and not worry if I’m doing anything improperly. Thanks for your advice.Last edited by nuovopizzas; 08-04-2023, 02:20 PM.Comment
-
Tomorrow is the big day when I cast my inner dome.
I wanted to confirm a few details on the plan and see if there are any glaring oversights.
I will be doing a 3:1:1:0.5 homebrew consisting of 30 mesh silica sand (on the coarser side), portland cement, type S lime, and fireclay respectively. I have 2 lbs of AR fibers, 20 lbs of stainless steel needles, and 3 lbs of burnout fibers. I've heard you want to add the meltable extract fibers (AR+SS) at a 2% volume of your mix and the burnout fibers at 1%. Will the 2% by volume of AR + SS mean 1% each?
I am going to do a monolithic cast that spans the entire mold meaning the dome and flue will be one singular piece. The dome portion is going to be 2 inches thick and the gallery area will be 1 inch thick. I am going to use the kerosene/motor oil release agent combo recommended by David.Last edited by nuovopizzas; 08-11-2023, 02:12 PM.Comment
-
2% of ss needles and 2% of AR fibres by volume. Have you created a rebate in the gallery area so a door can fit against it nicely?Kindled with zeal and fired with passion.Comment
-
Yes I created a rebate in my mold for the door.Originally posted by david s View Post
There aren't any problems with a 1" thick gallery correct? I feel like that was the generally accepted thickness for that area from the information that I gatheredComment
-
If cast in a mould, removed and replaced a 1" casting is vulnerable, but if cast in situ it won't be disturbed so I can't see you'll have any problems.Kindled with zeal and fired with passion.Comment
-
It’s all done! The whole thing was about 250 lbs silica sand 100 lbs Portland cement 50 lbs like and 30 lbs clay. Got a nice 2” inch thick layer around dome and maybe 1.5” gallery. I wrapped the whole thing in a drop cloth for painting and sealed all the edges to prevent moisture from escaping quickly. Im going to mist it a little for the next few days. Where I live it’s in the 100s for the next week so want to make sure it cures slowly.
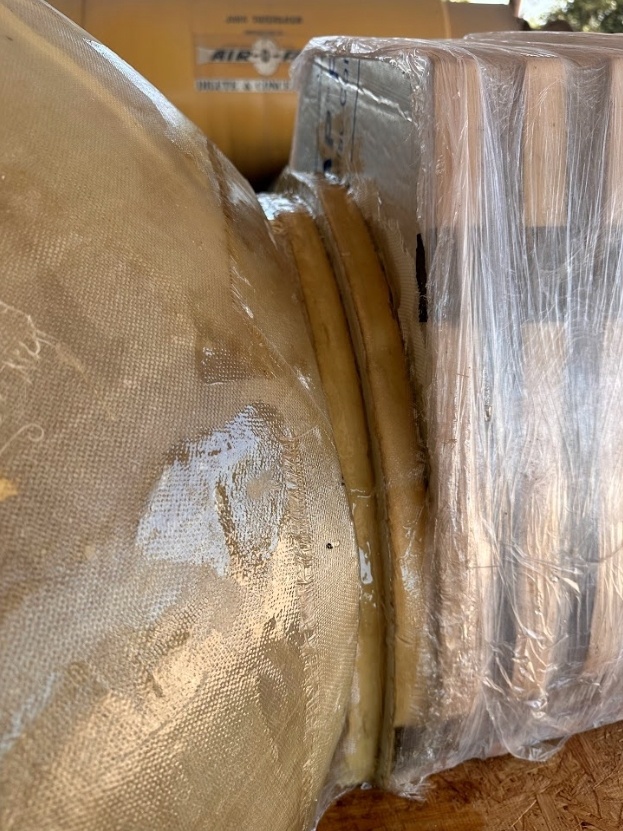
Day after cast, I notice hairline cracks forming at joint between gallery and dome. What steps should I take?Last edited by nuovopizzas; 08-13-2023, 12:45 PM.Comment
-
48 hours after initial cast everything seems to be going well. No signs of major cracking just hairline at the joint between dome and gallery. One odd thing I noticed, which is shown in picture is rust coming from the stainless needles. I can’t imagine why this would be happening if they’re stainless steelComment
-
I shouldn't think the hairline cracks will be a worry. Stainless does rust but it's way slower so shouldn't be a problem. Leave some out in the weather and observe what happens to them. Are you 100% sure you have stainless?
Have you removed the sand? any voids on the inside should be filled in while the cast is moist and before it is fully cured.
How do you plan to move it onto the trailer?Kindled with zeal and fired with passion.Comment
-
They are stainless according to the description on eBay. Will throw them in water and see what happens.
this was done on fiber glass and I haven’t remolded. I’m a little worried about moving such heavy, green concrete and not letting it cure properly. Plan to get it off the mold is to get some wedges beneath it and then get some guys to lift it up. I got a custom metal stand made by a welder so it’s going to go onto there. Will send pics when this happens.Comment
Comment