


-
So looks like option 1 is the best bet. I hadn't thought of cutting brick to make up the difference - I was thinking if I used either splits or tile, I would just have to build up under the face brick on the left side with either mortar or adhesive. As long as nobody looks up when they are getting wood it'll never be noticed
Leave a comment:
-
This is hopefully my last post on the hearth size thread but it is a hearth question.
I was finding center and laying out my oven on the hearth and discovered that my 45 degree "face" at the front of my hearth is not perpendicular to my hearth's centerline. This leaves me with 3 choices (4 if I split the difference). I can 1), use the proper centerline and try to make the 3/4 inch up when I build my landing by having an additional 3/4 inch overhang on one side and adding extra mortar to the face when I brick or tile to bring it out flush with the new perpendicular surface. My first picture shows what my offset looks like - it's over about 31 inches.
2) make a new centerline perpendicular to the face/front, which will shift my oven over to the right by about an inch and put me very close to the right edge when I am done. Second pic shows the shifted centerline.
3) Live with the landing not being square with the face.
My question is how doable is option #1? I won't do #3, and would probably rather not do #2 although it would not be too noticeable.Leave a comment:
-
Alex, did you take a side shot yet? My layout "looks" to me like I can move the arch out a few inches from the edge of the dome and still have a full brick on the top of my arch where it ties into the dome. I'd be interested to see what the top of an arch looks like when the face is flush with the dome OD like yours.Originally posted by sharptailhunter View PostLeave a comment:
-
I think most do the dome around the floor. It gives you a expansion joint for the floor to move and if necessary you could replace a floor brick. As for the insulation I did 4"of board insulation. So that was 6 24"x36" pices. I am happy I went that way. But if cost is a problem then you can save a few dollars with Vermicreete. I think you should start a build thread. It is not just a show off. It is a place to get advice, and it is a reference for future builders. And who knows you might come up with a radical new idea that changes everything. Good luck.
RandyLeave a comment:
-
Thanks for all the help! Poured my hearth today - have a few weeks now to make some forms and nail my geometry down. May start a build thread, but don't know if I would have anything to offer over the awesome builds that are already here. Still trying to decide between vermicrete and insulation boards or just extra thickness of board, and whether to put dome on or around floor. Paralysis by analysis ;-)Leave a comment:
-
Alex,
Thanks for coming in. I need all the reinforcement that I can get. The more eyes the better imo. I hate that you had to redo your inner arch. Things are looking great now. I know that a lot of people say that it is best to build the arch as you go, but I found it convenient to finish it and get the form out of the way. In my way of thinking, once you have the concept down, and are using the IT and/or templates, the arch will be the same.
JR,
Yes, I think that you have it. Your pic #2 looks to be exactly what I got in full scale. That maximizes the usable reach of the 9" arch brick. I could be off one tenth of an inch by not accounting for the fat pencil lead that I was using . From your pic, it looks like you also have about what I found to be for the set back from the outside circle of the dome at the center point of the door opening. I found that to be about 1" give or take a pencil lead lol.
JoeLeave a comment:
-
JR,
Looks like you're well on your way. I recently started my build and found the entry arch a bit daunting at first. Initially, I tried building the whole arch at once. Then, thanks to RandyJ, I was tipped off that the bricks needed to get longer as they neared the apex, like Gulf has shown. So, I started over and have been building the arch as I go up each chain. I also moved the entry arch back into my dome to the point of the leading edge of the entry arch bricks meet at the outer edge of the dome ring. You can see it here in this pic:
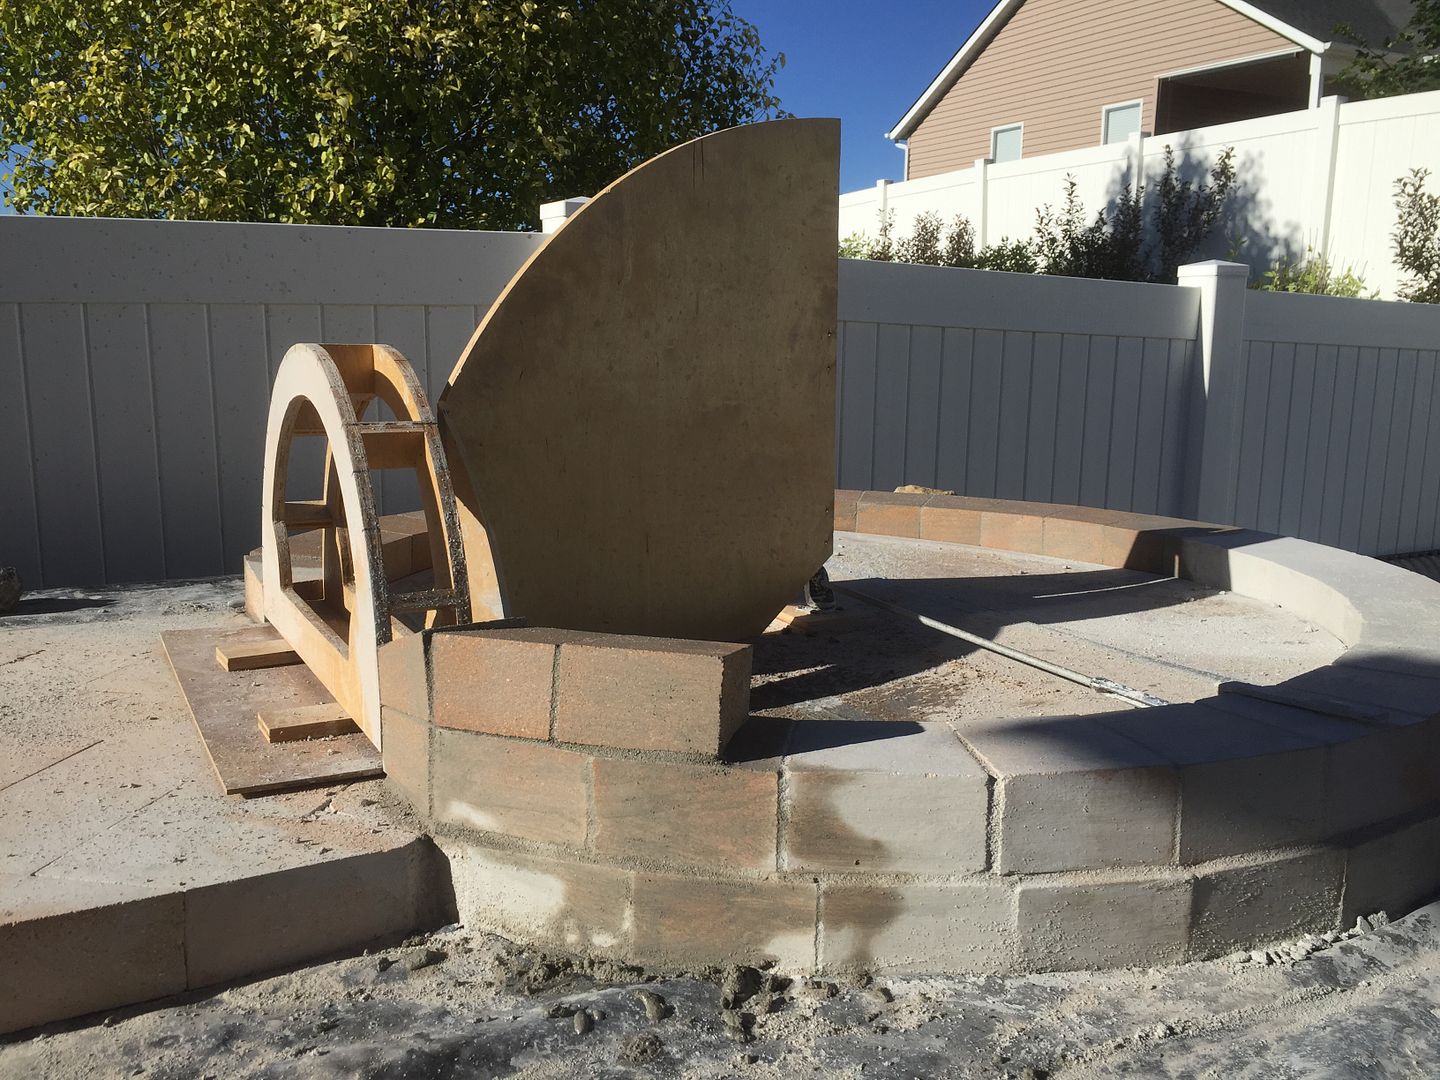
You can also appreciate how quickly the dome starts to pull away from the face of the entry arch. In that pic I don't have many dome chains per se but you can already see how they are sloping away from the face. That means each arch brick has to grow to match that.
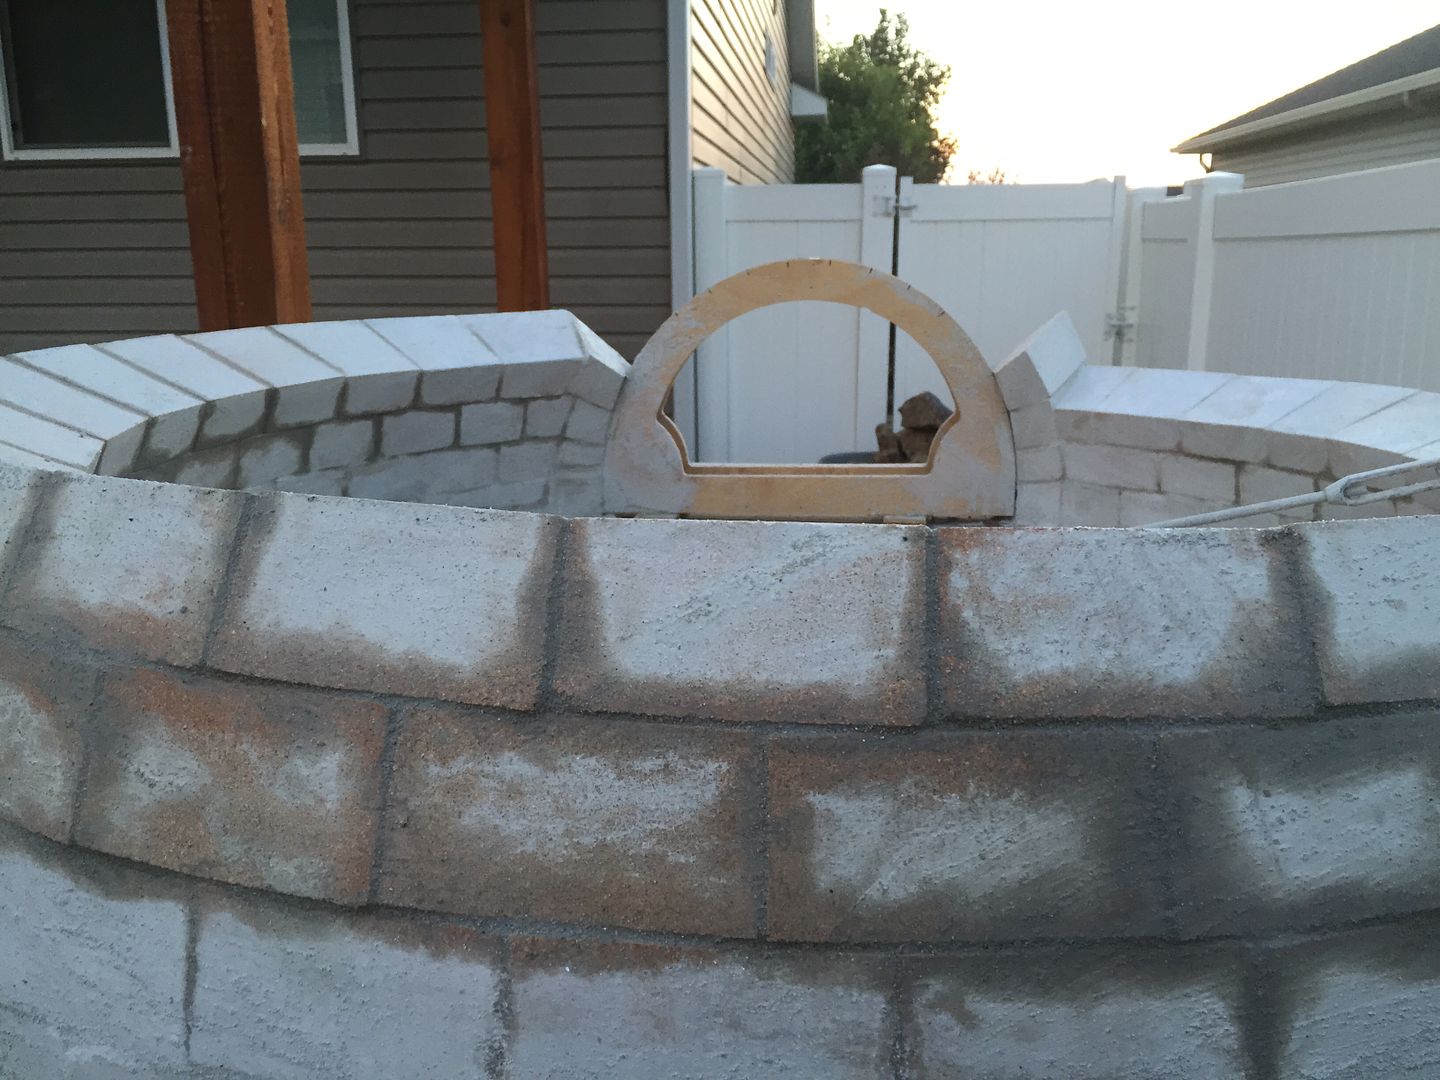
I don't have a side shot of the arch from the point of where I am with my oven now but here's a front and back view, if any of them help... I can take a side shot later after I get out of work.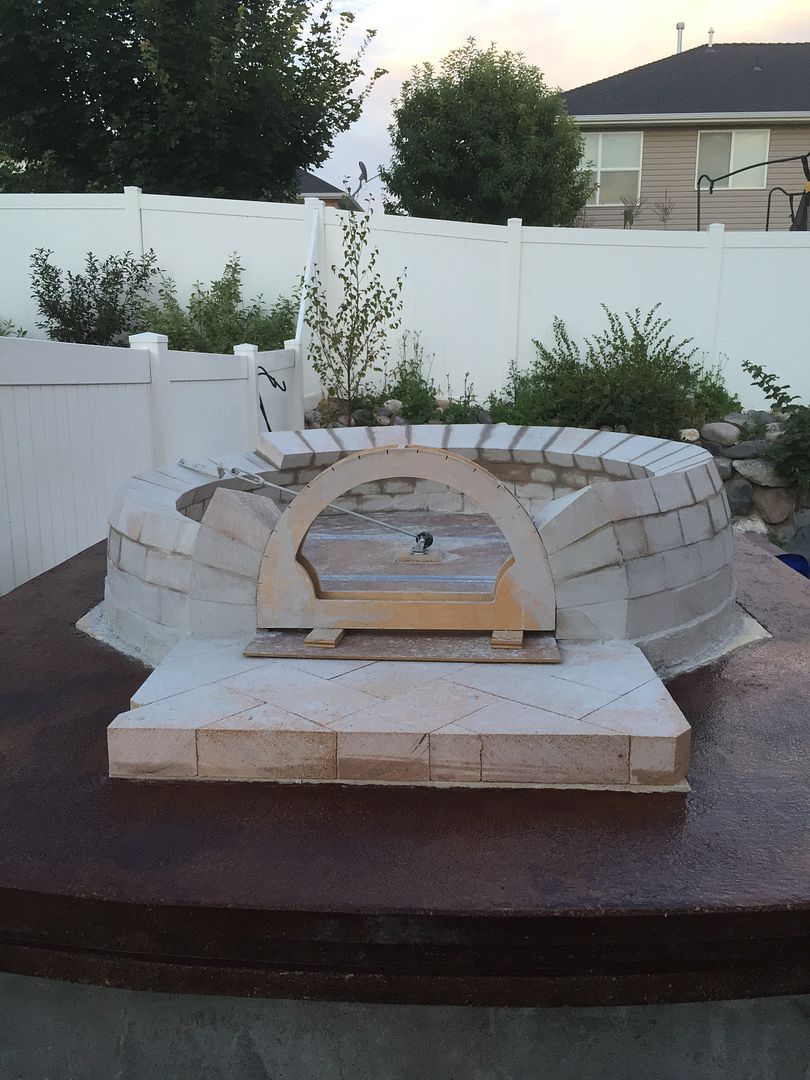
Not sure if any of that makes sense or helps, but keep up the good work, we'll all be excited to see your progress,
-AlexLeave a comment:
-
Gulf, I know the full scale layout is the best bet, but I can learn a bunch using my cad program. My playing around and looking at your sketch have generated a few new questions. First off, I am pretty sure I want to have a 4.5 inch face on the angle of the arch brick, which is what you dimensioned - I had to drop the angle of the cut a little to make the face span from the inside to outside of the dome (my first photo). Is this correct, I want the full 4.5?
For some reason my program is giving me direct measurements (in black) in metric, but my input dimensions, shown in red, are in inches. That is what you get for freeware I guess ;-).
The other two pictures are moving the brick to the left and right showing the envelope I "could" place the brick and still have the full 4.5 inch face. Either way I get about a 1.8 inch (~46.6 cm) dimension where you were showing about a 2". I probably want to move the brick to the left as much as possible to maximize my cooking area as you mentioned previously, but wanted to see if I was thinking correctly.Last edited by JRPizza; 08-08-2015, 09:51 PM.Leave a comment:
-
Your view showed me what I was missing in my mental model, I was not accounting for the angle at the top of the arch. I will take a crack at incorporating that into my layout. Thanks a bunch!Leave a comment:
-
I went back to my full size profile. I think that the face of the inner arch needs to come back out to about 1" inside of the outside circle of the dome, center of the door. I can't seem to make it work by overlaying your drawing. But, by doing this in full scale it appears to workout. I was able to "guestimate" a cut for your top dead center with a 4.5" bed for the course which will clear the arch. It will have about 2" at a 90 degree angle which should approximate the curve of the id of your dome. I am sure that sketchup is a good program but, I do suggest that you do a full scale on some poster board before you start cutting brick. Good luck on the pour.Leave a comment:
-
Thanks for pointing out the the Octoforno is a 39 - I had read 42" early in the thread and didn't notice the plan change. I have been reading the 39" Stargate and it appears that he aligned the face of the brick with a line tangent to the floor circle, not the outer edge to the outside of the dome as I did in my side view above. Moving this back just a little more places the entire dome within the arch at the center (see attached pic) vs having a slight mismatch in my earlier side view. Is this what I am looking for - not having that mismatch at the top?
I am pouring my hearth Monday and these small movements are not going to change my plan so I am good to go as of now. I just want to get the locations straight for when I start cutting and dry fitting.Leave a comment:
-
Sorry for the late reply. I did another full size profile. This time for a 39" id oven with 12.25" H door. I came up with the same thing that you have in cad.. I also did a little more looking around. It's not as easy as it used to be. Thank Lburou for his thread that helps. Remember, I extended my arch bricks in. I had thought all this time it that was because of my using 8" brick and sitting my arch too far forward. But, It I now see that it takes a little more than that. You will be able to set the arch far enough in, much like your first option to make a 9" arch work. But you will loose just a little of the inside diameter of the oven That will only be at the corners of the arch, though. The thickness of the base of the arch is maintained by squaring the base arch brick and not following the inside curve. I think that you are on the right track with the drawings. But, do take a look at GianniFocaccia's OctoForno. It is the perfect match for you. His is a 39" oven and he shows plenty of detail for laying out and building the inner arch. I hope this helps..
Leave a comment:
 , You helped me to decide to go back to school
  .
.
Leave a comment: