Announcement

Collapse
No announcement yet.

A few pic's of the beginning

Collapse
X
 
  • Filter
  • Time
  • Show
Clear All
new posts

  • A few pic's of the beginning

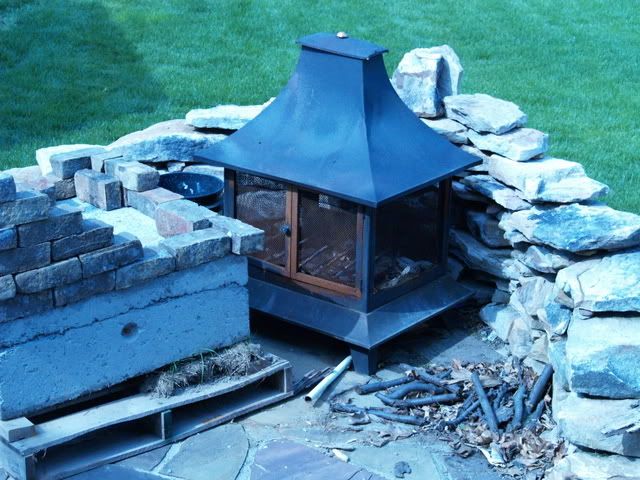
    Old Fireplace and a big chunk of 5000 psi reinforced concrete. (A mismake from our foundation manufacturer)


    After I cut my flagstone and set the concrete in place. (not a one man job, but I don't work well with others!)


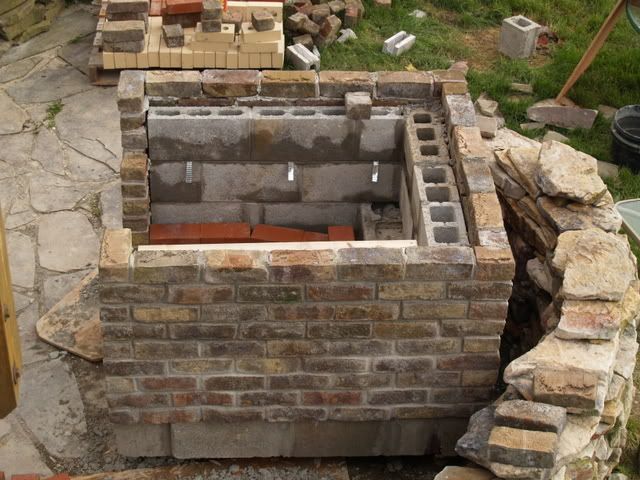
    After the lintels and block were installed, and then the cells filled and the top leveled with type S mortar.


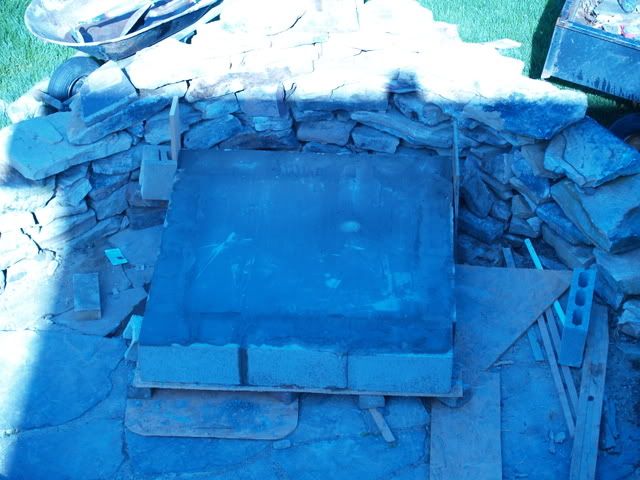
    The final dimension of the pad is 48"w x 52" wide.

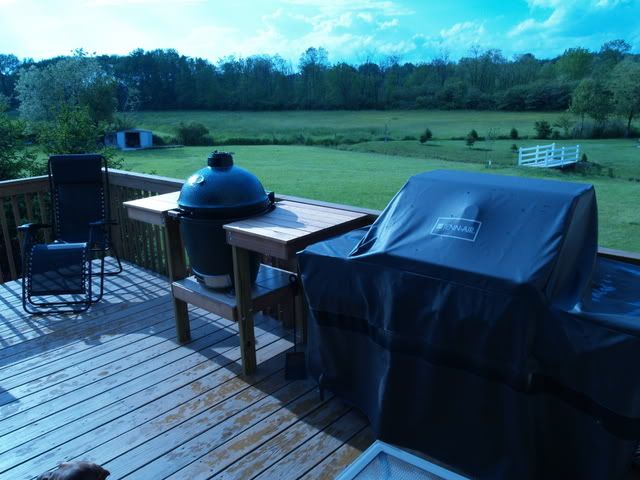
    Between the Pen's in the playoffs, entertaining with my new Big Green Egg, and the rain we've been having, the blockwork has been at a standstill. I hope to have the block laid this weekend.

  • #2
    Re: A few pic's of the beginning

    Wow, that's one big hunk o' concrete! How on Earth did you move it?
    Picasa web album
    Oven-building thread

    Comment


    • #3
      Re: A few pic's of the beginning

      "Ancient chinese secret!"

      A bobcat with a set of forks got it to the patio. I used an engine crane and straps to get it close. Then some pry bars to make minor adjustments. It took my tractor to get the straps out, and that helped for the final move also. I'm just glad it's done.

      Comment


      • #4
        Re: A few pic's of the beginning

        A few more pics

        Brickwork almost done. Need to lay up the firebox, and then do the arch. After that I'll pour the hearth and start on the dome. The bottom exposed block are going to be covered with cultured stone.


        I did an eggplant pizza yesterday for an appetizer to a pork loin. Both were cooked on my Big Green Egg. The eggplant was cooked in olive oil, garlic, rosemary, salt & pepper on a cast iron skillet. I stretched out my dough and then put it back into the cast iron skillet, topped with the eggplant and cheese, and then on the egg for about 10 minutes. Here's a pic.


        And while I'm at it, here's a pic of my outdoor kitchen.

        Comment


        • #5
          Re: A few pic's of the beginning

          No pic's, but I've had another revelation. I've been having a design issue with my fireplace oven combination, which is basically that I wasn't happy with the bottom of my hearth being the top of the interior of my fireplace. I was going to use cement board for my form, and leave it in, which I am still going to do, but....I'm actually going to mirror my exterior fireplace arch with firebrick on the inside of the firebox. Now there will be an airspace between the firebrick barrel ceiling and the concrete hearth. There will be about a 4"-5" gap between the rear of the barrel and the rear firebox wall which is being laid on an angle from back to front. This will be the entry into the smoke chamber, and hopefully the 8" terracotta flue liner will be enough to get a draft. I should be done with the firebox and start my form for the hearth by the weekend, maybe even get the hearth poured. I'll try to get some pics this as it's being laid.

          Comment


          • #6
            Re: A few pic's of the beginning

            Another update. I killed the revelation as it was going to make my oven too high. You'll see in the pic's below, that I took 3 hole firebrick, layed up 3 seperate stacks, filled the center hole with fireclay mortar, and then inserted rebar in the outer holes and filled with fireclay mortar. then I layed those on the firebox for the lid. I layed the arch on Thursday, and filled it in and layed the hearth stone today. After it drys in I'm going to layout my form and rebar and pour the rest of the oven floor. My dome & hearth isulation should be here next week. If the weather holds out this weekend, I should be ready to start laying the oven up this week.

            Here are the pics

            Comment


            • #7
              Re: A few pic's of the beginning

              I got the cement for the hearth poured Saturday evening. It came out nice. It looks like a fireplace now, and hopefully it will look like a pizza oven by the end of next week. I still have a lot of planning and tasks left, but getting the base/fireplace finished was a big accomplishment.

              On another note, I can't wait for this oven to be done. I cooked a delicious focaccia to have with dinner last nite. I should have my pizza dough & focacchia dough perfected by the time it's done.

              Comment


              • #8
                Re: A few pic's of the beginning

                Another update. I finished up the oven in about 3 days, approximately 16 hours. Here's a pic. On to the chimney, exterior, & insulation.

                My final dimensions ended up at 31" x 31" interior, with an 18" dome and an11.5"h x 18"w entry way. That's the biggest cooking surface I could get with what I was working with. I also did a test burn in the fireplace below, and it drew very nicely. I'm going to mimick the fireplace arch, as best I can for the entryway to the oven. For the exterior, I think I'm going to carry the brick to the same height as the oven sidewalls, fill whatever gap is left after the blanket with vermicrete and then stucco the top following the contour of the barrel roll. (At least thats the plan right now)

                Comment


                • #9
                  Re: A few pic's of the beginning

                  Looking good Chev.

                  Comment


                  • #10
                    Re: A few pic's of the beginning

                    I am new to all of this but am very interest to see how this turn out - looking great so far. I have always wanted a pizza oven but i finally got the go ahead when my wife decided she wanted an outdoor fireplace so i have been trying to find out how to combine the 2.
                    I am particuarly interested in how the flue from the fireplace is directed, can't quite tell from the photos.

                    Cheers
                    James
                    Real men cook with fire
                    My Oven and Fireplace Build

                    Comment


                    • #11
                      Re: A few pic's of the beginning

                      Bimbo here's a pic of the 98% completed unit. I posted it under the photo section, but I'll throw one in here also.


                      Here' a link to that thread also http://www.fornobravo.com/forum/f21/...tory-4547.html

                      As far as the flu for the fireplace chimney. If you look closely at the third pic on the above thread. You'll see how I laid out the firebox for the fireplace. There is an approximate 8" area behind the rear wall of the firebox. Then if you look at the next post below you'll see the flue coming form the hearth behind the oven. The rear wall of the firebox is angled towards the front and the firebox has an 8" x 18" void that leads below the flue. The flue draws pretty good, but I do get some out the front. Here's a pic of the interior of the firebox. I've really been enjoying both the fireplace and oven. The pizza making has a learning curve, but it's a lot of fun and the pizza's are great.

                      Comment


                      • #12
                        Re: A few pic's of the beginning

                        Beautiful work. That's a keeper!
                        Ken H. - Kentucky
                        42" Pompeii

                        Pompeii Oven Construction Video Updated!

                        Oven Thread ... Enclosure Thread
                        Cost Spreadsheet ... Picasa Web Album

                        Comment


                        • #13
                          Re: A few pic's of the beginning

                          Thanks for that. Is there any flue that runs from the back of the fireplace to where it runs through the hearth? or does the smoke just flow into the cavity behind the fireplace and then up the flue?

                          Gradually getting my haed around how i can do it and have a dome oven at the same time.

                          Cheers
                          James
                          Real men cook with fire
                          My Oven and Fireplace Build

                          Comment


                          • #14
                            Re: A few pic's of the beginning

                            It's an open smoke chamber. I did, after the hearth was poured, lay brick on either side to contain the smoke a bit better. Something you may want to consider when you get started.

                            If I were to do it again, I would have done it a little different. (hindsight is a wonderful thing!) First I would have laid the brick before the the hearth was poured to seal off the sides of the smoke chamber. Then I would have laid or poured a shelf at the rear opening of the firebox. I didn't really think of that as I was planning/building! As I said, it draws well cold and gets better as the flue warms up. Since it's an outdoor fireplace, it's not an issue for me if a little comes out the front while I'm getting my fire started.

                            Comment

                            Working...
                            X