Announcement

Collapse
No announcement yet.

Crack in chimney flue area

Collapse
X
 
  • Filter
  • Time
  • Show
Clear All
new posts

  • Crack in chimney flue area

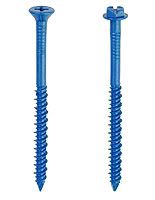
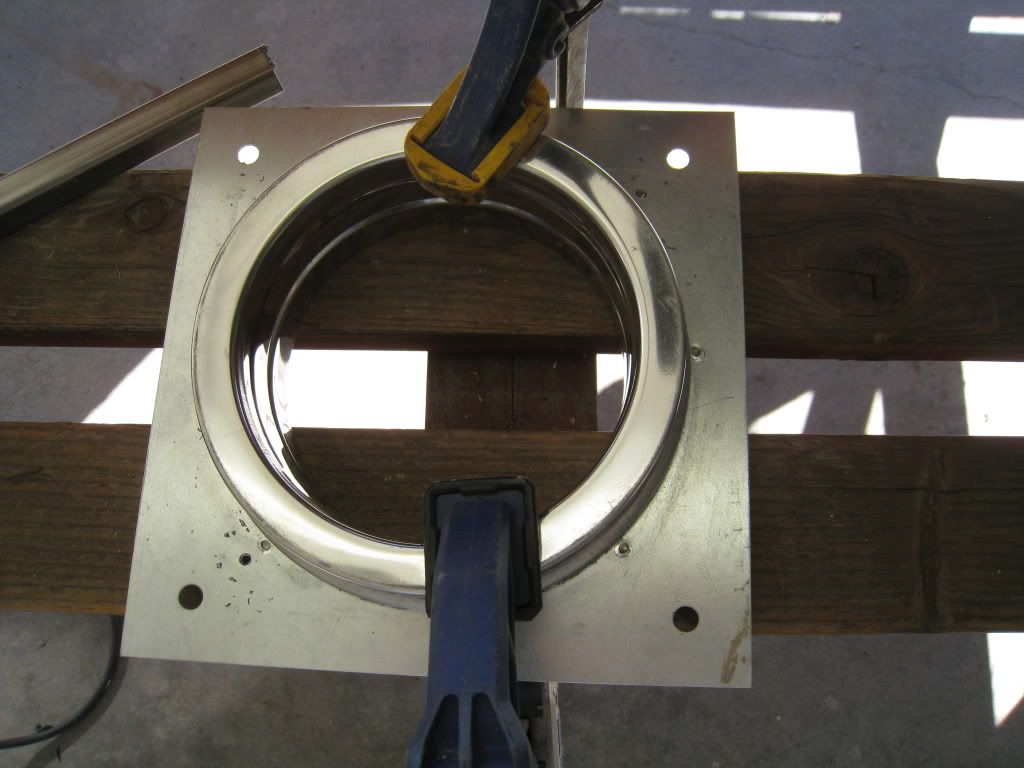
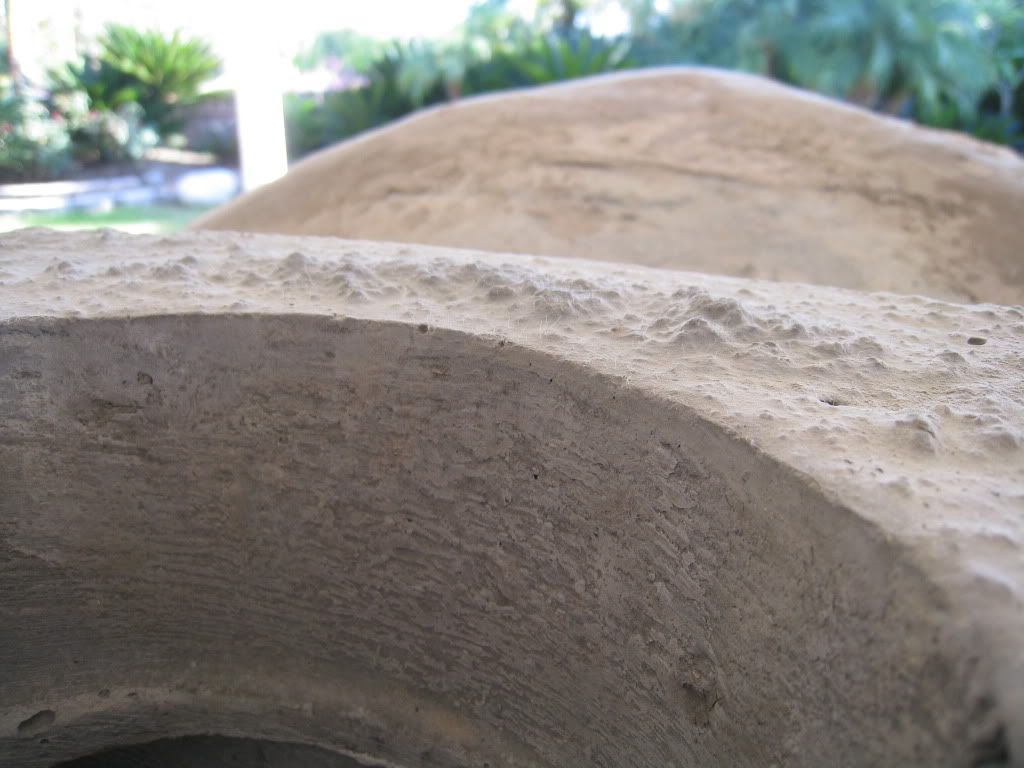
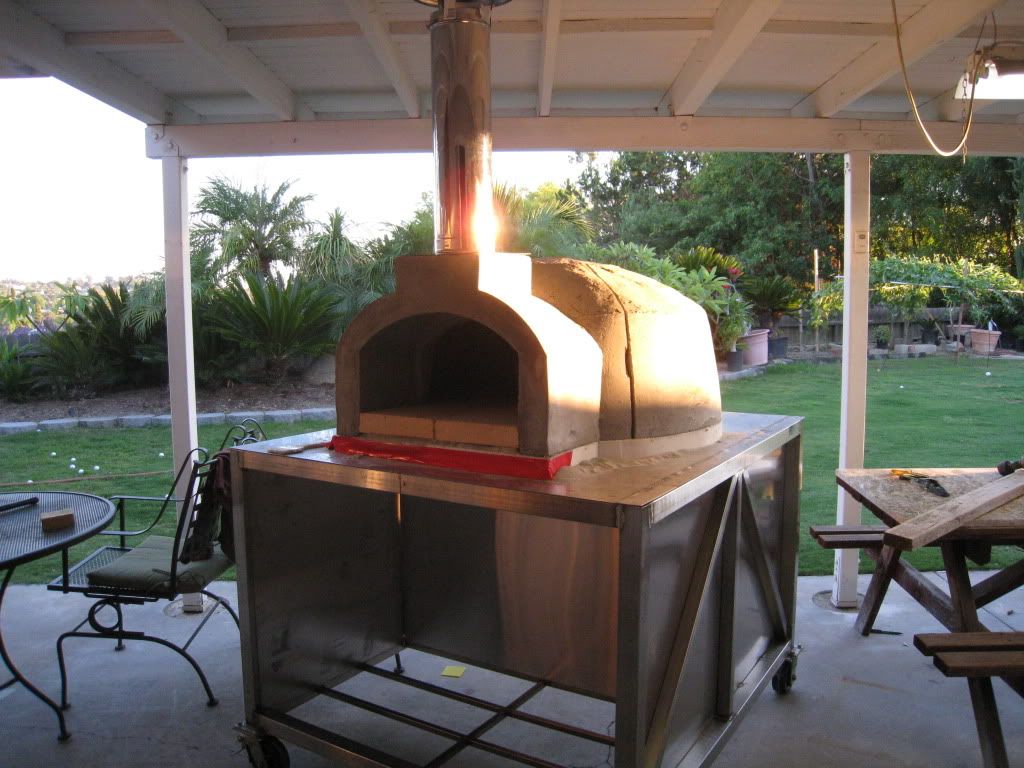
    I have the Casa 2G90 and used Tapcon screws to hold down the Duratech anchor plate. 2 of the screws caused cracking that runs about 2 inches down on the outside.

    Im thinking that the anchor plate holes that are predrilled from Simpson is too close to the edge? Therefore, when I drill into the chimney flue on the oven, there isnt much to drill and causes cracking?

    Maybe I should redrill holes closer to the center of the flue, and drill new holes on the anchor plate?

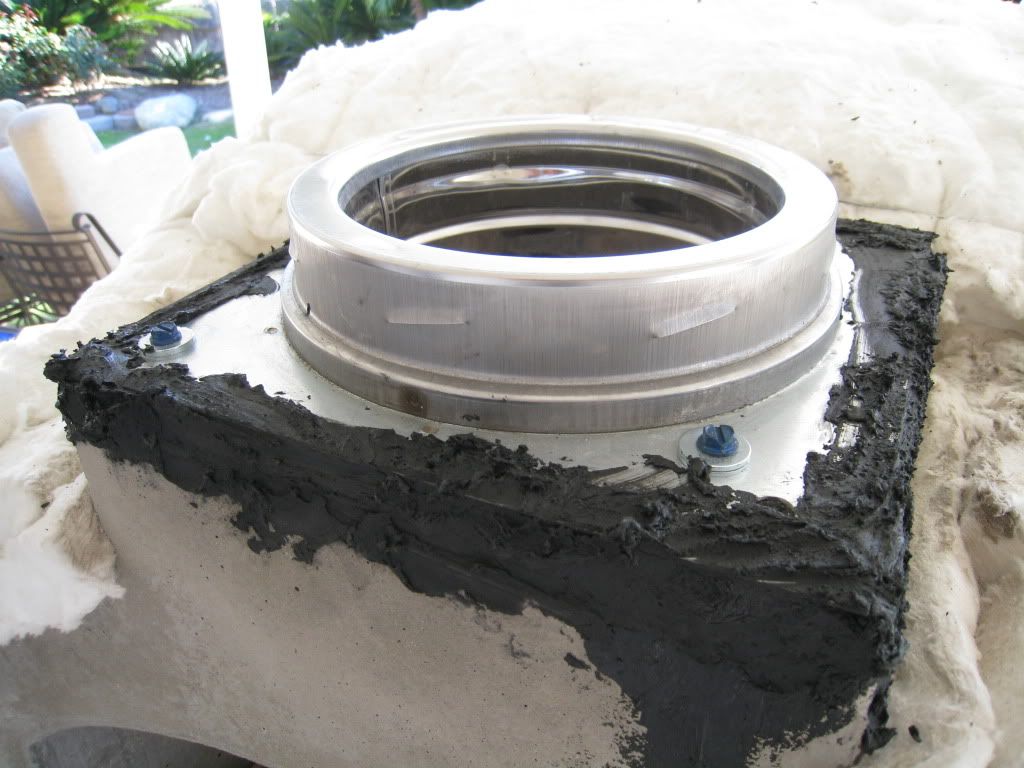
    I was told by the FB tech, to use the FB mortar under the anchor plate in place of screws. Is this sufficient to hold it? I did not think the mortar was the proper thing to use to bond metal to masonry.

    I was looking at another pizza oven company (Wildwood BBQ Oven) and they use Rutland products for their oven. According to Rutland's data sheet, it says it can bond metal to masonry.

    Rutland Fire Clay Company - Stove, Chimney, Fireplace maintenance and Hearth Repair Products.

    My oven sits on a metal stand with wheels, so I don't want the chimney to fall off.

    And doesn't the chimney flue area need a good seal to prevent smoke from exiting out the jointed area? I know FB mortar can be OK on the oven joints since it is interlocking, but the anchor plate and flue isn't.

    What did you guys do?? I am totally lost.


    (On a side note, the latest FB residential installation guide V1.5 is missing information it seems. I cant view the text on page 30.)
    Last edited by d0rifto; 11-12-2010, 12:20 AM.

  • #2
    Re: Crack in chimney flue area

    Hi d0rifto,

    James here. I'm really sorry you are having a problem with this. I can see what happened. Using the holes in the anchor plate, the holes you drilled were too close to the edge of the refractory vent -- so it didn't hold.

    There are three things going on here. First, you should drill new holes in the middle of the refractory vent to securely hold the anchor plate in place. You shouldn't have much of a problem finding the right place. There is a lot of mass in the vent area -- more than is necessary because we wanted to design the oven so that the anchor plate lined up with the vent. Also, the top of the vent is far from the oven chamber, so a little cracking up there will not have any impact on the oven itself.

    In terms of sealing the anchor plate to the oven vent, you should use the mortar provided with your oven to create a seal between the oven vent and the anchor plate. It will not hold the anchor plate in place (the screws do that), but it keeps smoke from escaing.

    Finally, if your oven is going to be moving around, you will have to design your enclosure so that it helps hold the chimney in place. The chimney itself is 24", and it has a cap, which will put stress on the anchor plate if it wobbles around. Think of it this way. Take a pen and set it upright on a table -- and then wobble it around while holding it at the base. That would give you an idea of the force a tall, wobbling item will put on the base.

    Again, I'm really sorry that you have had a problem.

    We will update the installation guide to instruct installers where to drill the anchor plate holes and include photos of how to apply the mortar. The current manual is v1.5 and it is online for download now. We will post v1.6 shortly.

    I think this will help.

    James
    Last edited by james; 11-12-2010, 01:25 PM.
    Pizza Ovens
    Outdoor Fireplaces

    Comment


    • #3
      Re: Crack in chimney flue area

      Hello James,

      thanks for the reply back.

      Which concrete screws do you recommend as nothing is specifically stated. I read other members using typical blue Tapcon screws, but maybe those are too aggressive for the refractory material used for the oven?


      The screws are for higher strength concrete. My father does construction and noted that the chimney flue area doesn't seem strong enough to prevent cracking from Tapcon style screws, but this was merely an observation.

      When I drilled the screws in this past weekend, after drilling it closer to the center area, it still cracked the chimney flue area. I also did drill the hole with a size smaller as recommended in the Tapcon instructions, use 3/16" drill bit, for a 1/4" Tapcon screw.


      This is the pilot hole for the anchor plate closer to the center.


      These holes and cracks are before I redrilled the holes closer to the center


      If the chimney area looks like it has been sanded down, it is because it originally was rough.

      Comment


      • #4
        Re: Crack in chimney flue area

        I got tired of the cracking so I drilled anyways. Patched up the cracks with DAP brand mortar repair. Then drilled the 3 other holes , 2 of which were closer and did not crack.

        I did notice that screw doesn't want to hold down properly and is similar of when a screw has been stripped out in a piece of metal. The refractory material turns into dust when it strips the threads. So I found Rutland black furnace cement locally, and used it to try to seal the chimney to the flue. The data sheets say it is good for sealing metal to concrete. It just needs to be cured with a 500F temp.

        Hopefully the base area reaches that temp once it gets warm.


        (here is the a pic of the base and oven. before insulation and had the single wall chimney)

        Comment


        • #5
          Re: Crack in chimney flue area

          Wow, very nice stand. Although it got wheels, it probably still takes more than one person to move it?

          Comment


          • #6
            Re: Crack in chimney flue area

            Agreed!

            Can you tell us more about the stand, the weight and how you are going to be using it and moving it. That is very cool.

            James
            Pizza Ovens
            Outdoor Fireplaces

            Comment


            • #7
              Re: Crack in chimney flue area

              I cut and welded the complete frame from 304 stainless steel square tubing.

              The larger tubes are 2", smaller is 1.25" and the smallest is .75"

              The base plates are also made from 304 SS, I had to cut and drill them myself since nobody makes SS plates predrilled for large casters.

              Everything was TIG welded on leveling plates to ensure 0.0 degree surface flatness.

              Comment

              Working...
              X