Very nice. You will enjoy it for along time. You will also have more friends stopping by for a snack.
Mike


-
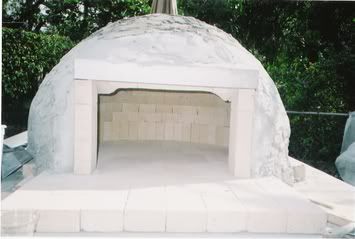
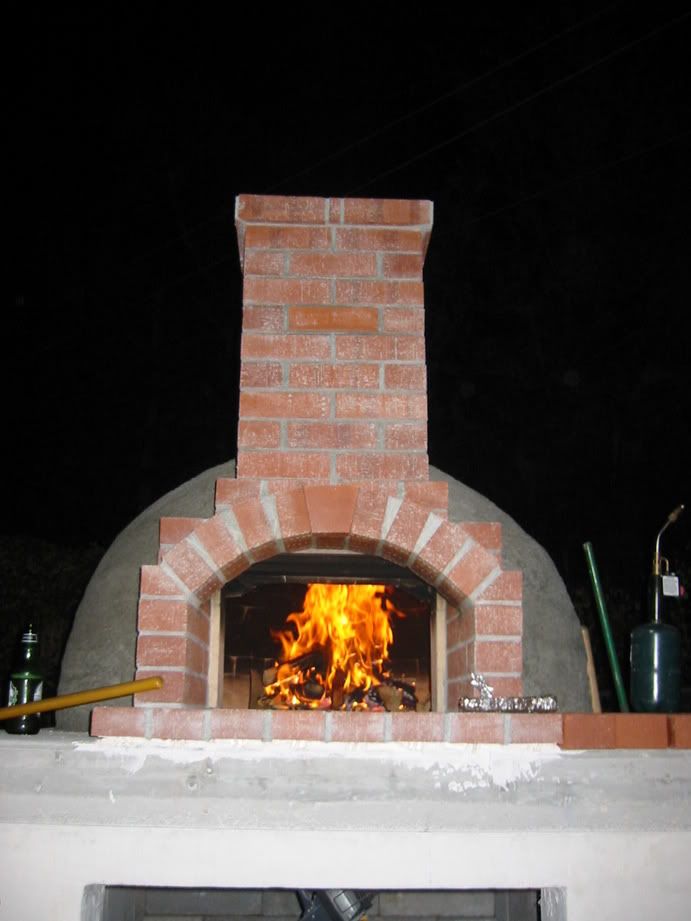
First Pizza Night
I still need to stucco the outside of the dome and finish the rest of the bar, but the lure of pizza is too strong...
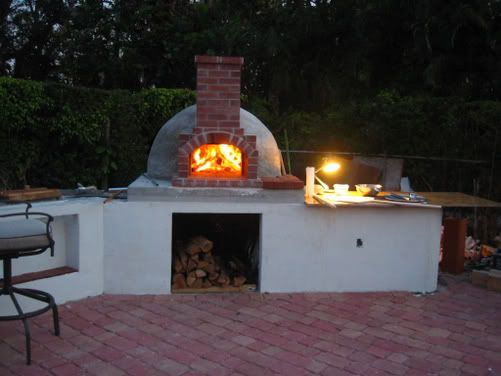
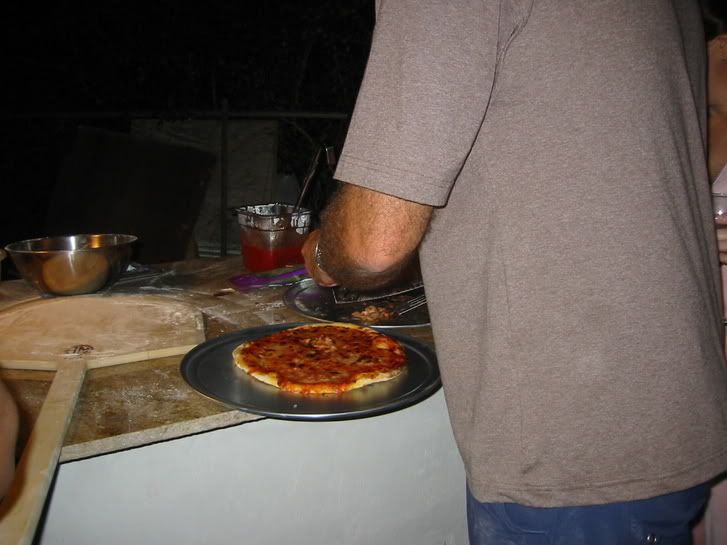
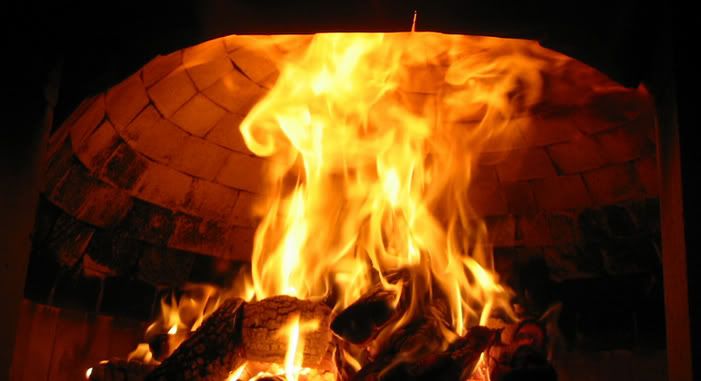
First in...
Voila!
Leave a comment:
-
sweeeet
I like the "Plug" and the slivers to fill voids rather than refactory mortor. Your lack of squeezed mortor on the inside gives the dome a tight look. very nice
patrick aka joe engineerLeave a comment:
-
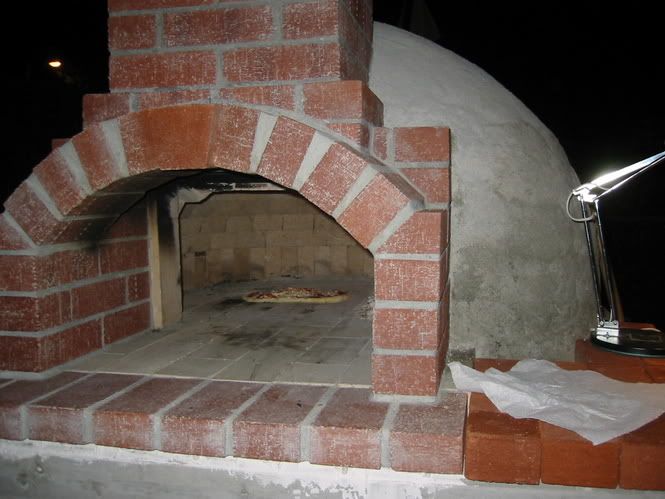
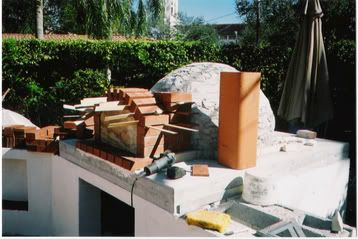
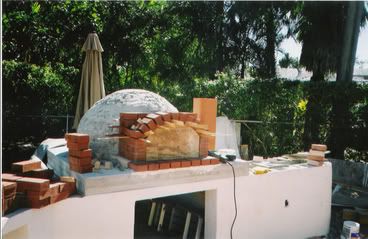
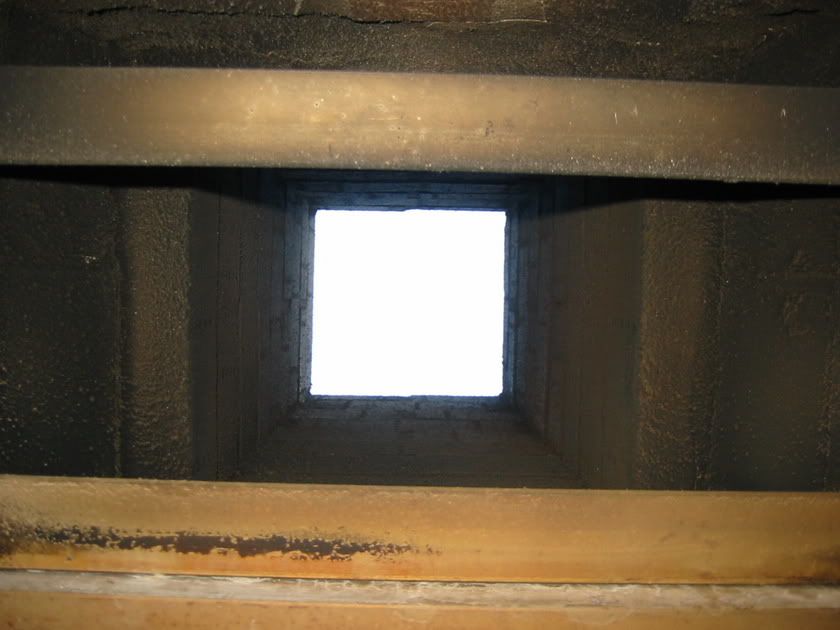
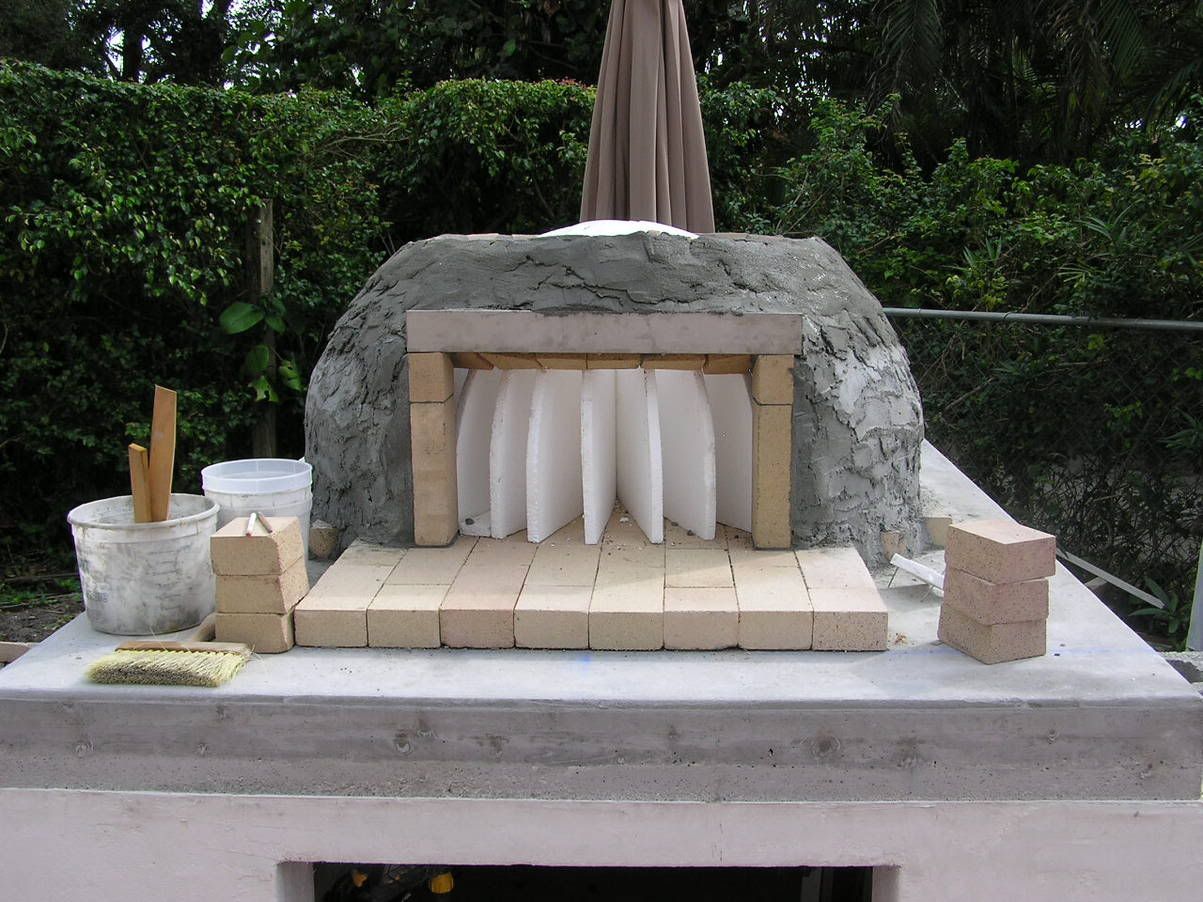
The Vent
This part of the job struck me as far more challenging. I've never done any brick work and figuring out how to support it over the vent opening required a lot of pondering...
I ended up using 1.25" x 3/16" angle to support the bricks, cutting a channel in the brick so it wouldn't show from the outside. It seems to have worked fine...
Next was working out the arch.
Leave a comment:
-
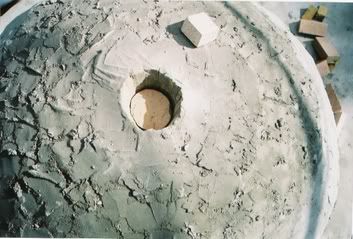
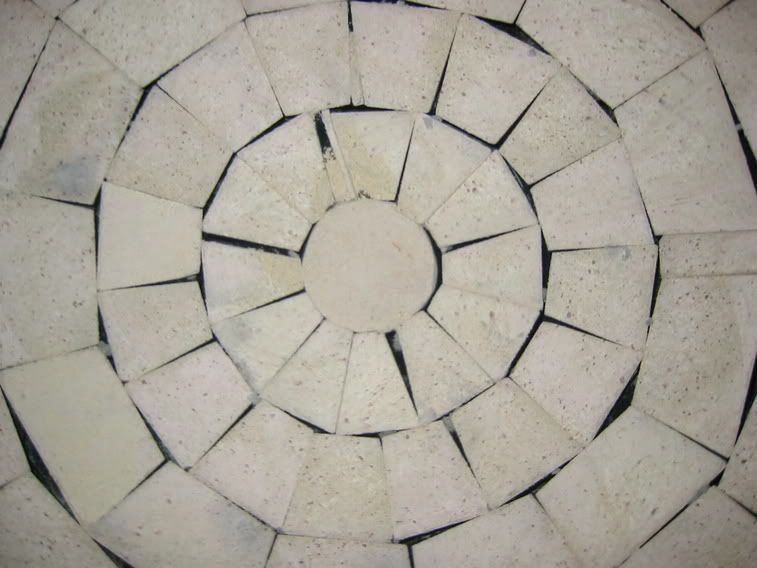
Dome Complete
Finished off most of the dome on Christmas eve, and the keystone went in on Christmas day. My present to myself... Looking at the remaining hole, I opted to skip cutting little bits of brick and just use a whole brick on it's side. Having a wet saw sure makes the work easier. The remaining void was filled with refractory mortar...
Leave a comment:
-
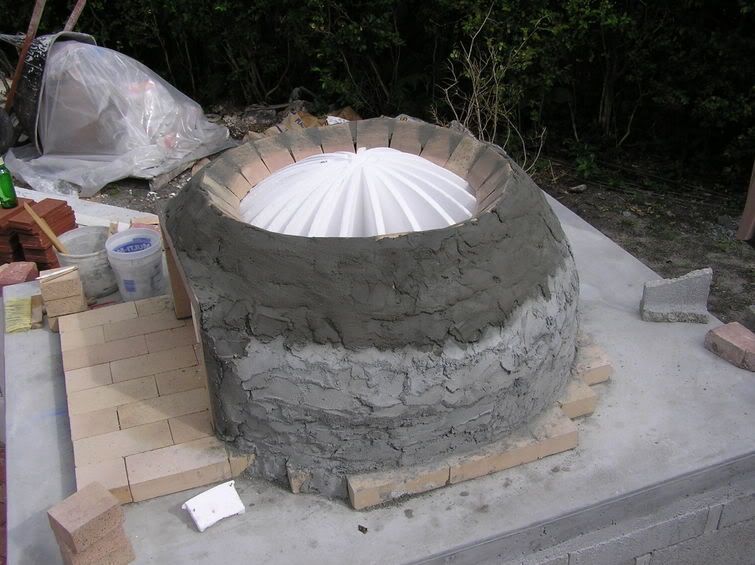
36" Oven Construction Pics Cont. 4
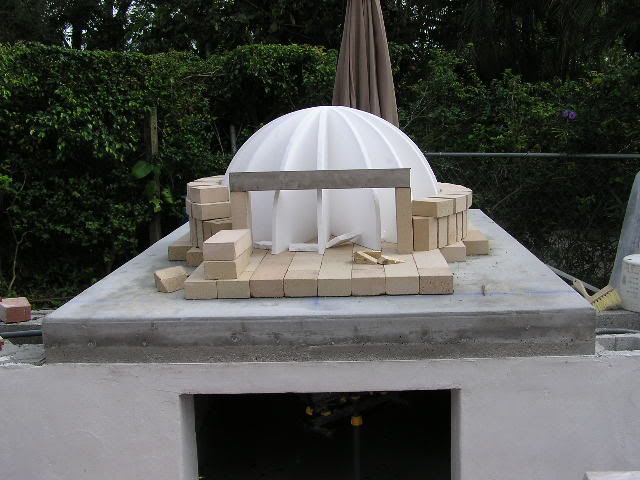

Dome layout
End of day one of dome building. I had to re-do the door bricks. I made my opening a little larger than I intended and the mortar didn't stick.")
Leave a comment:
-
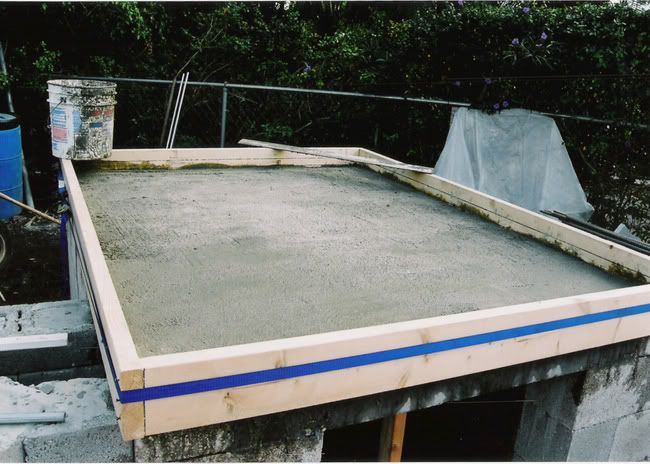
Continued...

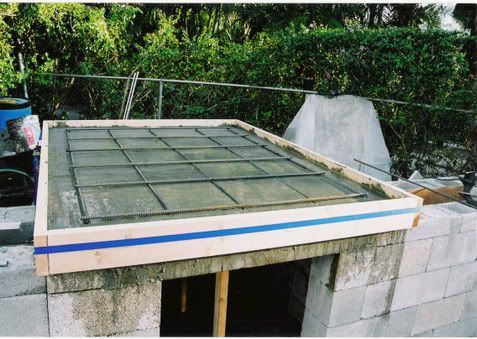
Some #5 steel
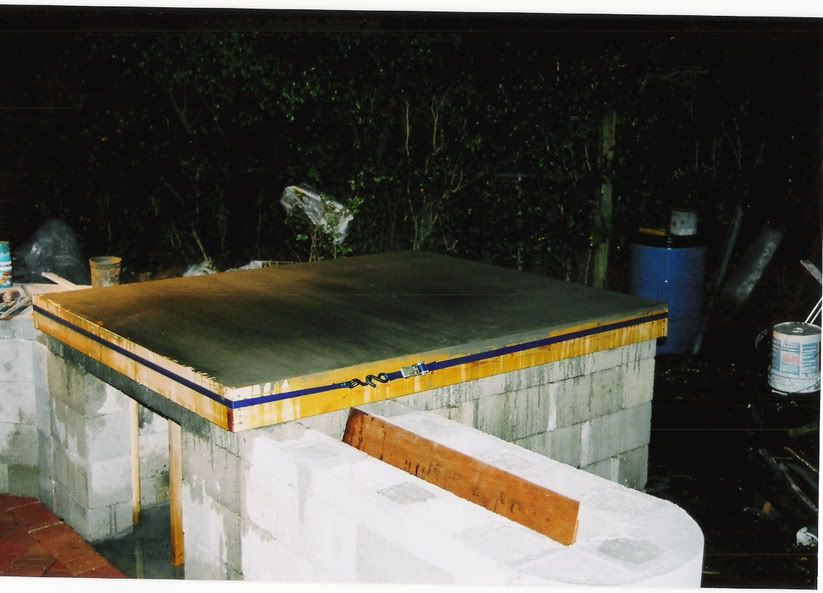
And we've got cake, er, a slab. That's a lot of concrete to mix in a wheelbarrow...
Leave a comment:
-
36" Oven Construction Pics Cont. 2
Hearth form in place

Hearth form supports...
2" perlcrete...Leave a comment:
-
36" Oven Construction Pics Continued

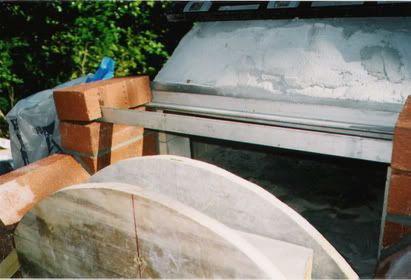
Front view of the blockwork and beginning of the hearth forms
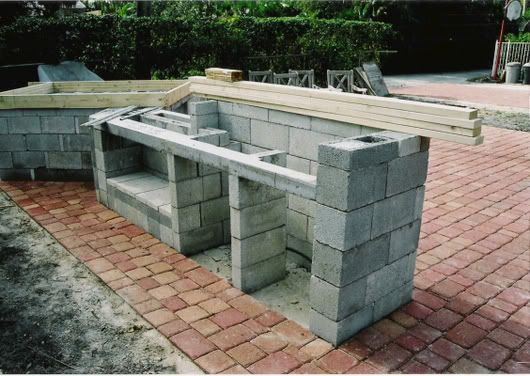
View from the rear (R-L: sink, refigerator, storage)
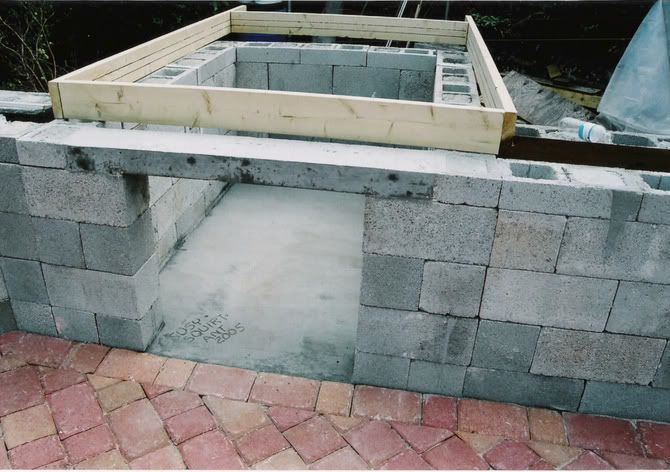
I skipped the angle iron and just poured a lintel across the opening. I'm sure I could have just spanned it with the hearth too...Last edited by DavidK; 12-20-2005, 08:44 AM.Leave a comment:
-
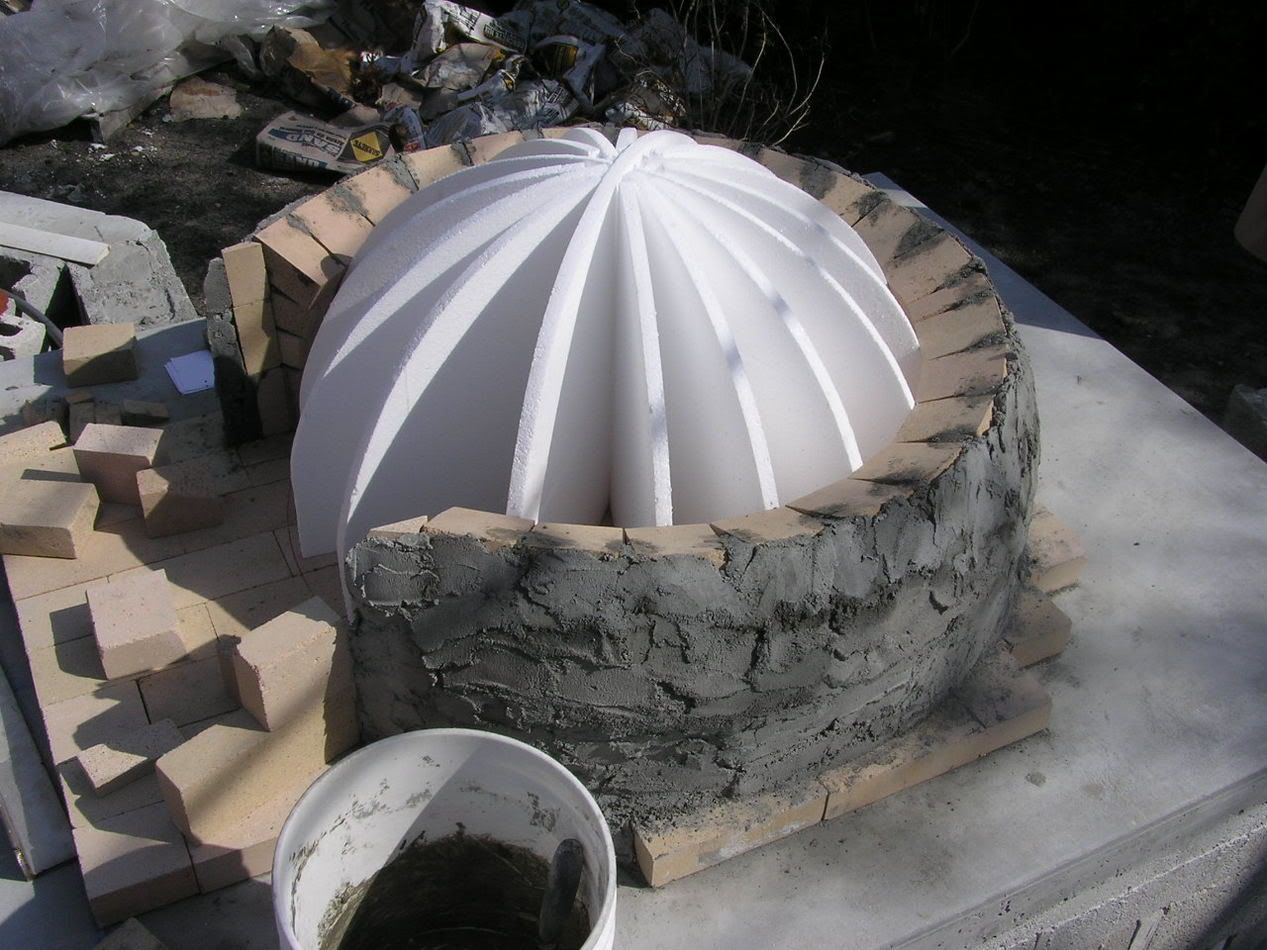
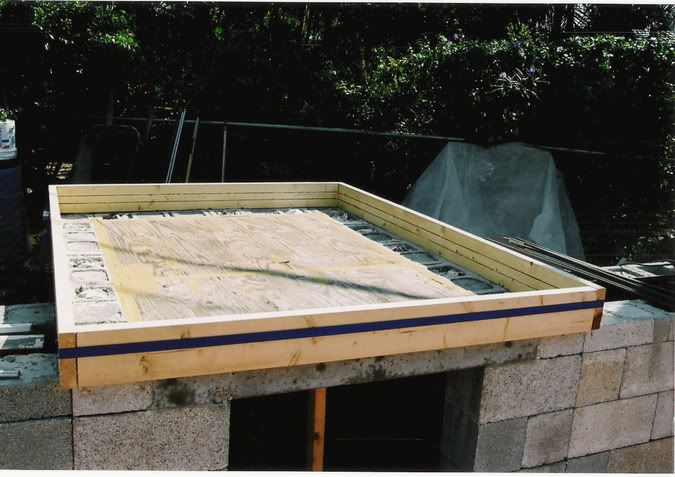
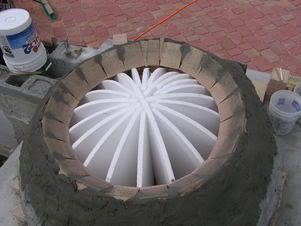
36" Oven Construction Pics
OK, so I'm almost ready to close in the dome. It would have been done last weekend but I ran out of brick. Oh well, I can't think of a better way to spend Christmas Eve day... The oven is part of a larger bar/outdoor kitchen. Everything is done with permits and to local code. I sure hope I can get it done before winter is over. For those not familiar with sunny South Florida, winter lasts roughly 2.5 weeks...

Form work for the slab
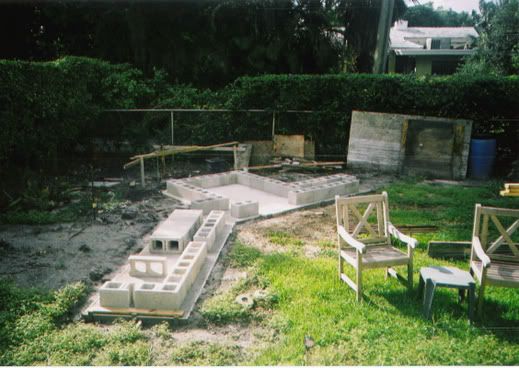
Adjusting the layout for steel placement

Steel in place, let's get some blocks stacked...

Leave a comment: