


 Tweet
Tweet
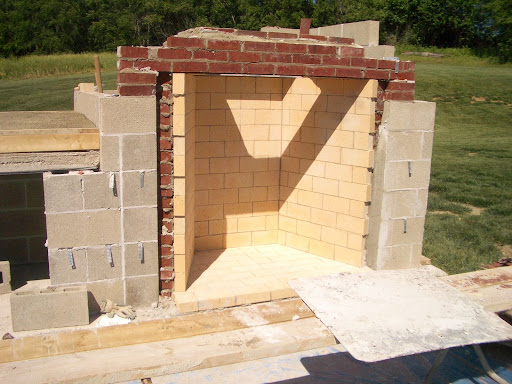
Re: The hearth questions and progress pictures
Most things in life are a time/money compromise. Since vermiculite and portland aren't free, I think the advantage tilts to insulation boards. You might look into insblock19, which may be available locally. That's what I used, and it works fine.
Check with local pottery and kiln suppliers, they might have it for less money than Harbison-Walker sells it for.

Comment