I looked at the plans for the BIA rumford. I would suggest following the rumford.com plans instead:
http://www.rumford.com/classicflyerplan.html
I took all my dimensions, including the angles and radii, directly from this flyer.
The BIA plan gets one thing right: The flat back. Some adaptations have a sloped backwards fireback because masons were uncomfortable building such a shallow fireplace. Everything else is suspect: The walls are not angled enough, perhaps to accomodate a standard gas log. They don't use the rumford curved throat, terminating in the narrow slot. This reduces emissions, and more thorough cumbustion means less chimney creasote buildup problems.
You don't have to build the throat: Superior clay makes a really good refractory throat for a few hundred dollars, and sells matching dampers, which you probably don't need in an outside fireplace. I am just showing off/being cheap building my own throat.


-
Rumford support
Fantastic work on the Rumford. How did you come up with the plan for the Rumford jig? Yours are the first pictures of construction of a Rumford that I have seen. I was (and probably still will) planning on making the BIA rumford for an exterior fireplace:
http://www.rumford.com/BIARumfordFireplace.pdf
Is there other support under the lowest bricks for the throat (a piece of angle iron) besides the form or will mortar and offset seams support it once mortar is dried?
Really neat Dmum, thanks again for posting.Leave a comment:
-
Slab forms
I built the forms for the slab on the outside, using a shipping skid which happily could be modified to fit.
As you can tell, I don't think things that are going directly into the dumpster or kindling box shoud be built any better than necessary.Leave a comment:
-
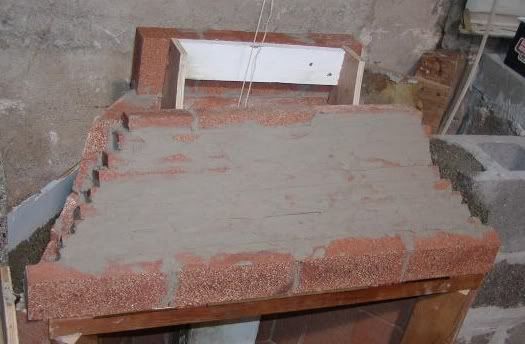
Rumford throat
I compensated for the unwanted angle with the last row of bricks, which I cut to fit.
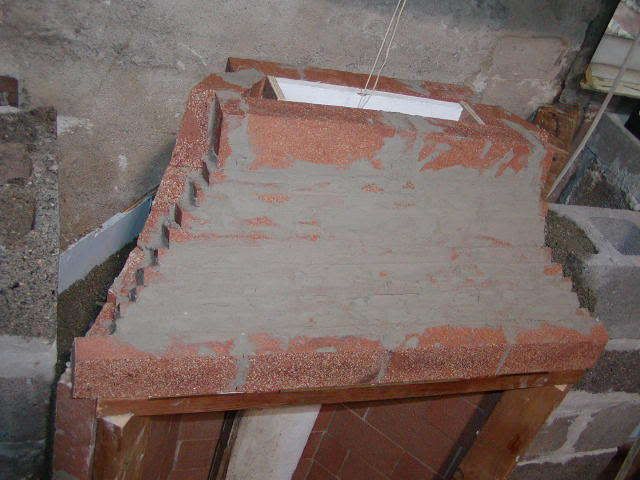
It doesn't look to sleek on the outside, but this will all be buried in concrete.
Speaking of buried in concrete: The back of the firebox will be insulated with pearlite concrete. I built angled forms to reduce the amount needed, it still took almost two full big bags of pearlite to do this. Partway full:
Leave a comment:
-
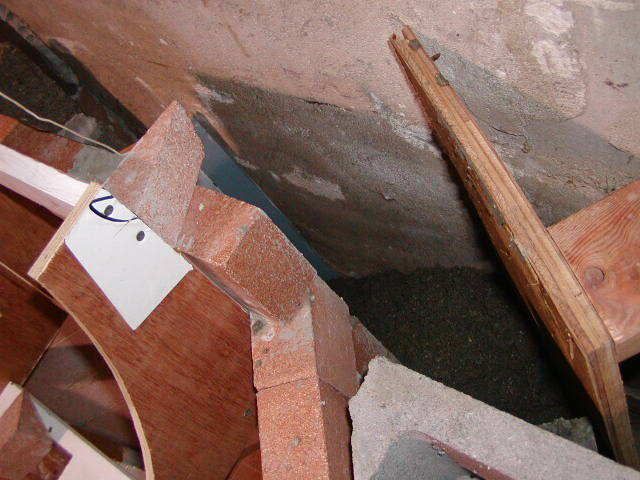
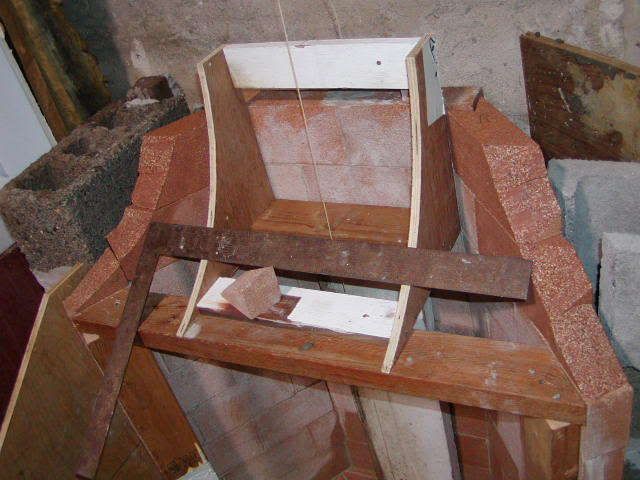
Rumford throat
The side walls of the inverted funnel have wierd angled curves. These were drawn to a cardboard jig, and pretty much cut by hand.
The first rows of bricks were half bricks, cut at an angle to be vertical in the front. The curve of the throat was then established by the angled strips. It's a little odd from the brick oven perspective, because the curve is concave, and the wide part of the brick faces inward.
Halfway up, an unwanted angle is appearing, because of the cumulative errors of the hand cut strips.
a (blurry) inside view.Last edited by dmun; 10-15-2006, 07:50 PM.Leave a comment:
-
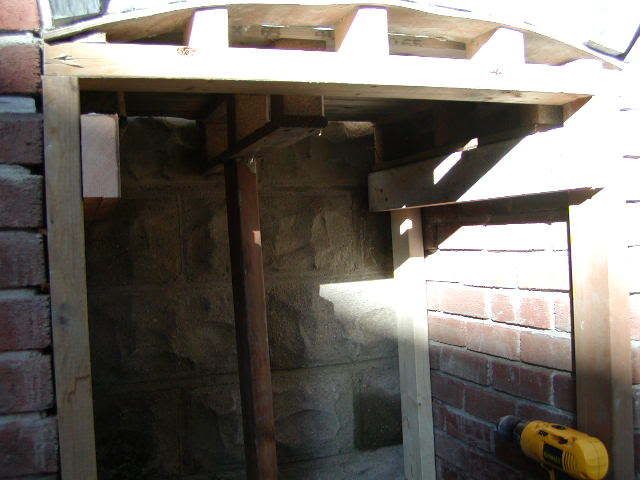
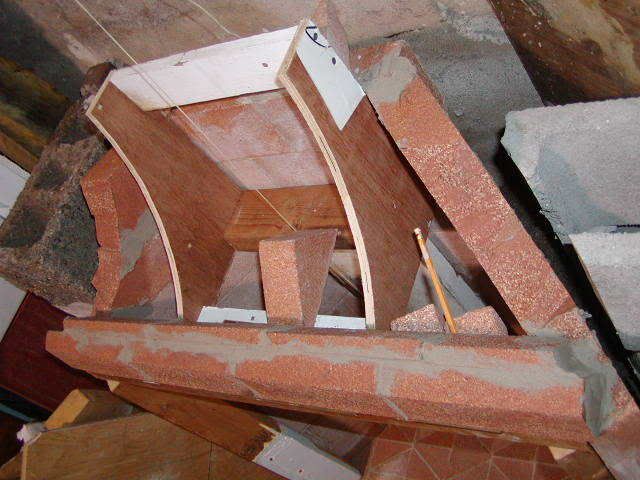
rumford throat
Here's the drawing for the rumford "throat".
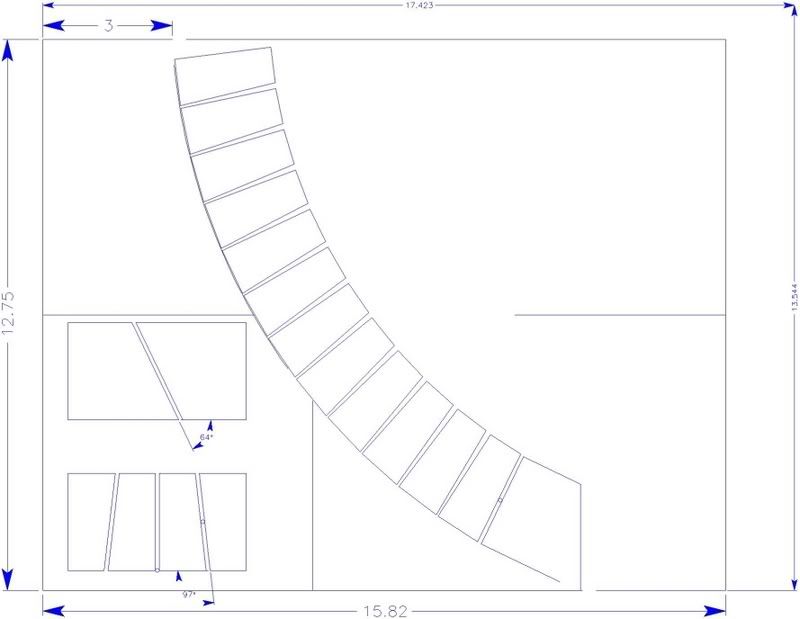
A word of explaination: Rumford realized that all the heat from a fireplace came from radiation, rather than heating the air. His plan was to make a shallow firebox with steeply angled walls, topped with a inverted funnel with a flat back to match the vertical back wall of the firebox, and a curved front surface to channel the smoke into a narrow slot at the top. This creates a jet effect that fully burns the wood, rather than have the smoky mess that too many modern domestic fireplaces are.
The rectangle in the drawing represents the two pieces of plywood that guide the curve of the throat in the jig, like the ribs of an oven jig. This photo shows the form mounted and in position. I had to make a rim at the front of the form to support the first row of bricks.
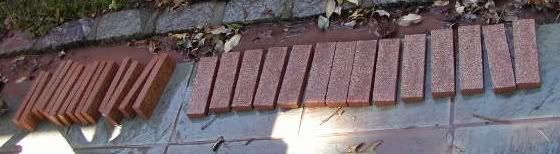
Here are the brick wedges you see in side view in the drawing. By coincidence the angle of the strips is the same as my jig I made for the geodesic triangles. Each strip is formed by cutting an angled piece off each edge of a firebrick, and then cutting it in half.Leave a comment:
-
Wow
Quite the project you've got going and very nice work. Can't wait to see more. Please keep the pictures coming. Very cool!Leave a comment:
-
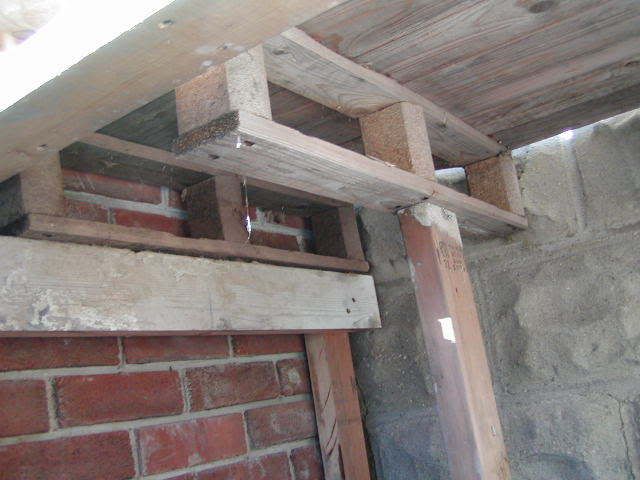
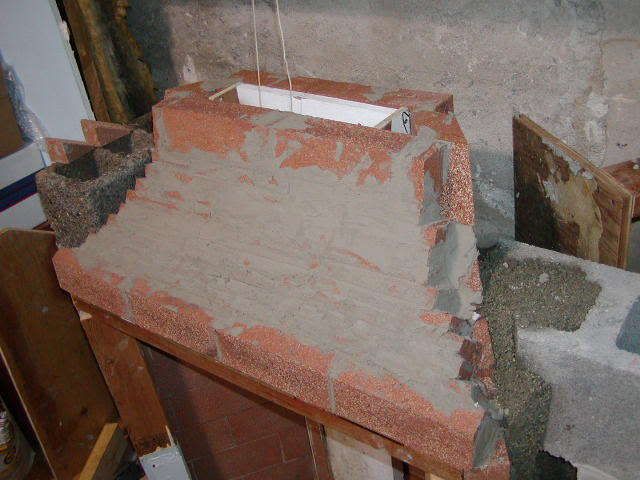
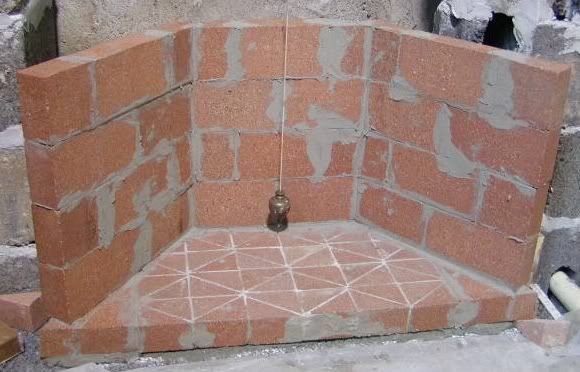
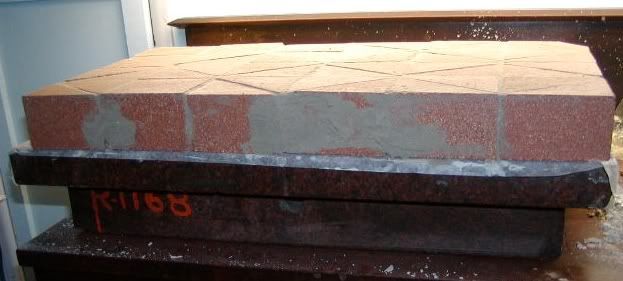
firebox instalation
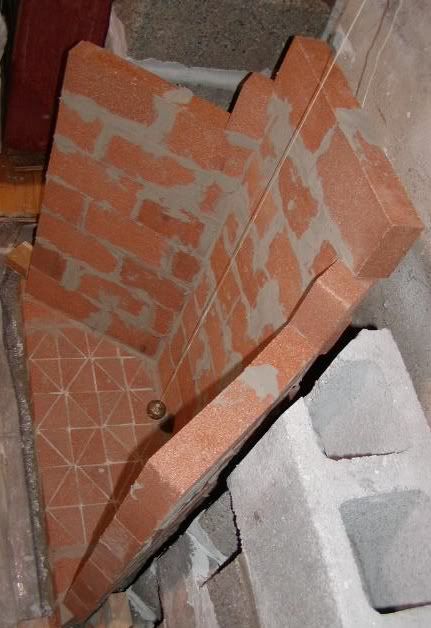
Here is the firebox all the way up, plus two partial rows for the back of the Rumford throat.
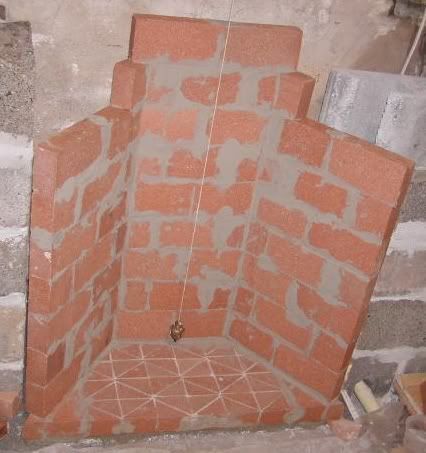
A side view. Note in all these pictures a rare use of my Great Grandfather Straw's plumb bob.
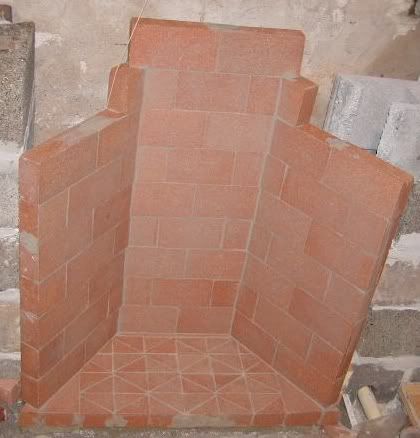
Scrubbed and ready for the rest of the throat construction.
Leave a comment:
-
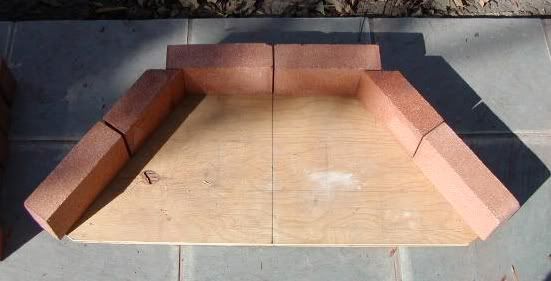
firebox instalation
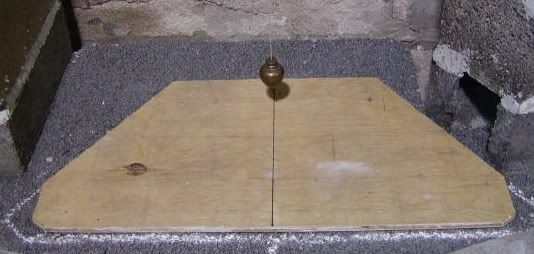
Here's the template on the insulating concrete base of the fireplace. I've chalked around it to show where to put mortar.
Here's the floor laid in, with the extra bricks around it to support the walls. I used sacrete type S (the same mortar I've used for the structural brick and block work) to stick it to the floor, and firestop 50 between the firebricks. That left me juggling two batches of mortar, and two trowels.
This is the firebox half way up: The visible part of the fireplace is seven bricks high.Leave a comment:
-
rumford walls
I cut the pieces for the angled walls of the rumford fireplace:
And the second layer:
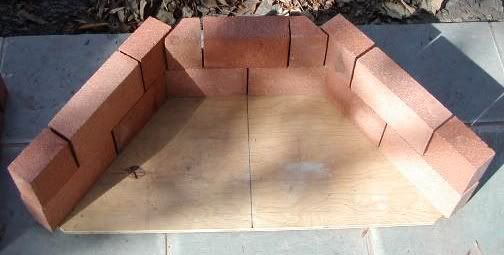
The corners partially interlock.
This is repeated for the seven brick height of the firebox.Leave a comment:
-
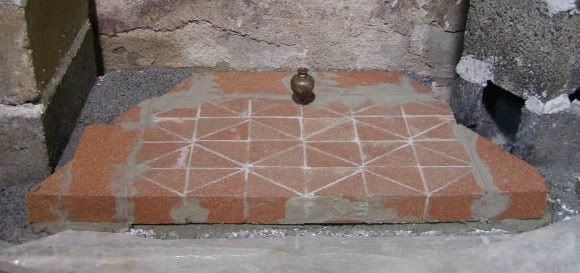
Fireplace floor
I trimmed those glued triangles, and assembled them into a diamond pattern for the bottom of the fireplace:
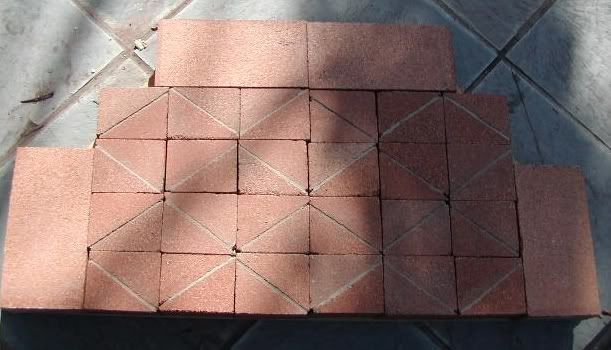
The edges will mostly be covered by the upright walls, so I just plan to use whole firebricks there.
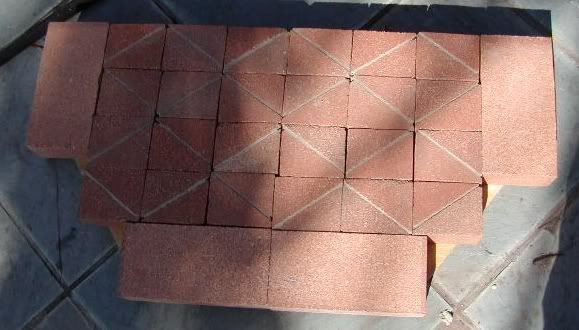
I was looking for a flat place to pre assemble the mosiac that wouldn't be harmed by the mortar:
I covered my granite surface plate with waxed paper and assembled it there. Although the overlap of the two layers of waxed paper means the accuracy is completly lost
Leave a comment:
-
fireplace prep
Getting ready to lay the shell of the rumford fireplace. I decided to back and underline the firebox with insulating concrete, for one, to see how it works, and two, because I think it will make a more efficient rumford, which works through radiation rather than heating the air. I figure that insulated bricks will heat up more and reflect more heat, just like a well insulated oven dome. We shall see.
I started by building forms, two and three quarters thick, high enough to bring the fireplace floor level with the hardwood floor of the workshop.
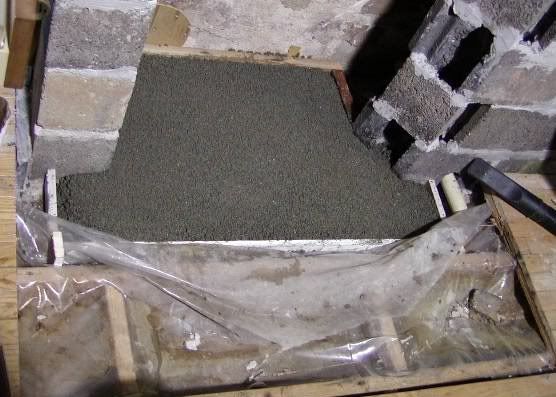
Insulating concrete is wierd stuff. It has a really crumbly texture, and doesn't seem to hold together at all. It doesn't begin to "float" like regular concrete: By patting it down with the trowel after I leveled it to the forms I got somewhat dense, uniform surface. I'm going to take it on faith that this stuff will harden up to a rigid substance.

You remember all those triangles I made cutting the corners off of firebricks? You thought I was going to throw them out? Here they are, matched and mortared together ready to make a neat diamond pattern on the floor of the fireplace.Leave a comment:
-
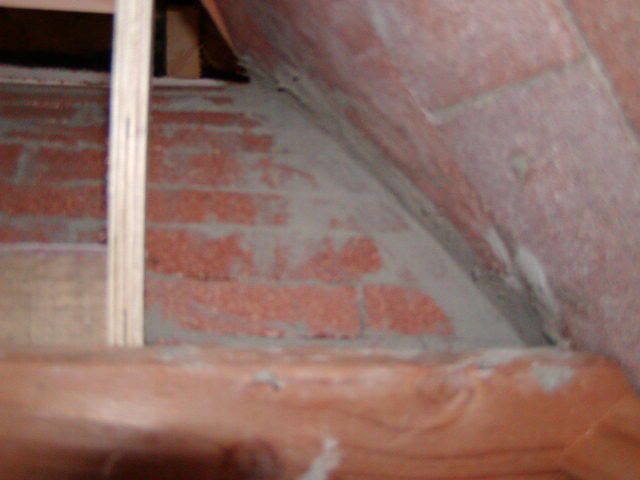
Moving inside
With fall officially started, I've moved oven operations inside. The other half of my oven support structure will be on the inside, and will include a Rumford fireplace.
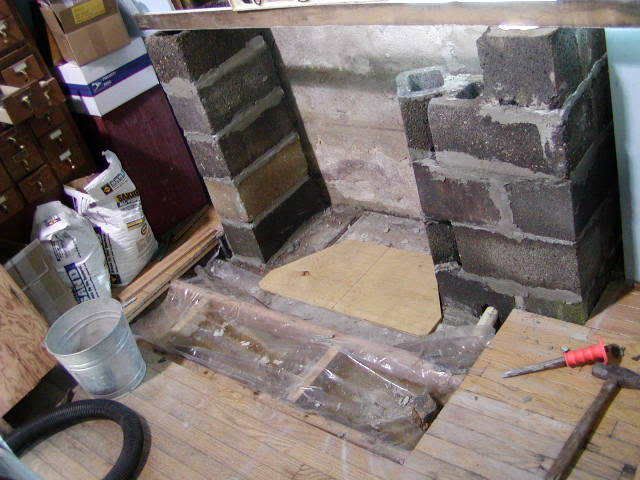
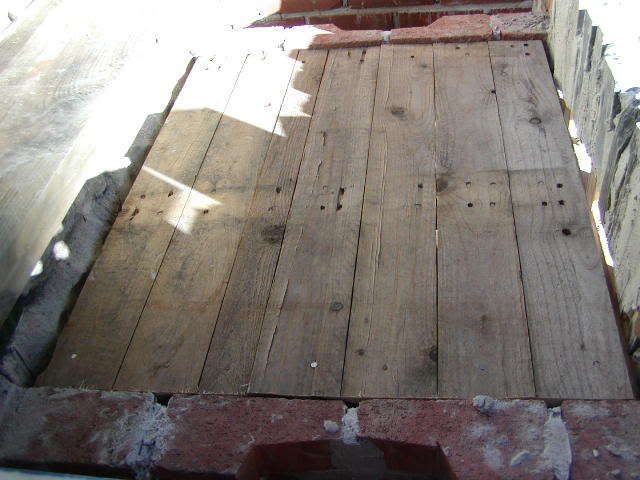
The floor and wall have been cut away to make room for the new structure, and two piers of concrete blocks have been built to support the hearth slab. As you can see, I'm working hard to maintain my reputation as worlds-worst-bricklayer.
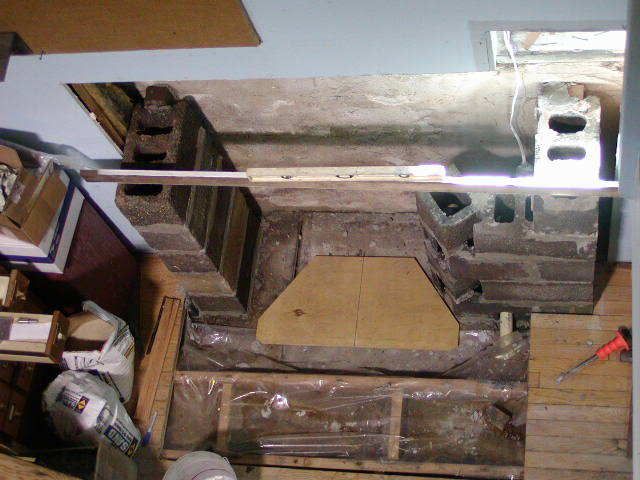
The plywood template is placed where the bottom of the fireplace will go. The fireplace is offset 12 inches from the centerline of the oven, so that the fireplace vent will go through one of the corners of the circle-in-the-square oven layout.
You can see that piece of 1-1/2 inch pvc going through the bottom of the structure: That has a dual purpose. It will be an emergency flood drain to the "basement" of the oven footings where I can put a sump pump. (it goes through the exterior block wall). It will also serve as an auxiliary air intake for the fireplace.
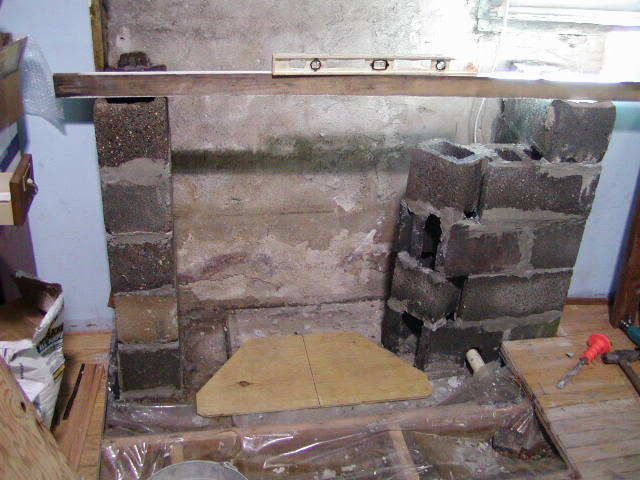
This used up the last of my craigslist free concrete blocks, and takes me up to within four inches of the bottom of the window. I'll next put on a row of half thickness concrete blocks on the top to support the slab, but not until I finish the refractory fireplace liner.Leave a comment:
-
Sweeeet!
It looks grand! I love the slate arch, it is going to look very cool Dmun. You do nice work. The blocks on the exterior of your house look like a stone veneer that should be very easy to match up. I have seen a lot of stone like that around and it looks really sweet. Nice stuff and good work lad.
ChadLeave a comment:
-
The window is toast
The top edge of the blocks below the window will be a support for my hearth slab when I pour it. The window hasn't been used for years (it's been insulated and walled over). The building was built as a two car garage in the twenties of the last century, and is now is used as part of my studio. As soon as I get the support structure built on the inside, I will bust through this wall, and the hope is that i will be able to save enough of those rusticated concrete blocks to patch the rest of the window opening. The oven will be half inside and half outside the building.
The ironic thing is that when I ripped out the wall to prepare for the construction this summer, that part of the room was flooded with light from that little window in the mornings. It makes me think that I want to encorporate a window in the upper part of the structure when I get there.Last edited by dmun; 09-17-2006, 06:55 PM.Leave a comment:
Leave a comment: