This project is the first time I've used a concrete mixer. It's not entirely intuitive, and I thought I'd share what I learned, as I never found explicit instructions elsewhere. On line concrete mixing guides lean towards "throw a shovel full of this into 32 imperial ounces of that" kind of nonsense.
First Lesson: Get a good concrete mixer.
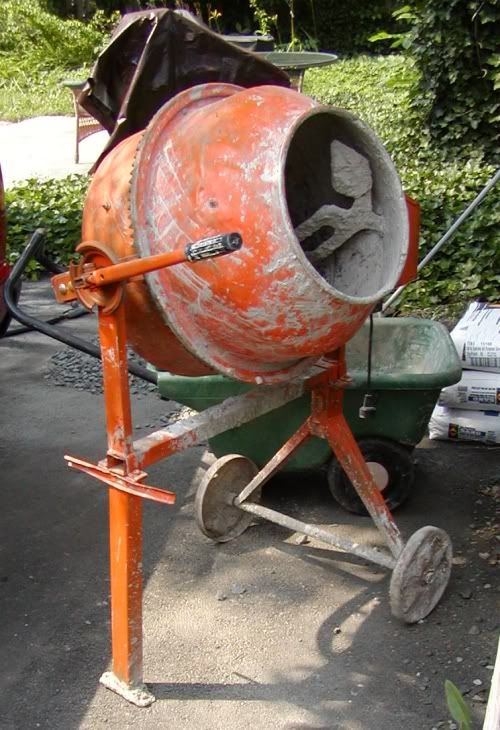
This was the first mixer which I borrowed from a friend. Here's the news: Sometimes free is too expensive. It turned, if making a lot of noise, empty, when i picked it up. It had had a hard life. The mixing blades were coated with concrete,
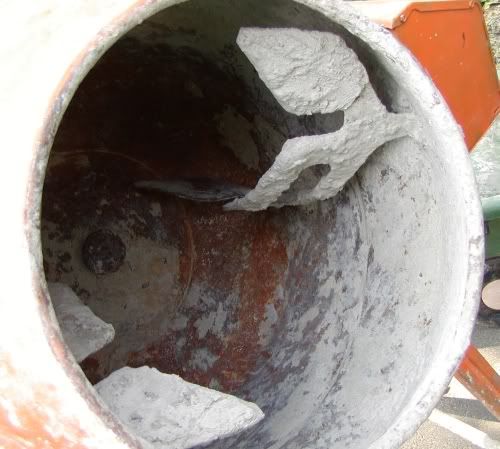
and it was really dented. It turns out that someone had tried to remove hardened concrete in the drum with a hammer, and succeeded in bending the bevel gear ring. It turns out that with even a couple of buckets of stuff in it the motor slipped and it didn't turn. Off to the rental place, to get the plastic drum model, with the smooth bumps instead of frightening blades inside. It has cushy wheels to travel uneven ground to the worksite, and the good motor and plastic drum make it half as noisy as the old one.
Lesson 2: Proportions are important
I've done masonry projects in the past, with pre-mixed bagged concrete mix, mixed half a bag at a time in the plastic mixing bin. This project is an order of magnitude bigger, and there are significant savings in cost and bag-lifting if you buy the sand, gravel and portland cement individually. Your stone yard will dump the bulk materials in your truck, and you can shovel it out at home, take your time, save your back.
The proportions are 5 to 1 aggregate to portland. This is usually shown as 2 1/2 each, 3/4" gravel and sand. My little mixer held 5 domestic buckets of material, so I would use two buckets of sand, two of gravel, and 4/5 bucket of portland.
Here's a hint about opening a bag of portland cement:
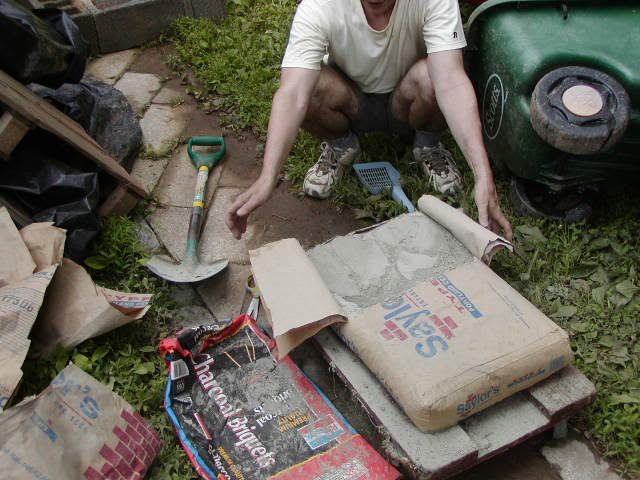
Make an "H" shaped cut in the side of the laying flat bag. 94 pounds is too heavy to pick up and pour a full bag. This way you can shovel out a lot of portland, and then have a smaller bag to pour or store the remaining cement.
First Lesson: Get a good concrete mixer.

This was the first mixer which I borrowed from a friend. Here's the news: Sometimes free is too expensive. It turned, if making a lot of noise, empty, when i picked it up. It had had a hard life. The mixing blades were coated with concrete,

and it was really dented. It turns out that someone had tried to remove hardened concrete in the drum with a hammer, and succeeded in bending the bevel gear ring. It turns out that with even a couple of buckets of stuff in it the motor slipped and it didn't turn. Off to the rental place, to get the plastic drum model, with the smooth bumps instead of frightening blades inside. It has cushy wheels to travel uneven ground to the worksite, and the good motor and plastic drum make it half as noisy as the old one.
Lesson 2: Proportions are important
I've done masonry projects in the past, with pre-mixed bagged concrete mix, mixed half a bag at a time in the plastic mixing bin. This project is an order of magnitude bigger, and there are significant savings in cost and bag-lifting if you buy the sand, gravel and portland cement individually. Your stone yard will dump the bulk materials in your truck, and you can shovel it out at home, take your time, save your back.
The proportions are 5 to 1 aggregate to portland. This is usually shown as 2 1/2 each, 3/4" gravel and sand. My little mixer held 5 domestic buckets of material, so I would use two buckets of sand, two of gravel, and 4/5 bucket of portland.
Here's a hint about opening a bag of portland cement:

Make an "H" shaped cut in the side of the laying flat bag. 94 pounds is too heavy to pick up and pour a full bag. This way you can shovel out a lot of portland, and then have a smaller bag to pour or store the remaining cement.


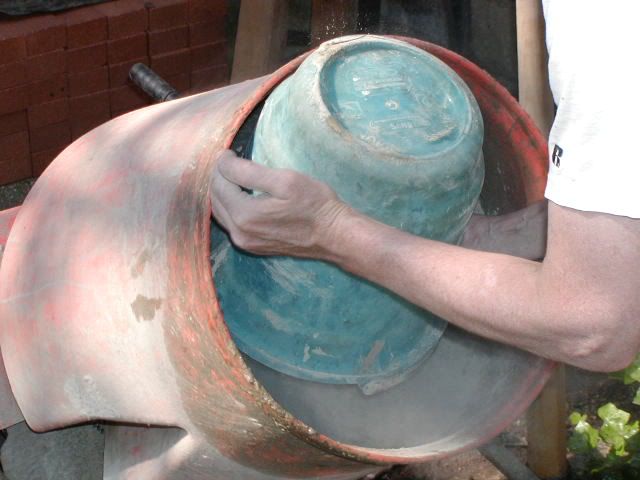
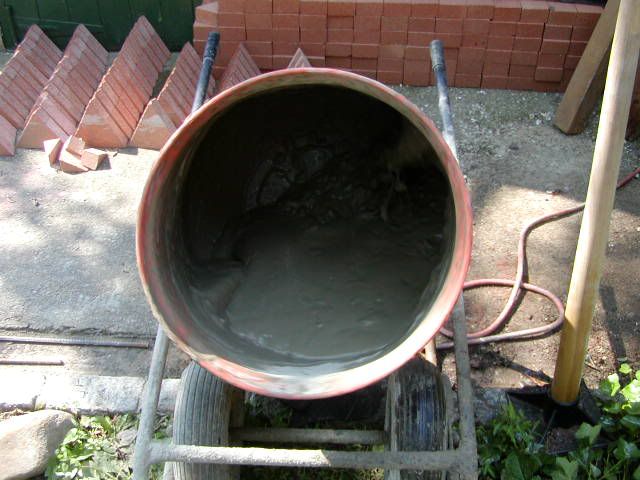
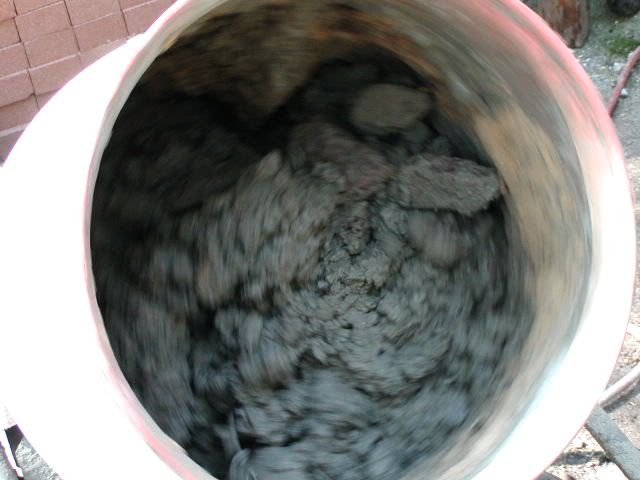


 So, by letting the drum rolling with water and stones, it cleans out itself while you relax a bit. And if you want to do a new batch you just continue with your recipe, otherwise you just empty your drum and rince the sligth mud that could stay inside with the water hose.
Comment