Announcement

Collapse
No announcement yet.

Nebraska Casa 100 build

Collapse
X
 
  • Filter
  • Time
  • Show
Clear All
new posts

  • Nebraska Casa 100 build

    Here's the start of the patio project, slab for kitchen island and Casa 100 oven was 12" thick.

    Contractors did the patio pavers and firepit.

    I did the propane gas plumbing, electric, block work, forming, ect... TON of work so far. Going on 3 months now.

    Toughest job so far was probably the drainage tile work my dad and I did. 60' of 4" drainage tile, dumps into a 12" surface drain box, then 6" drain line extends 150 ft. to the back of our lot.
    Last edited by pecker88; 08-02-2018, 01:38 PM.

  • #2
    More and more concrete forms. Finally getting to form the oven stand here. Total there were 225 blocks and ~ 70 bags of concrete. (glad I bought my own mixer!!).

    Oven sits on a 2" layer of foamglas insulation, then the 2" FB insulation that came with the kit, then oven brick floor. Last night I finished pouring the 4-3/4" tall landing area that will be covered with granite; this should bring the grant up to level with the cooking floor. I made sure to slope the landing area away from oven.

    Out of all aspects of this build so far, the oven install was the easiest. From un-crating the Casa 100 to what you see in the last photo was ~ 2 hours work, super easy.
    Last edited by pecker88; 08-02-2018, 01:49 PM.

    Comment


    • #3
      I'm going to apply refractory mortar on oven joints and around base tonight, then wrap the insulating blankets around the dome and secure with chicken wire.

      Next step is going to be the metal stud structure atop. I went to the drywall supply company and got heavy 16 gauge steel studs.


      My roof design is going to be similar to the first pic. The tallest vertical studs will be near the oven opening. The shortest will be the opposite corner.

      Stone contractor that's facing everything with natural stone wants to use natural flagstone on the roof, similar to the second pic (note the stone slabs on roof).

      I'm planning on 1/2" permabase concrete board on roof, then Redgard waterproofing membrane. The stone contractor also recommends another rubber membrane (similar to a shower pan) with a final layer of deck mud atop that, this is what the natural flagstone would be adhered to.

      How should the roofing system be prep'd for natural flagstone slabs?
      Last edited by pecker88; 08-02-2018, 01:50 PM.

      Comment


      • #4
        Finished the metal stud enclosure this weekend, completed in 1 day with help of dad and bro. in law, TON of work.
        All metal studs are 16 gauge, roof trusses are 10" apart, centered over vertical studs.

        Forgot to take pics of the Permabase cement board on the exterior. It wasn't as easy as I thought, because the concrete backer screws had to be pre-drilled in the 16 ga. studs. That resulted in the drill chuck punching almost entirely through the cement board when the bit went through the stud. We blew through 4 carbide drill bits in less then 1 hour, these studs are NOT your average 25 ga. studs from a big box store! So, we ended up using 2" diameter washers on the screws, hopefully that's OK, not much else we could do.

        Tonight's task is to frame-up and skin the chimney with concrete board, then start applying waterproofing membrane.

        Almost ready for mason!!
        Last edited by pecker88; 08-13-2018, 07:02 AM.

        Comment


        • #5
          Not sure how I'll cap the chimney, maybe a piece of flagstone?

          Applied the primer coat of waterproofing membrane. Next have to trowel on 2 more coats of waterproofing.

          Comment


          • #6
            Originally posted by pecker88 View Post
            Applied the primer coat of waterproofing membrane. Next have to trowel on 2 more coats of waterproofing.

            What waterproofing are you using?

            Comment


            • #7
              Originally posted by bentedesco View Post


              What waterproofing are you using?
              Redgard. It will only go on the cement board sides of the enclosure.

              I'm using a roll-on membrane called "Noble Deck" for the roof. That membrane will overlap about 2" from the roof down to the sides.

              Comment


              • #8
                Stone mason started/finished the grill, griddle, Primo smoker portion of the project. Countertops also went in.
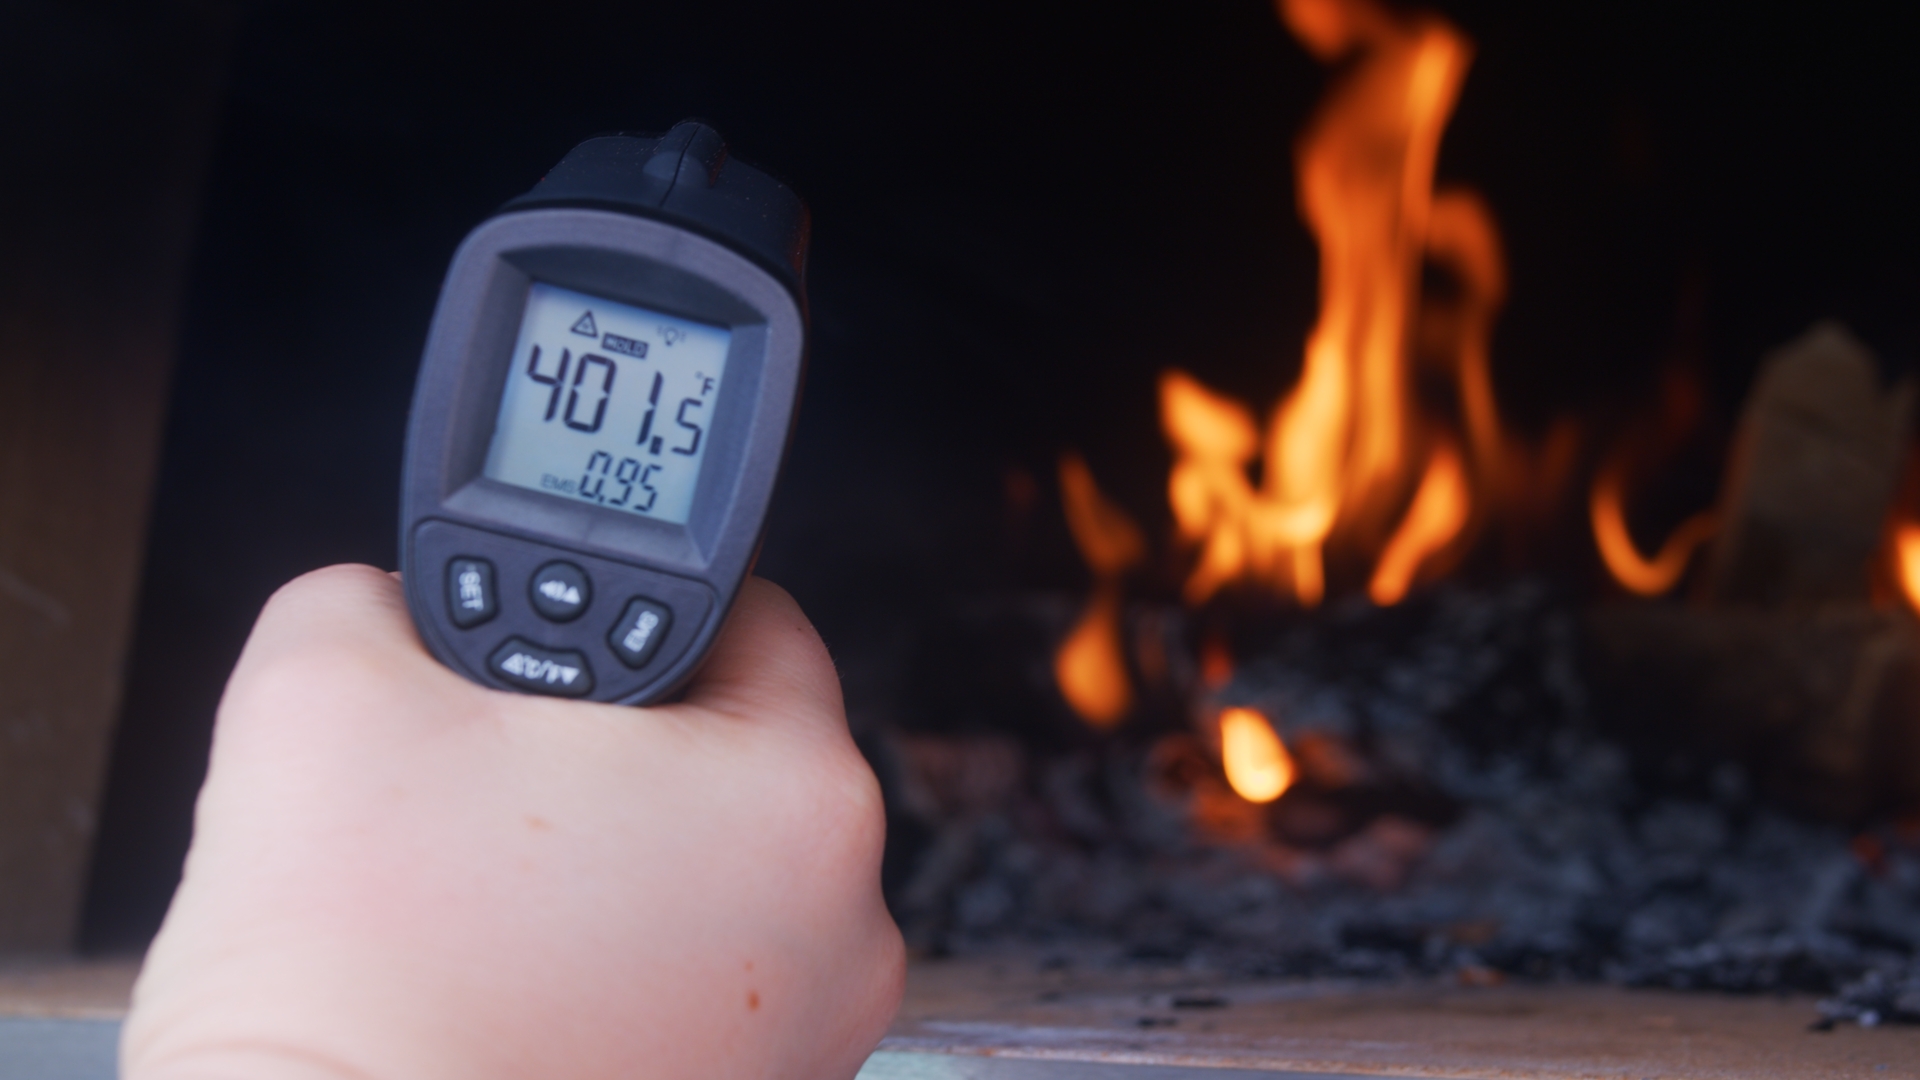
                Started a "3 log fire" for the first time in the oven, let it burn as small as possible for 6+ hours. I let the flame die out, then put the lid on the opening and 20 hours later, the temp. gauge was still reading 300 degrees. Awesome how it holds the heat.

                Yesterday started another fire that was larger; sides of enclosure seemed to be only ~20 deg. hotter then outside temp. Amazing.

                Went and got a "take-and-bake" pizza and threw that in after about 1 hour of firing. In less then 2 minutes, we had a perfectly cooked pie!!! I can't believe how great this oven works. Minimal smoke (hardly any) comes out the oven opening, it all goes up the chimney.

                Pizza cooked amazing, although I was turning it with a flat shovel! Peels get delivered later this week.

                Mason will continue stone on oven enclosure, will post updated pics till project is completed, which we can't wait for, the overall project has been HEMORRHAGING cash.
                Last edited by pecker88; 08-27-2018, 10:00 AM.

                Comment


                • #9
                  Even the Casa kits require a structured cure. Here is the FB link on curing Casa ovens. this is the point where we see a lot of builders fire too hot, too fast and damage or crack their ovens.

                  https://www.fornobravo.com/pompeii-oven/curing/
                  Russell
                  Google Photo Album [https://photos.google.com/share/AF1Q...JneXVXc3hVNHd3/]

                  Comment


                  • #10
                    I have not built a raging fire in there yet. I looked yesterday, no visible cracks from inside the dome. hopefully It's still OK.
                    Its been sitting, enclosed for 3+ weeks since using refractory mortar, ect..

                    Comment


                    • #11
                      Only going by what you said about cooking a pizza in two minutes. The FB recommended temp for day 2 firing is 350 F which will not cook a pizza in two min. Just trying to save you some anguish. Curing and letting the refractory air dry are two different things. Again take a look at the link I sent.
                      Russell
                      Google Photo Album [https://photos.google.com/share/AF1Q...JneXVXc3hVNHd3/]

                      Comment


                      • #12
                        Mason finished all the natural stone veneer; I would have never been able to do this nice of a job! Project complete. We've been amazed at how easy it is to cook in the oven. I figured at these high temps, stuff would just go up in flames and that couldn't be further from the truth. Fast cooking, but nice and even; amazing.

                        Comment

                        Working...
                        X