Announcement

Collapse
No announcement yet.

Kiwi pete'soven

Collapse
X
 
  • Filter
  • Time
  • Show
Clear All
new posts

  • #16
    (M) Peter, that mortar you used looks very pale to me. Did you use a white cement? ____

    (M) Did you use much more fire clay than called for in the 8 parts sand, 3 parts cement, and 2 parts fire clay? _____


    No, I didn't make the mortar myself. I bought special refractory mortar from a specialist refractory supplier. It is very white and has a very soft consistency.
    The supplier said that it is really designed for thin joints between flat surfaces of bricks, joint thickness up to 3 or 4 mm. He suggested to mix it with sand (about 50/50 ratio) to give it some better gap filling properties.

    My refractory concrete is also from the same supplier. This can be used for casting etc. I have used it for the manifold and to cover the top of the dome with. Not cheap though at NZ$47.- a bag (have used 2 bags so far, but still have to cast the vent, so may have to go for a third one.)

    Comment


    • #17
      You guys were right all along, and my fears about the dome collapsing were just a manifestation of my paranoia! I removed all the vanes today, and the dome did NOT collapse!.

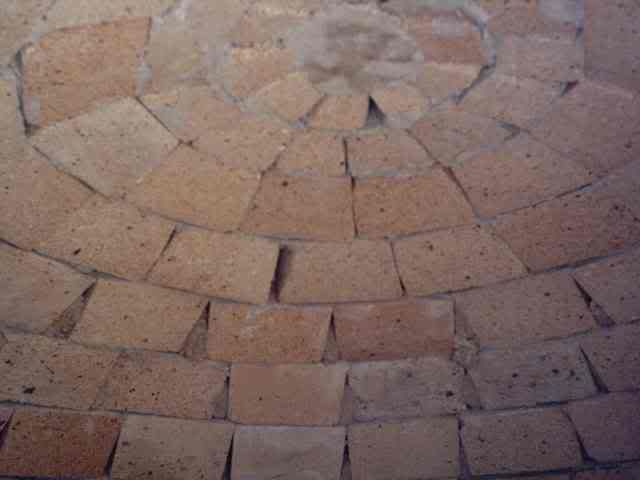
      I cleaned it all out, and here is a picture of the interior: as you can see, the fourth, fifth and sixth courses have a much better fit than courses 1, 2 and 3, because I started "shaping" the bricks from there on in. (they are not all perfect though as you can see )

      You can also see the final "plug" and that the the bricks are getting smaller in the final two courses.

      Comment


      • #18
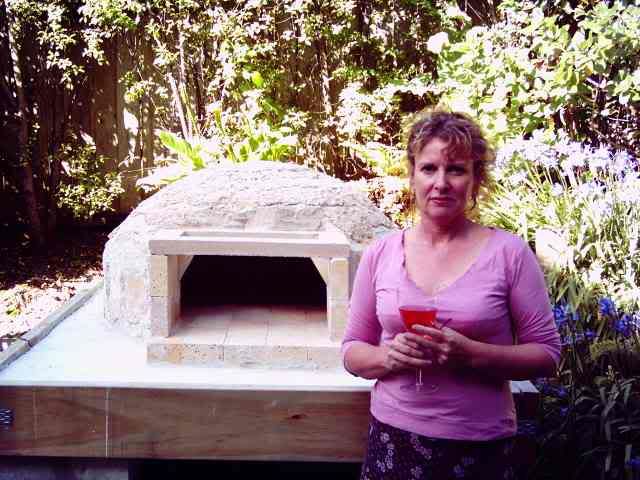
        And here is a picture of my lovely lady, celebrating the finishing of the dome with me.

        She has put up with endless amounts of dust from me cutting firebricks and lots of other things, without complaining: she is a GEM!

        Comment


        • #19
          I have started myfirst "curing" fire tonight.

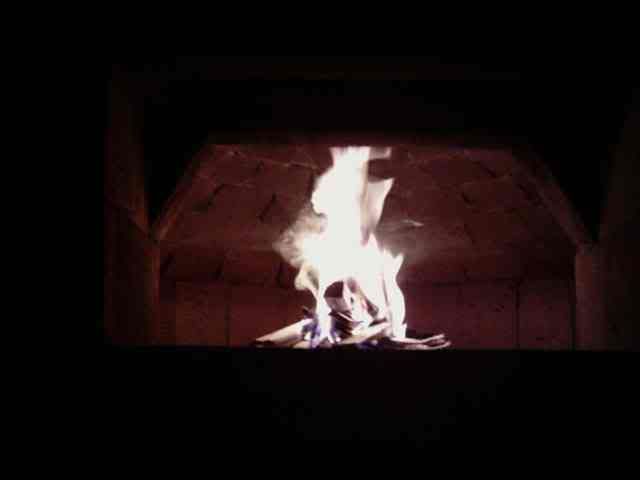
          It is amazing how the oven vents: the bottom 4 inches of the oven draw in the cold air perfectly, and the top half vents the hot air. You can put your hand on the oven floor no worries, and yet the air coming out of the vent is hot.

          You can actually see the separation in this picture:


          I'm pretty happy with the results!!!

          Comment


          • #20
            congratulations!
            -Paul
            overdo it or don't do it at all!

            My 2005 pompeii build

            Comment


            • #21
              Well after all that work, I have fired the oven a few times.

              Last night, when we fired it up quite high, we could see some cracks where the bricks meet the "manifold". At night, you could actually see the fire inside through the cracks!! after having read Aikitarik's thread on "how much crack is too much crack", I have decided to completely ignore to cracks (particularly the one by the manifold) because I was going to cast the vent and seal that area up with more refractory concrete anyway...

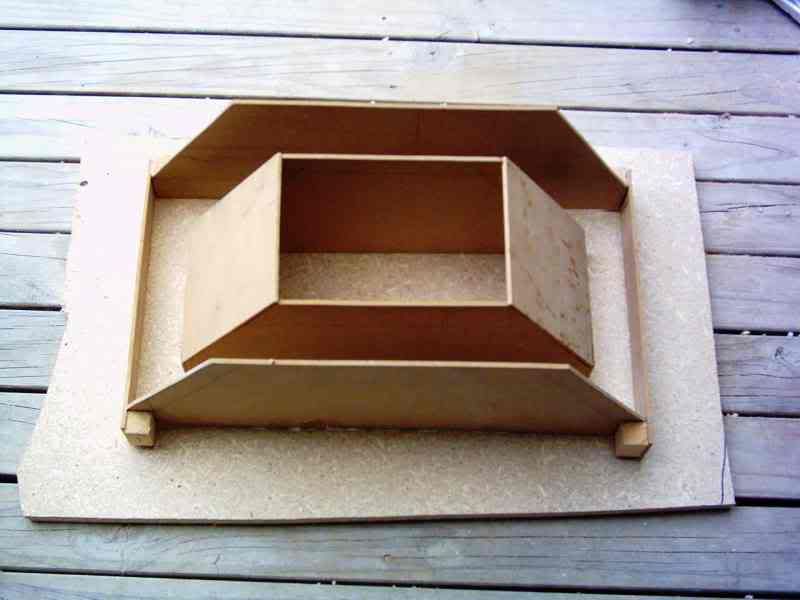
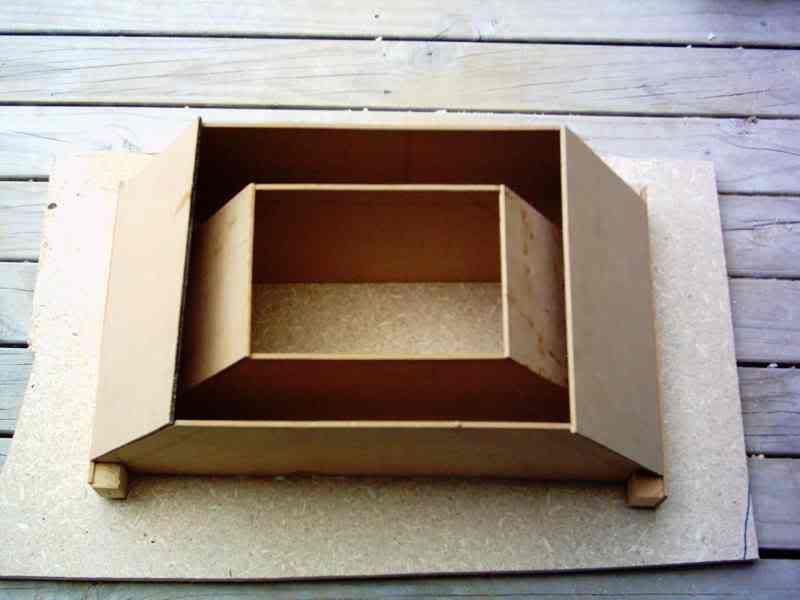
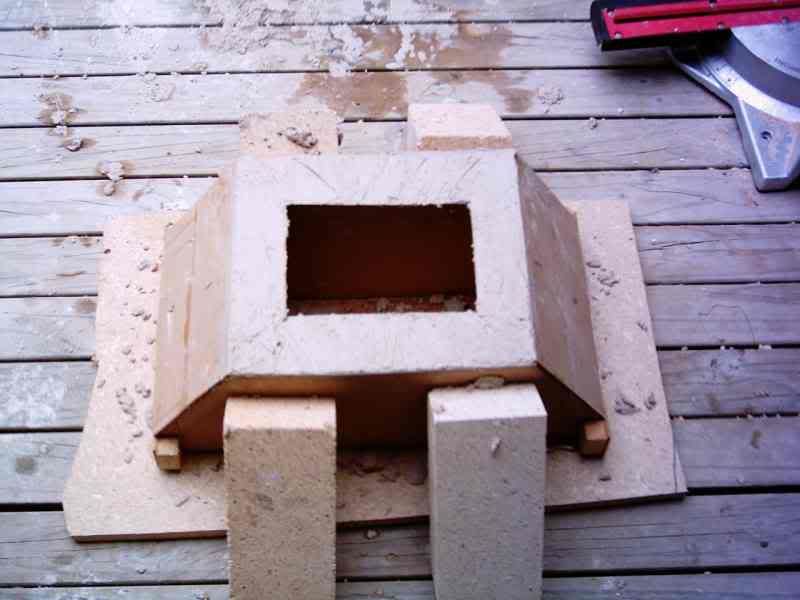
              Here are some picture of the mold I made to pour the vent:


              and again:


              and here is a picture after I poured the concrete.
              The sidewalls started bulging out a bit, so I propped them up with a couple of fire bricks on either side.

              Comment


              • #22
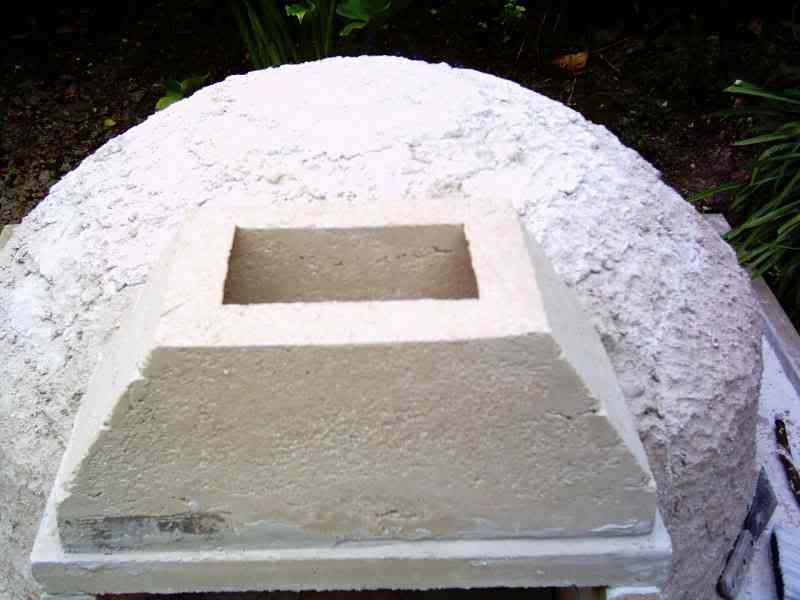
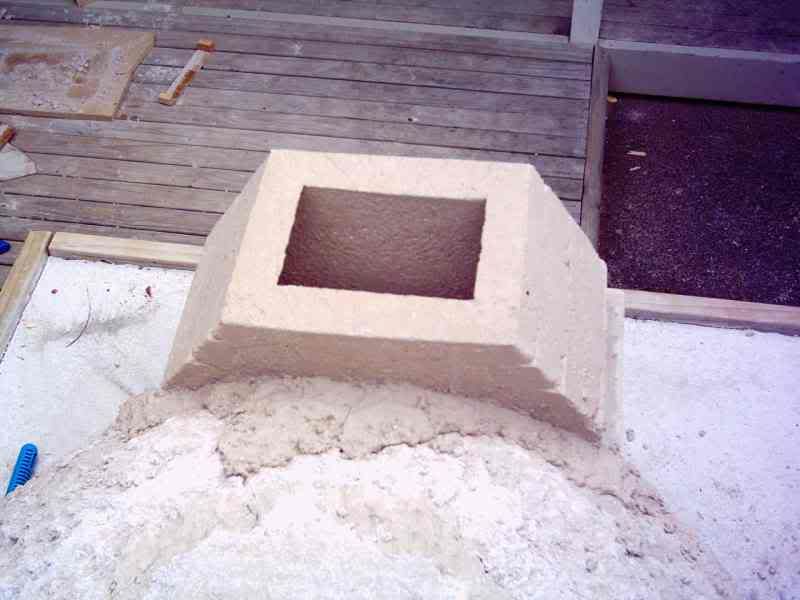
                And here are some pics of the vent mortared in place, from a few different angles:


                and again from the top view:


                and finally from the side view:


                All that remains now (before I can start using the oven in earnest), is to pour a casting for the "top plate" which will hold the flue and start insulating this baby, using a 3" blanket and perlcrete. I'm a great believer in spending money on insulation! All in all, a fair bit of work to do, before we go live...

                Comment


                • #23
                  Spring in New Zealand

                  KiwiPete,

                  Haven't heard from you for a while. How's spring coming along? I couldn't help notice the bulbs coming up around the oven. Frost and fog in Northern California, and it's time to prune the vineyard. Do you roast turkey or chicken for the holidays -- will the oven be ready to roast by then?

                  Keep up the great work. Are you going to use woven ceramic insulation? Do you get Insulfrax there?

                  Waiting on more photos of your cat...

                  James
                  Pizza Ovens
                  Outdoor Fireplaces

                  Comment


                  • #24
                    Dome shape and performance

                    Hi KiwiPete,

                    Congratulations on that nice looking oven!

                    Looking and the pictures of your dome, it seems to me that you went the low vault route which I like myself. Could you post a drawing of your dome profile, or vanes that you used to support it while laying bricks?

                    Since I am interested in building a 36" dome with 1/3 bricks too (3" wall thickness), I would like to hear from you some comments on how the oven performs. Can you reach high temperatures of 900F+ that are already achieved with 4.5" wall thickness?

                    Thanks,
                    Mike

                    Comment


                    • #25
                      Hi Guys,

                      another update from Kiwi Country.

                      with regards to the questions:

                      James: Yes, I am using an insulating blanket. I have found a product called "Rockwool" that is rated to 650C, so should be OK. I'm have bought a blanket of this stuff which is 3-4 inches thick, so I should be "well" insulated with another 1-2 inches of perlcrete on top of that...

                      Don't think the oven will be ready for Xmas, and I still have lots to learn about fire management.

                      on another matter James, How much would it cost to ship a 55lbs bag of Caputo flour to New Zealand (cheapest shipping options possible..)

                      I'll post some more pics in a moment.


                      ljanmi2:

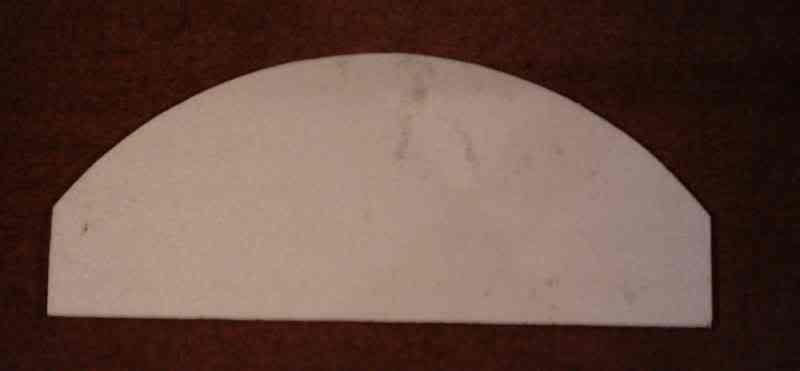
                      My dome profile is: 36 inch diameter, 15 inch height in the middle and the first row of bricks is 6 inches high.

                      Can't give you any feedback on temperatures yet, since I haven't tried to crank it up to the working temperature yet, until I have finished insulating the oven. As soon as I know, I'll post it.

                      For your interest: my brick size is 9 x 4.5 x 3 and I have used about 100 bricks to build both the hearth and the dome.

                      Here is a picture of my vane profile:

                      Comment


                      • #26
                        Some more pics!

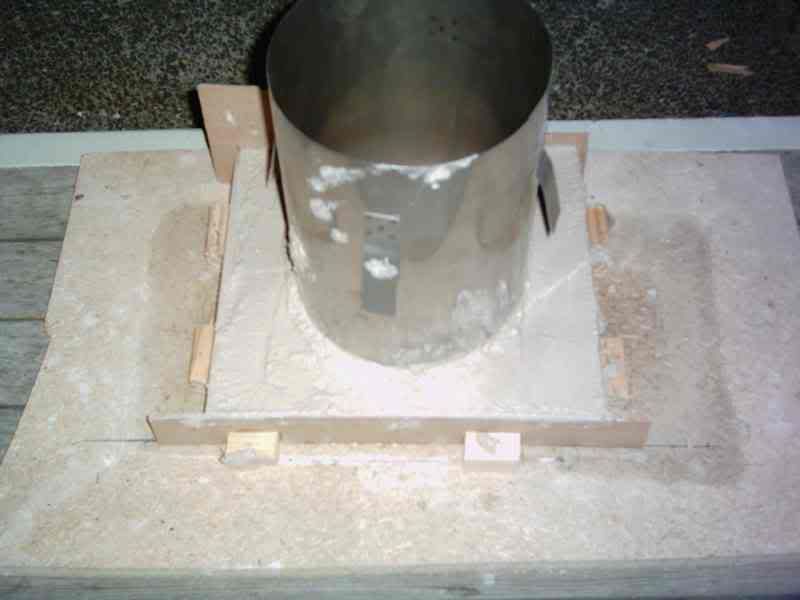
                        I have cast a top plate which holds the first part of the flue.

                        here is a picture of the mold:


                        and here is a picture of the top place mortared in place together with the rest of the flue:


                        and again :

                        Comment


                        • #27
                          Have started on the insulation part.

                          I bought a blanket which is 3-4 inches thick and has a wire backing, so it is quite good to "shape".

                          I read on the Forno Bravo site a long time ago, that you can't have too much insulation, hence the super thick blanket.

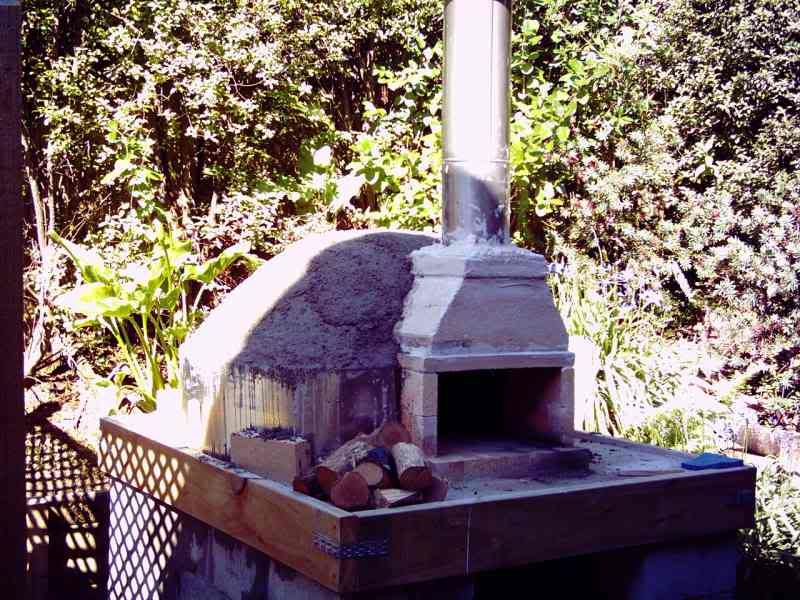
                          here are some pics after I finished wrestling it in place (with wire etc to keep it all tight):


                          and from a different angle:

                          Comment


                          • #28
                            Putting that blanket on was quite a mission!the "Rockwool" stuff is great but you don't want the fibres to get into your skin, because it irritates the hell out of it.

                            So there I was on a hot summers days, dressed in long pants, T-shirt and overalls and wearing rubber gloves, trying to fit this blanket. I think i lost about 5kgs in fluid during the course of the afternoon!

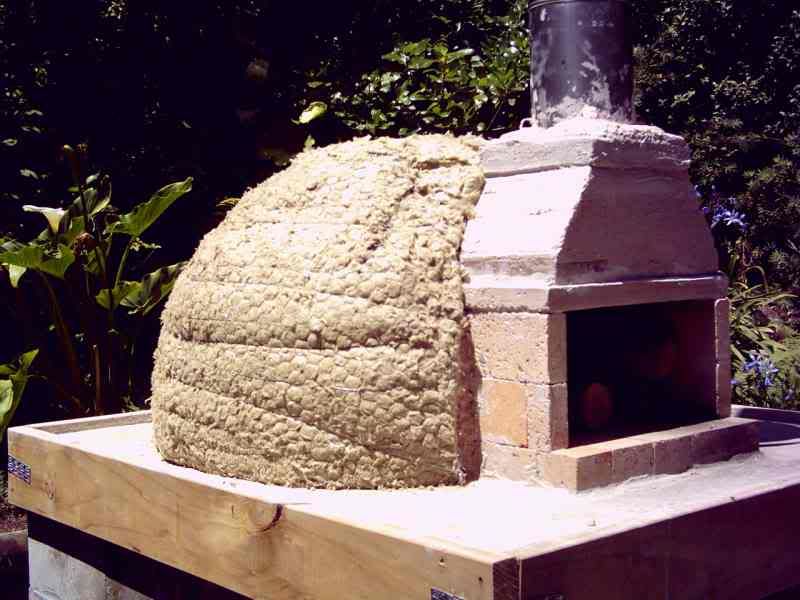
                            After I got it all on and shaped more or less the way I wanted it to be, I grabbed a piece of flashing approx 1 foot high and put that around the dome with a 1-2 inches gap between the flashing and the dome.

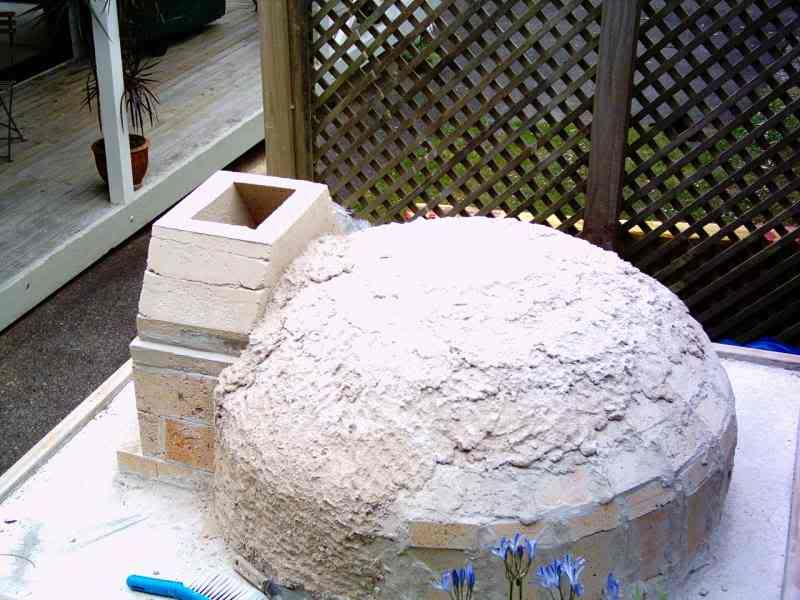
                            Then I poured perlcrete into the gap and tamped it down. The rest of the dome was covered by "gooping" it on by hand, as you can see in the pic:


                            the flashing doesn't go all the way around, so I will have to do it in 2 stages: Some more work for Monday or Tuesday!

                            Comment


                            • #29
                              Great Job!!!!!

                              Will you be posting more pics when this is finnished? I'm curious to see how the front is finnished. Hopefully, if all goes well this summer, I will be building one in my small backyard.

                              Thanks,
                              Bruce.

                              Comment


                              • #30
                                Sure Bruce,

                                happy to post some more pics.

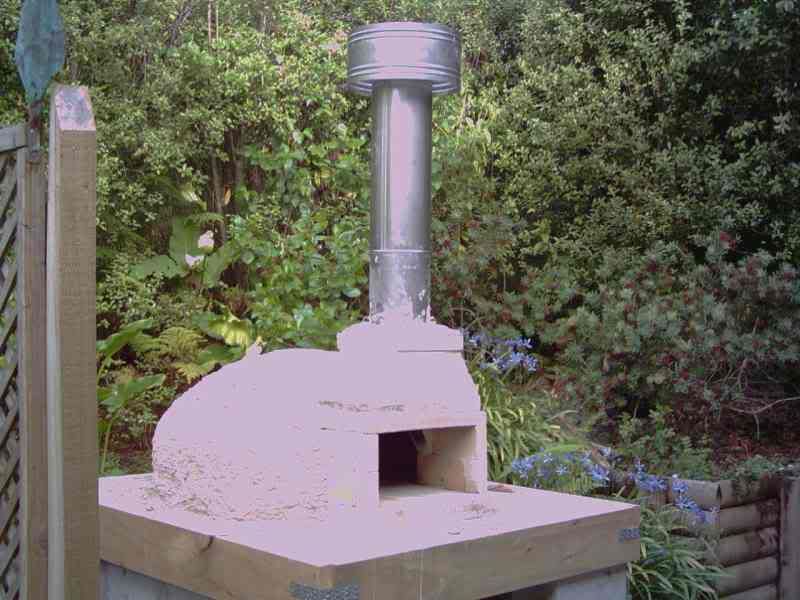
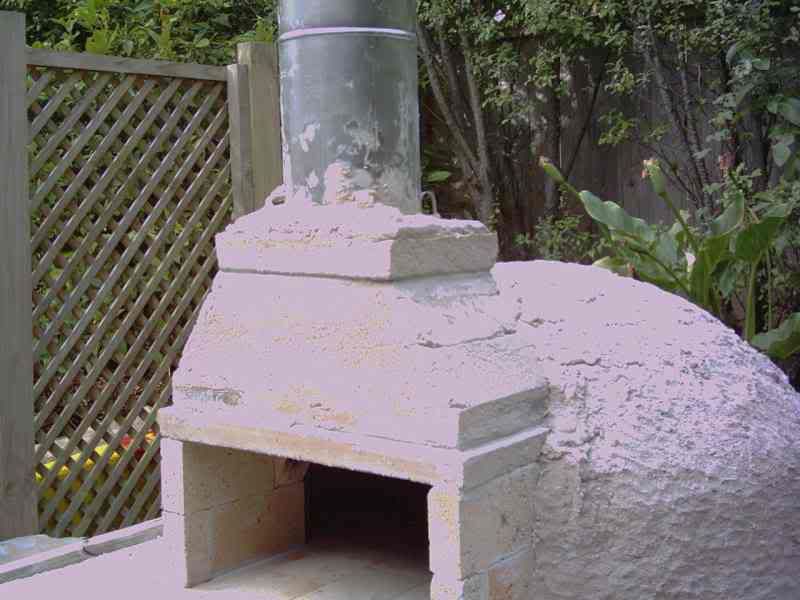
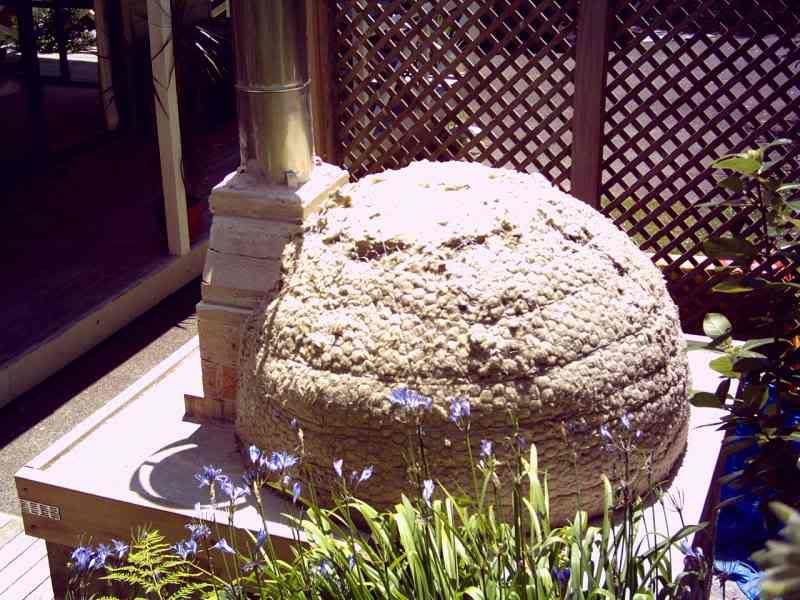
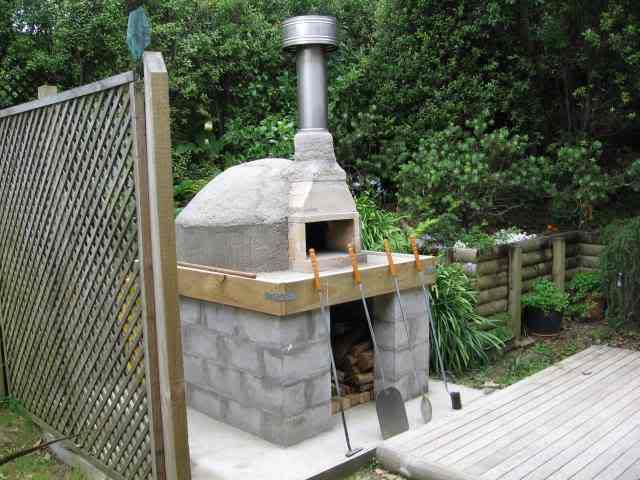
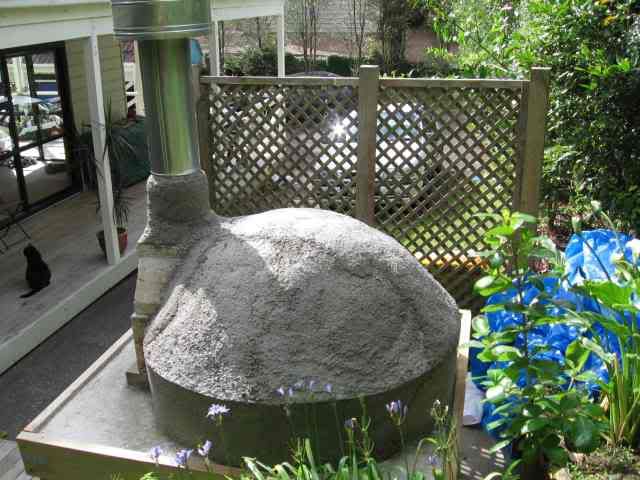
                                I am now at the stage where all the insulation work (Rockwool blanket and perlite) is finished.

                                I gave it a few days to dry out out properly and here is the result:


                                and here is another shot from the backside:


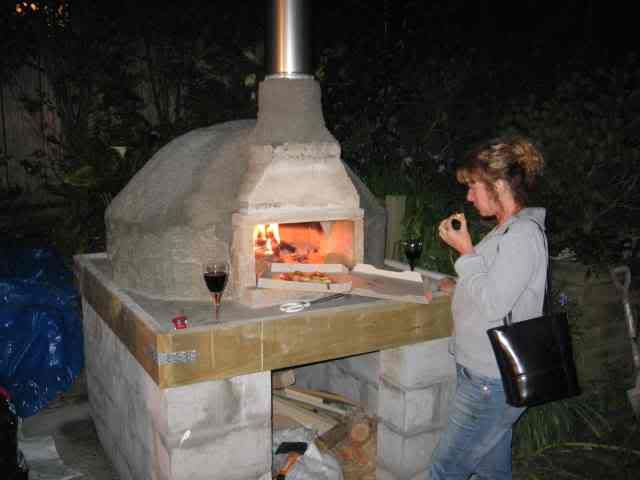
                                I wanted to stoke a decent fire in there (for testing purposes) and so we did, later on in the evening. I didn't have any dough and didn't have any time either, so we "pretended" and got take-away pizza and ate it by the fire of the pizza oven...

                                Comment

                                Working...
                                X