Re: K's Creations
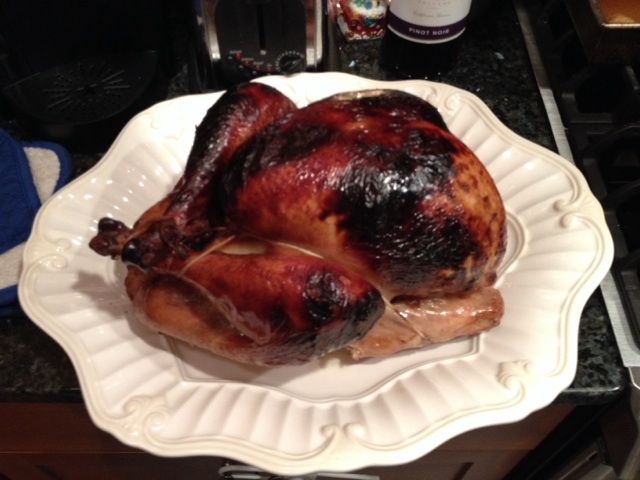
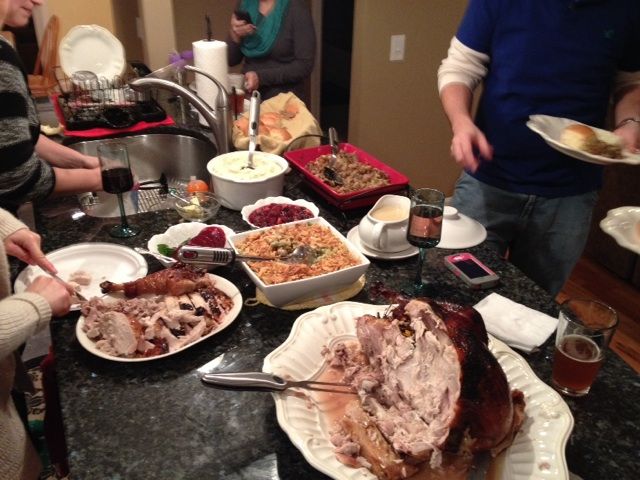
Ok so I followed this recipe for our Thanksgiving Turkey. It is NOT my recipe I got it off of this website. FANTASTIC !! Half of the people that ate it said it was the best turkey they have ever eaten !! I agree !! The other half raved and raved how good it was.
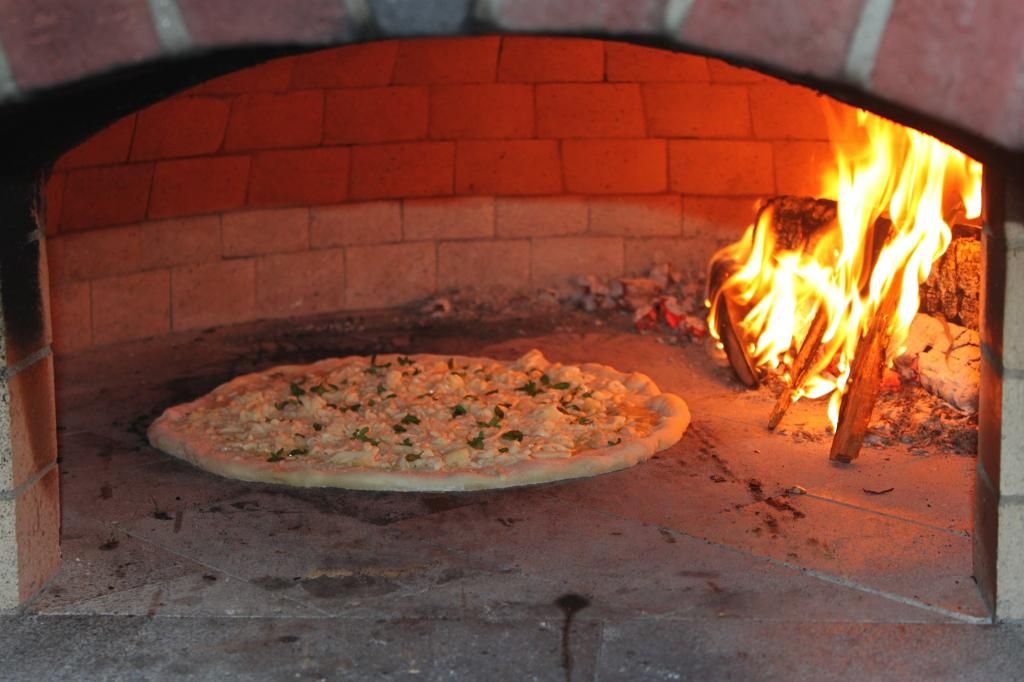
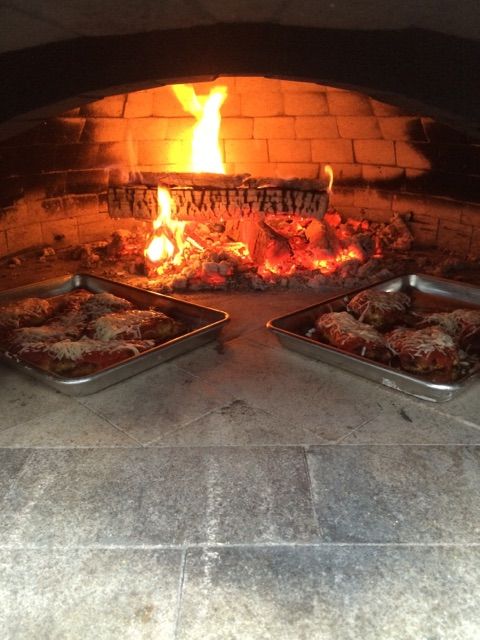
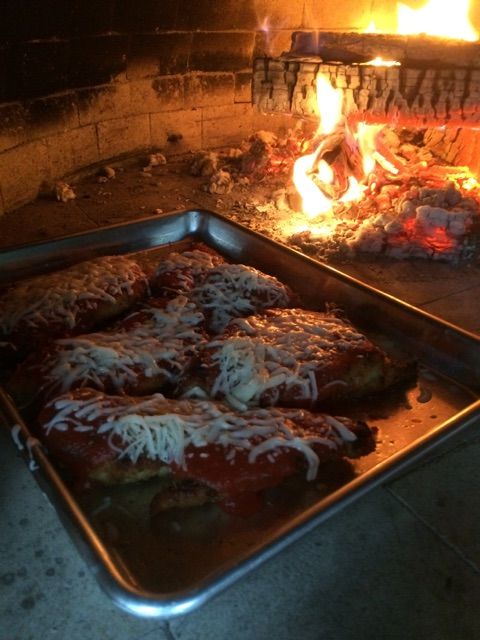
Here are some photos:
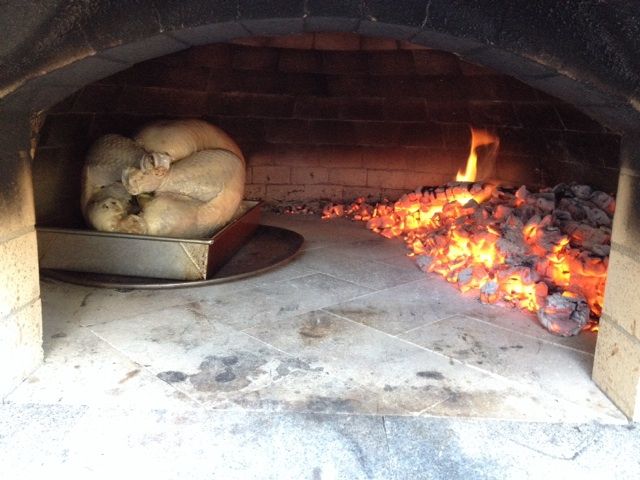
Mine was a 16 lb. turkey and cooked for 4 hours. I removed half of the coals in the picture below minutes into roasting as I became aware very quickly it was wayyyyy to hot I put some 1" or smaller pieces of applewood and oak on the coals every 30 minutes or so. Had a great smoky flavor. Used some of the drippings in the gravy and it was amazing.
Forno Bravo Community Cookbook
Wood-Oven Roasted Thanksgiving Turkey
Posted on November 28, 2011 by admin
what follows is my treatise on roasting a holiday turkey in a wood-fired oven. this was my first try at roasting a bird in the oven, but the results were pretty delicious, if i do say so. my thanksgiving guests are willing to back me up, so i?ll take that as enough proof that this is a method worth sharing. as with any wood-oven cooking, results may vary. i?m working with a primavera 60 model oven, and this particular turkey was approximately 12.5 pounds. by my guess, the primavera 60 could probably fit up to a 15- or 16-pound turkey, but not much past that. on to the cooking!
for the brine:
1/2 gallon water
1 c kosher salt
1 c dark brown sugar
2 oranges
2 lemons
1 tbs whole black peppercorns
1/2 bunch fresh parsley
2 sprigs fresh sage
6 sprigs fresh thyme
1/2 yellow onion, sliced
1/2 head garlic, cut in half
4 lbs ice
for the turkey:
4 tbs butter, softened
1 orange
1 lemon
2 sprigs fresh sage
4 sprigs fresh thyme
3 ft (or so) butcher?s twine
4 carrots
4 ribs celery
2 yellow onions
2-3 sheets aluminum foil
the day before you want to cook, combine all the brine ingredients except the ice and bring to a boil. for the oranges and lemons, use a vegetable peeler to remove the zest and add that, along with the juice from each fruit, to the brine. discard the rest of the fruit. once the brine has come up, remove from the heat to a container big enough to hold your turkey. add the ice to cool the brine.
(this is a good tip when doing any sort of brining ? instead of waiting around for your brine to cool, always halve the amount of water the brine calls for and make up the rest in ice. a pint of water weighs exactly 1 pound, so it?s always easy to convert volume to weight. so, for example, with this brine we need one gallon of water total. we use half a gallon to steep the aromatics and dissolve the salt and sugar, and then cool it down with 4 pounds of ice: 4 pounds of ice equals 4 pints of water, and 4 pints equals 2 quarts, or half a gallon, of water. done and done.)
place your turkey in the brine breast-side down and store, refrigerated, overnight. (another aside: if you don?t have a big enough refrigerator to hold your bird in the brine, do your brining in a cooler. if you?re working in a cold-weather area, just stow away the cooler outside or in an unheated garage. otherwise throw some ice packs in the brine with the turkey, seal up the cooler, and you should be good to go.)
the next morning, remove the turkey from the brine and allow it to sit on your counter, uncovered, for at least an hour. this will allow the bird to dry off somewhat, as well as temper, which will make for much more even cooking. meanwhile, get your oven burning. you want a nice hot, but not blazing, oven to roast in. i fired my oven and held it at around 450F for an hour before i put the bird in.
to prepare the turkey for roasting, first rub with the butter. apply some to the outside of the bird, and then, using your finger, gently separate the skin from the breast meat to form a pocket. work the rest of the butter under the skin so that it covers the breast meat. slice up the orange and the lemon and insert them into the cavity along with the sage and thyme. next use the twine to truss the bird. i won?t go into yet another long aside on trussing, but i will say that a trussed bird will cook more evenly and will look nicer on the platter as a finished product. go online and you should be able to find a number of illustrated guides to trussing a bird in about 2 seconds. next, roughly chop the carrots, celery and onions and place in the bottom of your roasting pan. if you have a roasting rack , place this on top of the mirepoix and put your turkey on the rack. otherwise, the turkey can sit directly on top of the mirepoix with no ill effects.
now, at long last, we?re ready to cook. i put my turkey in the oven with my door thermometer reading about 450F. i also made sure to keep a small stick or two of wood smoldering in the back of the oven at all times to impart a nice smokey flavor to the meat. my finished bird had an assertive, but by no means overpowering, smokiness that everyone loved. after about 10 minutes, i rotated my bird 180 degrees. after 20 minutes, i already had nice color on the skin, so i tented the bird with the foil. this will allow your turkey to continue cooking while minimizing additional browning. if your bird hasn?t taken on sufficient color after 20 minutes, allow it to continue cooking uncovered until it gets where you want it. after you?ve tented your bird, allow it to continue roasting, rotating every half hour or so, until a thermometer inserted between the thigh and breast reads 160F. for my 12.5 pounder, my total cooking time was about 2.5 hours. by the end of cooking, my oven door thermo reading was hovering somewhere around 300F. remove your turkey from the oven and allow it to rest for at least 20 minutes before carving.
based on informal polling, this was probably the best thanksgiving turkey my family ever had, so give it a shot and you won?t be disappointed. oh, and don?t forget to make some delicious smokey gravy from the drippings in the bottom of the pan. good luck and good cooking.
Ok so I followed this recipe for our Thanksgiving Turkey. It is NOT my recipe I got it off of this website. FANTASTIC !! Half of the people that ate it said it was the best turkey they have ever eaten !! I agree !! The other half raved and raved how good it was.
Here are some photos:
Mine was a 16 lb. turkey and cooked for 4 hours. I removed half of the coals in the picture below minutes into roasting as I became aware very quickly it was wayyyyy to hot
 I put some 1" or smaller pieces of applewood and oak on the coals every 30 minutes or so. Had a great smoky flavor. Used some of the drippings in the gravy and it was amazing.


Forno Bravo Community Cookbook
Wood-Oven Roasted Thanksgiving Turkey
Posted on November 28, 2011 by admin
what follows is my treatise on roasting a holiday turkey in a wood-fired oven. this was my first try at roasting a bird in the oven, but the results were pretty delicious, if i do say so. my thanksgiving guests are willing to back me up, so i?ll take that as enough proof that this is a method worth sharing. as with any wood-oven cooking, results may vary. i?m working with a primavera 60 model oven, and this particular turkey was approximately 12.5 pounds. by my guess, the primavera 60 could probably fit up to a 15- or 16-pound turkey, but not much past that. on to the cooking!
for the brine:
1/2 gallon water
1 c kosher salt
1 c dark brown sugar
2 oranges
2 lemons
1 tbs whole black peppercorns
1/2 bunch fresh parsley
2 sprigs fresh sage
6 sprigs fresh thyme
1/2 yellow onion, sliced
1/2 head garlic, cut in half
4 lbs ice
for the turkey:
4 tbs butter, softened
1 orange
1 lemon
2 sprigs fresh sage
4 sprigs fresh thyme
3 ft (or so) butcher?s twine
4 carrots
4 ribs celery
2 yellow onions
2-3 sheets aluminum foil
the day before you want to cook, combine all the brine ingredients except the ice and bring to a boil. for the oranges and lemons, use a vegetable peeler to remove the zest and add that, along with the juice from each fruit, to the brine. discard the rest of the fruit. once the brine has come up, remove from the heat to a container big enough to hold your turkey. add the ice to cool the brine.
(this is a good tip when doing any sort of brining ? instead of waiting around for your brine to cool, always halve the amount of water the brine calls for and make up the rest in ice. a pint of water weighs exactly 1 pound, so it?s always easy to convert volume to weight. so, for example, with this brine we need one gallon of water total. we use half a gallon to steep the aromatics and dissolve the salt and sugar, and then cool it down with 4 pounds of ice: 4 pounds of ice equals 4 pints of water, and 4 pints equals 2 quarts, or half a gallon, of water. done and done.)
place your turkey in the brine breast-side down and store, refrigerated, overnight. (another aside: if you don?t have a big enough refrigerator to hold your bird in the brine, do your brining in a cooler. if you?re working in a cold-weather area, just stow away the cooler outside or in an unheated garage. otherwise throw some ice packs in the brine with the turkey, seal up the cooler, and you should be good to go.)
the next morning, remove the turkey from the brine and allow it to sit on your counter, uncovered, for at least an hour. this will allow the bird to dry off somewhat, as well as temper, which will make for much more even cooking. meanwhile, get your oven burning. you want a nice hot, but not blazing, oven to roast in. i fired my oven and held it at around 450F for an hour before i put the bird in.
to prepare the turkey for roasting, first rub with the butter. apply some to the outside of the bird, and then, using your finger, gently separate the skin from the breast meat to form a pocket. work the rest of the butter under the skin so that it covers the breast meat. slice up the orange and the lemon and insert them into the cavity along with the sage and thyme. next use the twine to truss the bird. i won?t go into yet another long aside on trussing, but i will say that a trussed bird will cook more evenly and will look nicer on the platter as a finished product. go online and you should be able to find a number of illustrated guides to trussing a bird in about 2 seconds. next, roughly chop the carrots, celery and onions and place in the bottom of your roasting pan. if you have a roasting rack , place this on top of the mirepoix and put your turkey on the rack. otherwise, the turkey can sit directly on top of the mirepoix with no ill effects.
now, at long last, we?re ready to cook. i put my turkey in the oven with my door thermometer reading about 450F. i also made sure to keep a small stick or two of wood smoldering in the back of the oven at all times to impart a nice smokey flavor to the meat. my finished bird had an assertive, but by no means overpowering, smokiness that everyone loved. after about 10 minutes, i rotated my bird 180 degrees. after 20 minutes, i already had nice color on the skin, so i tented the bird with the foil. this will allow your turkey to continue cooking while minimizing additional browning. if your bird hasn?t taken on sufficient color after 20 minutes, allow it to continue cooking uncovered until it gets where you want it. after you?ve tented your bird, allow it to continue roasting, rotating every half hour or so, until a thermometer inserted between the thigh and breast reads 160F. for my 12.5 pounder, my total cooking time was about 2.5 hours. by the end of cooking, my oven door thermo reading was hovering somewhere around 300F. remove your turkey from the oven and allow it to rest for at least 20 minutes before carving.
based on informal polling, this was probably the best thanksgiving turkey my family ever had, so give it a shot and you won?t be disappointed. oh, and don?t forget to make some delicious smokey gravy from the drippings in the bottom of the pan. good luck and good cooking.




Comment