


 Tweet
Tweet
Re: Casa90 Build
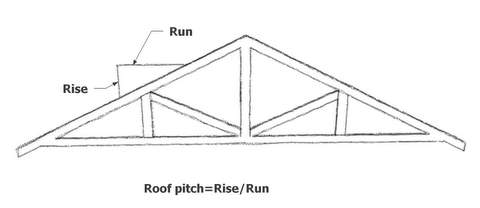
Cheesesteak - that is what I thought but it's hard to get sarcasm in writing. Two questions..what is 3/1 slope, and what is a drip edge and ridge?
Cheesesteak - that is what I thought but it's hard to get sarcasm in writing. Two questions..what is 3/1 slope, and what is a drip edge and ridge?


Comment