Announcement

Collapse
No announcement yet.

Lancer's Philippine Build, Close to Australia Anyhoo...

Collapse
X
 
  • Filter
  • Time
  • Show
Clear All
new posts

  • Lancer
    replied
    Re: Lancer's Philippine Build, Close to Australia Anyhoo...

    It half worked. We get a partial reaction with some of the limestone dissolving into bubbly quicklime while the rest just sits there. We need another hundred degrees. So, we're going to half fill the kiln with charcoal and the other half with limestone, then wrap the whole thing with insulation...which might melt. Put a reflective side in and hope for the best.

    If nothing else the bricks are really well fired.
    Last edited by Lancer; 12-10-2013, 10:22 PM.

    Leave a comment:


  • Lancer
    replied
    Re: Lancer's Philippine Build, Close to Australia Anyhoo...

    Don't know what it weighs but I think one of the smaller 6 bags which makes up a larger bag is a standard cement sack. So, 6 cement sacks.

    I guess I better quit complaining about the cost of charcoal.

    Leave a comment:


  • brickie in oz
    replied
    Re: Lancer's Philippine Build, Close to Australia Anyhoo...

    Originally posted by Lancer View Post

    The big sacks cost P360 each and there was 2 in last nights burn, or P720, or slightly less than $17 USD. That makes it a tad spendy to do this.

    I occasionally buy charcoal and a 10kg bag costs A$15......

    Leave a comment:


  • Lancer
    replied
    Re: Lancer's Philippine Build, Close to Australia Anyhoo...

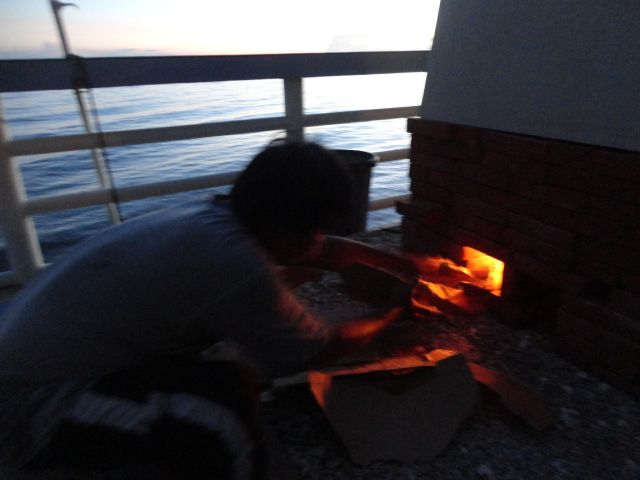
    Did the 2nd burn last night with the epil epil charcoal, used a regular 220V fan. It was hotter than hell, but was it hot enough? Still too hot to disassemble at this time, try a piece of limestone either this evening or tomorrow when the kiln is disassembled, see if it goes through the endothermic reaction when water is added. Late last night it started raining so I ran down and covered the kiln with a beach umbrella. I was very concerned it would burn but the fabric was high enough over the top and the heat was much reduced by this time. The base which actually went into the oven is metal. The kiln was still very hot and I'm sure it quickly cooked off what drops got in. Got pics of the process excepting the midnight beach umbrella Charlie Chaplin act, which I'll put up eventually. For now just imagine the brick kiln from last time, 6" taller, partially buried in sand and wrapped in hardiflex and sheet metal with a sheet of aluminum on top raised a couple inches by a few bricks. That reflected heat back down. After the fire took the fan was switched from slow to medium and even high for a while. Once the smoke cleared I switched it back down to medium, didn't want to blow away too much heat.

    I really hope this worked.

    There are 6 sacks of charcoal in each BIG sack. Its the smaller sacks that cost P60 each. The big sacks cost P360 each and there was 2 in last nights burn, or P720, or slightly less than $17 USD. That makes it a tad spendy to do this. I much preferred when I thought it was 2 sacks at P60, or a sack and a half for the first burn.
    Last edited by Lancer; 12-09-2013, 10:28 PM.

    Leave a comment:


  • Lancer
    replied
    Re: Lancer's Philippine Build, Close to Australia Anyhoo...

    I'm pleased with them so far. I saw bricks like these made by the same guy in action in a stove exposed to intense direct flame and not at all cracked. One thing I was concerned about was the heat being too intense in the kiln and cracking the bricks but it was only up to 700F which is close to pizza oven temps and so far so good, no cracks. Next week with the new coal and a 12V fan blowing in the side we'll try again to crack them.

    As you say, uniform in size too. The potter may yet end up with pizza invite for his efforts.

    Leave a comment:


  • cobblerdave
    replied
    Re: Lancer's Philippine Build, Close to Australia Anyhoo...

    Gudday lancer
    Thanks for the clarification. I couldn't help noticing the bricks they don't look to bad, they certainly are uniform.
    Regards dave

    Leave a comment:


  • Lancer
    replied
    Re: Lancer's Philippine Build, Close to Australia Anyhoo...

    Brickie was here! :b:

    Leave a comment:


  • Lancer
    replied
    Re: Lancer's Philippine Build, Close to Australia Anyhoo...

    Glad you're enjoying Utah. We are wholeheartedly embracing the return to what passes for normal! Ice in an evening drink, cold sodas, a fan when the breeze dies, the internet. Great fun Christmas shopping... Haven't had an aftershock in days.

    Doesn't have to be hot cobblerdave. Once the limestone gets hot enough it becomes quicklime. Looks the same but its rather caustic. It can cool down to the prevailing temps, doesn't matter. Once you're ready to make hydrated or slaked lime just add water, and heat will result. Chemical reaction plus the limestone will be so incredibly dry that it will boil and bubble when water is added. Immediately can be used to paint something if a lot of water is added or putty or mortar if less is added. The refractory mix will be a lot more involved than just slaked lime, but alone its very useful. We have 4 cubic meters of white limestone, enough for a lot more than just the pizza oven. Ought to be interesting if I can actually get the stuff hot enough. Next try will be next week. We're bringing in Ipil Ipil charcoal. Ipil Ipil is a very dense wood, more dense than oak. Throw it in water and it sinks. So I'm hoping the charcoal will burn hotter than coconut charcoal, particularly with a fan feeding in air.
    Last edited by Lancer; 12-05-2013, 12:44 AM.

    Leave a comment:


  • cobblerdave
    replied
    Re: Lancer's Philippine Build, Close to Australia Anyhoo...

    Gudday Lancer
    What's the process for hydrating after heating. I've seen some u tube clips where the hot limestone is place in water. And I remember seeing my grandfather put burnt shell in clay pits out in the sun which were stirred over a number? of days.
    Regards dave

    Leave a comment:


  • UtahBeehiver
    replied
    Re: Lancer's Philippine Build, Close to Australia Anyhoo...

    Lancer,

    Great to see that you are able to try and find normalcy with all tragic events your end of the world has seen this year. Very interesting to watch your lime conversion process.

    Leave a comment:


  • Lancer
    replied
    Re: Lancer's Philippine Build, Close to Australia Anyhoo...

    So we take our knowledge into the next burn, pick up the last 50 bricks on Saturday and next week we get it going really hot, see what happens. The cc for this burn cost less than $2. Oh for some real coal! Not around here though...

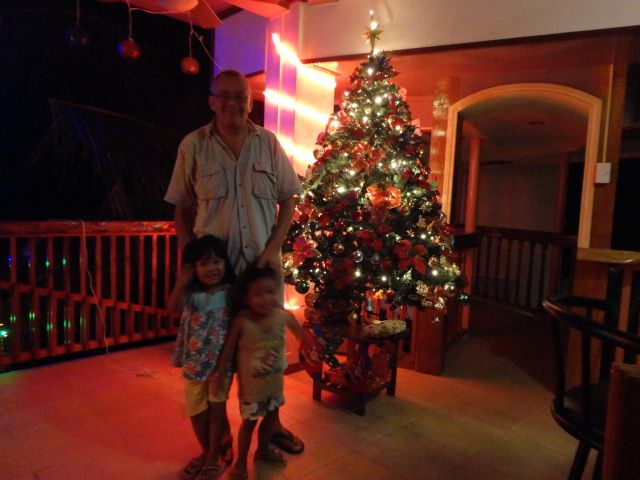
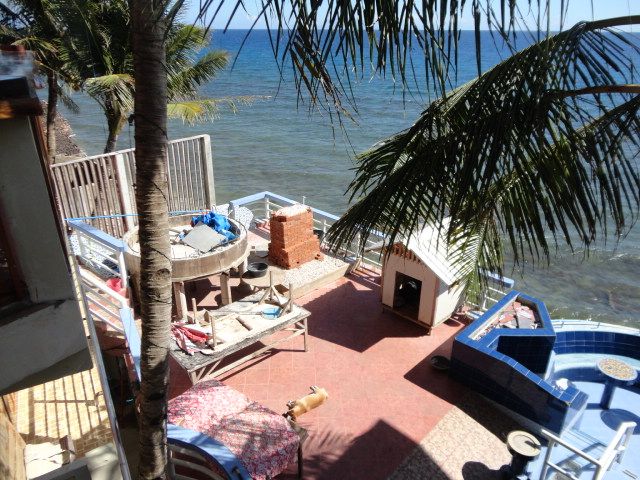
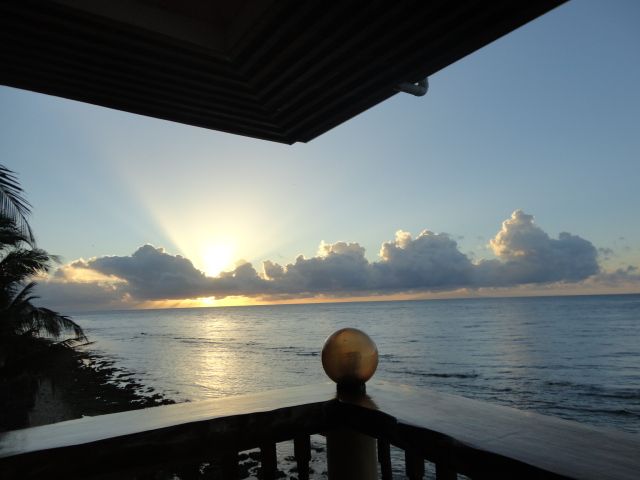
    Here's a great pic Dolores took. We sleep on this balcony. That started during the power outage and continues, its great out there.


    Tatay: "Abby, Santa put gifts under the tree!" Abby: "You said Papa Jesus was coming for Christamas!" Tatay: "Papa Jesus is coming but we don't know when. Santa brought this stuff. This is the day we celebrate Papa Jesus birthday." Abby: ":huh:" Meanwhile I'm wondering how this holiday got so screwed up, I never noticed it before. Santa? Who is Santa again?


    All the best pics are Dolores pics!


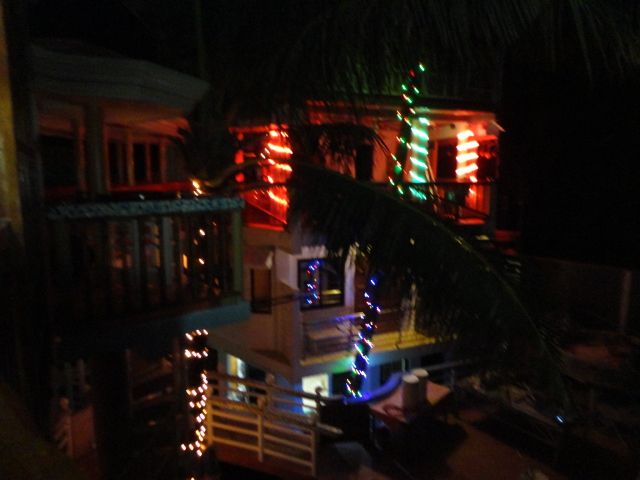
    Lights aren't finished, we're out of extension cords. Every year same thing, I figure it has something to do with another dimension filled with the things. Something to do with quantum.

    Leave a comment:


  • Lancer
    replied
    Re: Lancer's Philippine Build, Close to Australia Anyhoo...

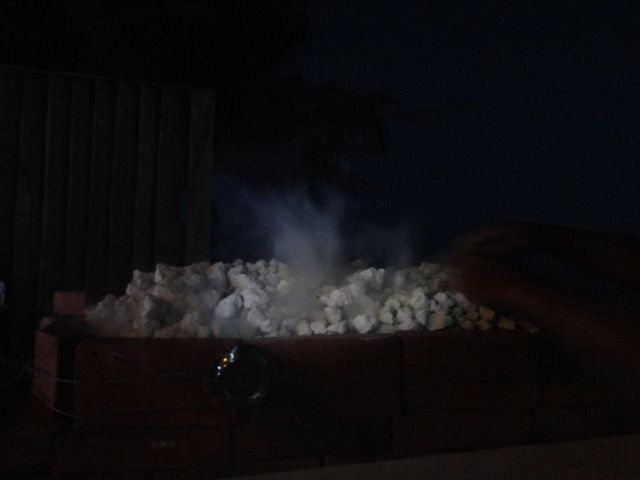
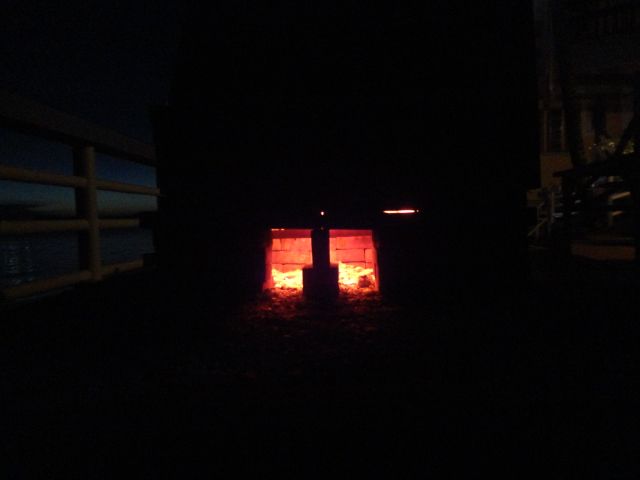
    This is more steam than smoke. I'm guessing that the limestone close to the cc is hopefully done but the kiln is still too hot to dig the stuff out.


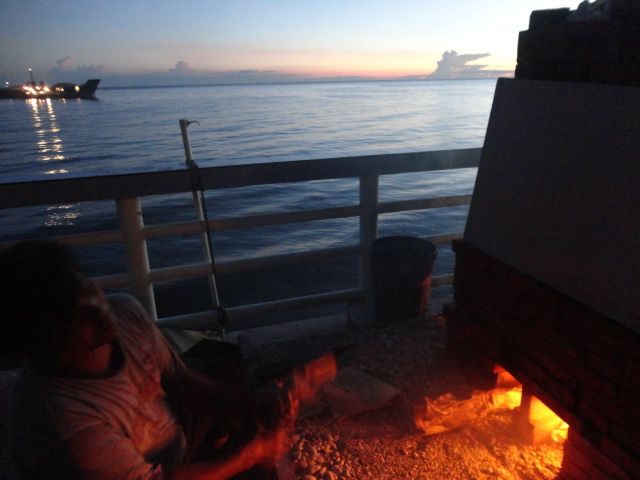
    It got hot. After I put away the camera the red glow moved up into the whole of the cc. This is early on, but I still wouldn't want to stick my hand it there. With the 12v fan blowing into this it would really burn hot and fast. I'm guessing that's better because it burned all night. Duration doesn't help. The thermometer showed 700F. Best temp for this is 1000F. I doubt we can get that high but our limestone is small so the heat should penetrate quickly. They do good sized rocks at 1000F. If it still doesn't work then its time to pack the lava rock insulation around the thing, but that would be a huge hassle.

    Leave a comment:


  • Lancer
    replied
    Re: Lancer's Philippine Build, Close to Australia Anyhoo...

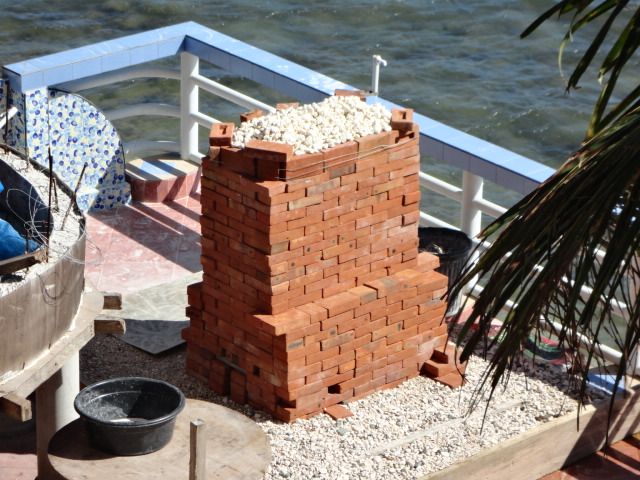
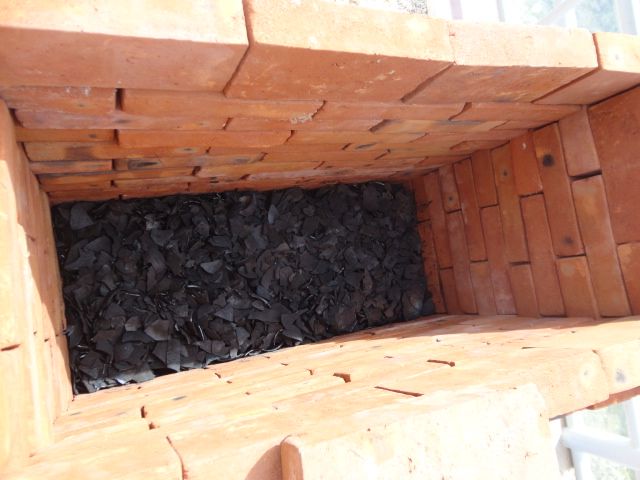
    Its full height. The layers were the original 16" of cc, then 16" of limestone, 5" of cc the 12" of limestone which comes out the top.


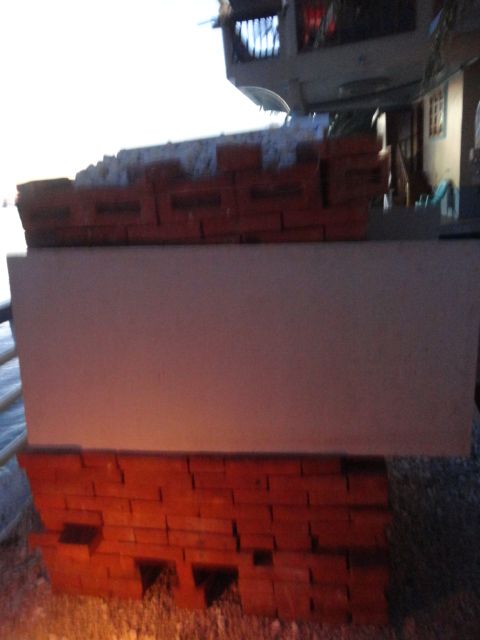
    The hardiflex breeze block. Hate to buy a sheet of the stuff for this purpose but this is all we have so...


    Starting the fire. The breeze died way down and there was very little all night. Still, what there was didn't help.

    Leave a comment:


  • Lancer
    replied
    Re: Lancer's Philippine Build, Close to Australia Anyhoo...

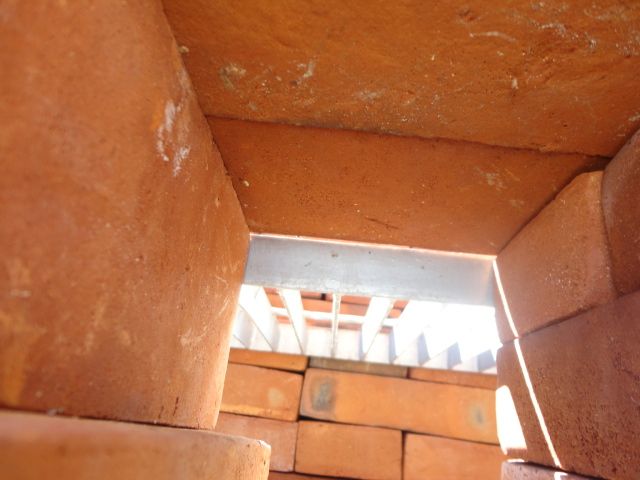
    A look from in the air intake.


    It got bigger. Still not high enough so we picked up 50 of the last 100 bricks on Saturday.


    The first layer of cc 16" deep.

    Leave a comment:


  • Lancer
    replied
    Re: Lancer's Philippine Build, Close to Australia Anyhoo...

    Thanks guys!

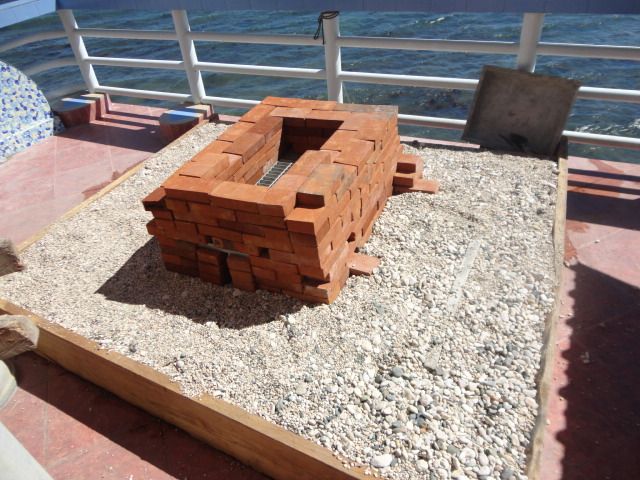
    So here is the kiln. Took a piece of limestone off the top a little while ago, put it in a bowl and added water and...nothing. It didn't get hot enough. So, we pick up the last 50 bricks on Saturday and will be able to make the kiln taller and that will mean more space for coconut coal. Then I'll take a 12V fan and put it in front of the air intake. A good friend advised me to use a fan and I was considering doing that this time but didn't want it to burn too hot. This was a test case and I learned I need to force the temp up. More fuel, forced air...

    The limestone was damp from washing and so the first thing the fuel had to do is create steam. Next time the limestone will be washed and dried prior to cooking.

    Lastly I think I need more hardiflex scraps on the outside of the brick to stop breezes from taking away heat. Air moves between the bricks too easily.

    Pics...

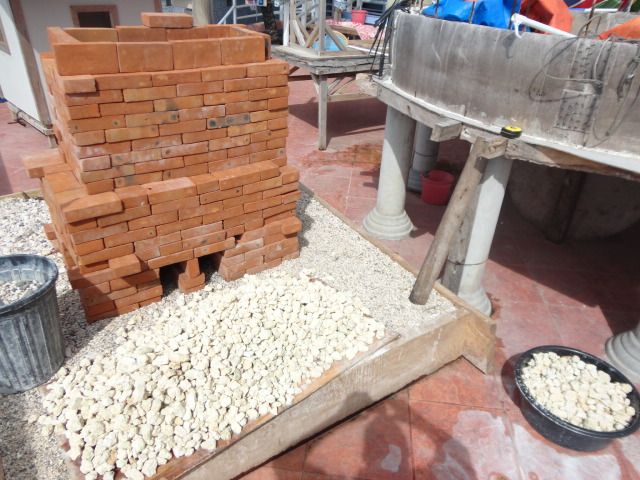
    Start of construction. The kiln is built on a base 8" deep, filled with ocean gravel and bordered by 2x8s.


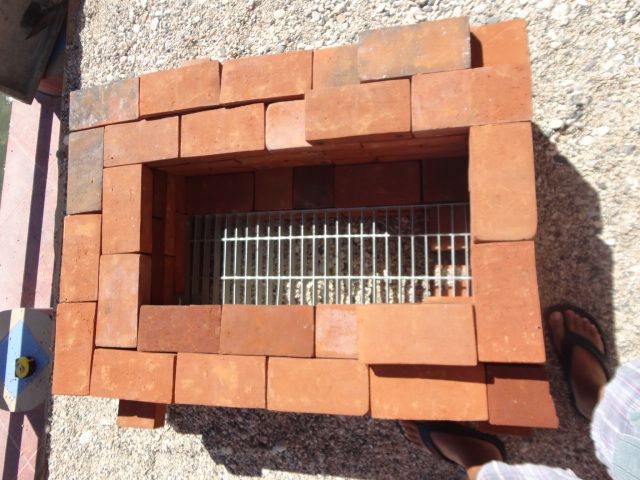
    Its 2 bricks wide at the base, 1 brick higher up. The coconut coal sits on a steel grate.


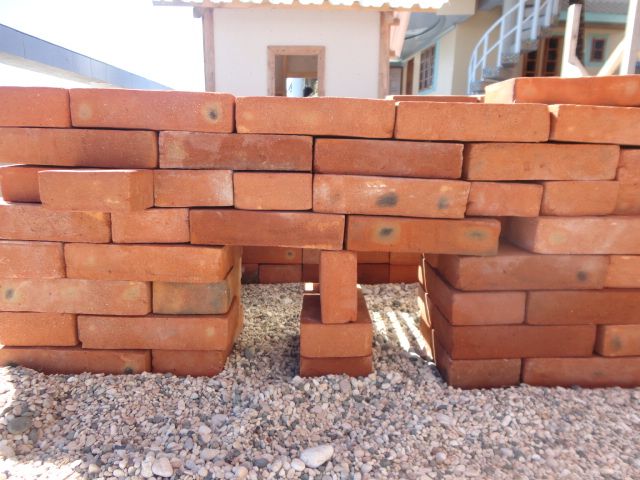
    This is the main air intake though there are 2 more smaller ones on the ends.

    Last edited by Lancer; 12-03-2013, 10:32 PM.

    Leave a comment:

Working...
X