Re: dmun's 36" geodesic oven part II
I was wondering if anyone has used large format clay paver to create the pentagons and hexagons to buil an oven. Large format pavers are coming out in 400x400x50mm and i though you may bre able to cut the entire pentagon out of one??


-
Re: dmun's 36" geodesic oven part II
Um, the geodesic oven is really thin, and therefore brittle. I wouldn't even think about it for a mobile oven. I predict it would vibrate apart on the first ride. Any sort of mobile oven is best with a Modular Refractory Oven Do a forum search for "mobile ovens" for much discussion on this topic.Leave a comment:
-
Re: dmun's 36" geodesic oven part II
WOW!! I've been a geodesic enthusiast for years. Only recently have I become a brick oven enthusiast. You've irreversibly joined the two in my head. I have to try this on my trailer-based oven project!
(Or at least in my head, if it turns out to be too impractical!)Leave a comment:
-
Re: dmun's 36" geodesic oven part II
I had the feeling that once the tooling was created, your method was ultimately easier than working brick by brick. Most builds look like the process after the first course is fitting, cutting, fitting, cutting, always a custom brick. I want to maintain the stagered joints all the way up if possible and it looks like this becomes more of a probllem the higher you get, hense the custom brick syndrome. Mabey its not as bad as I'm working it up to be. Anyway, I felt that by cutting the triangles and assembling these into the pentagon and hexigon shapes, you had control over the actual size of the building units, and minimized the work and assembly time. I also had to wonder if creating tooling for casting the pentagon and hexagon shapes might not make building 2 or more ovens more practical. I'm resigned to use the tried and true course by course method.
Thanks for the feedback and the great build.
Chris
PS Great article. It nice to have arch dynamics all spelled out.
Thanks for the link.Leave a comment:
-
Re: dmun's 36" geodesic oven part II
Yes, I got some cracks along mortar lines, the only one with a gap is in the center of the front firebrick arch. Nothing too alarming, nothing I'd want to crawl in the oven to repoint.
I think my oven takes the same 1 3/4 to two hours to heat up as everyone else's does. I don't think a thin oven is worth the trouble, mostly because now i better understand the forces at play in an arch/dome:
Auroville Earth Institute is a research, design and developing agency for vaulted structures, construction of various Vaults, Arches, Domes (VAD).Leave a comment:
-
Re: dmun's 36" geodesic oven part II
It's been a while since you finished. How is the oven holding up? Since you used a thiner 2.5" brick, how long does it stay hot, how long to heat up. It seems that everybody who builds an oven gets cracks, do you have crack report?
Thanks
SCChrisLeave a comment:
-
Re: dmun's 36" geodesic oven part II
Beautiful work! You make building an oven an art.Leave a comment:
-
Re: dmun's 36" geodesic oven part II
I love how they have Dmun's plans and pictures printed out and laying next to the oven on the table.Leave a comment:
-
Re: dmun's 36" geodesic oven part II
just 2 words....absolutely fantasticLeave a comment:
-
Re: dmun's 36" geodesic oven part II
Obviously they forgot throwing clay pieces from their youth. Curing clay takes time and boy oh boy did they rush it. from the monolithic slabs that they were using the dome shapes would need about a month to cure and then fire before being put into place. Also you need to be very careful about introducing air into the clay piece as you make it.
More beer and more fun than you can shake a stick at.Leave a comment:
-
Re: dmun's 36" geodesic oven part II
Excellent! you are famous! I agree that the main problem seemed to be using uncured clay...Leave a comment:
-
Re: dmun's 36" geodesic oven part II
Here's a fun note: using my plans, the wild folks at MHA built a geodesic oven out of raw clay, and tried firing it the same day. Hilarity ensued.
The money quote: "Beer, pizza and blowing things up - heater mason nirvana."
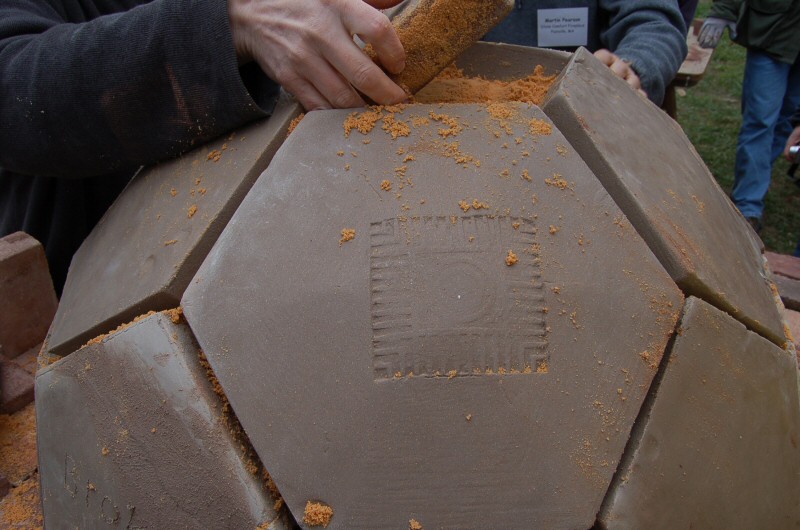
I think the failure of this oven is less an condemnation of the geodesic system than the result of building a fire in any green clay oven.Leave a comment:
-
Re: dmun's 36" geodesic oven part II
Master Time Maker and wow Master Brick Layer. A very nice and inspring journey you have taken us on. I stated to james one day that Your build needs either its own folder on the forum or a seperate section with links to the series. This is outstanding.Leave a comment:
Leave a comment: