


 Tweet
Tweet
I figure if I start a build thread, then it'll make it real. Or force me in to action. lol
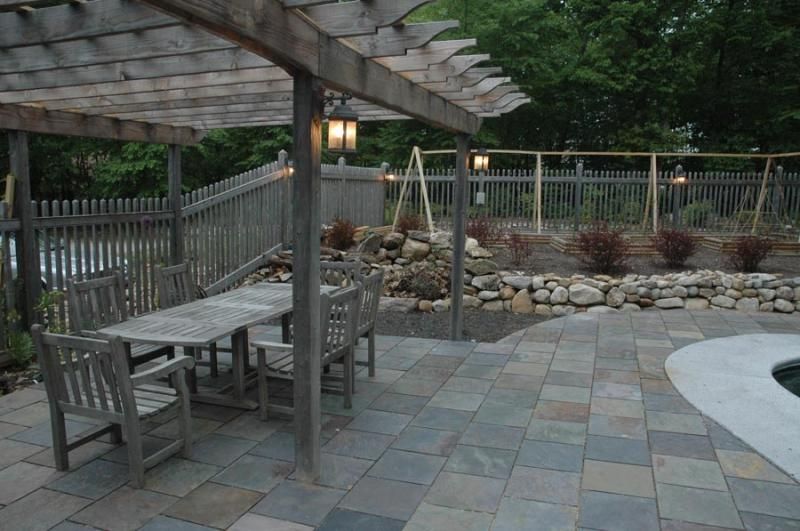
Planning a 42" build out by my pool. The pool setting is fairly subdued with regards to the color palette. Natural setting, neutral colors. Some stone, weathered cedar fencing, weathered wood pergola, etc. The entire pool area is DIY with the exception of the pool shell.
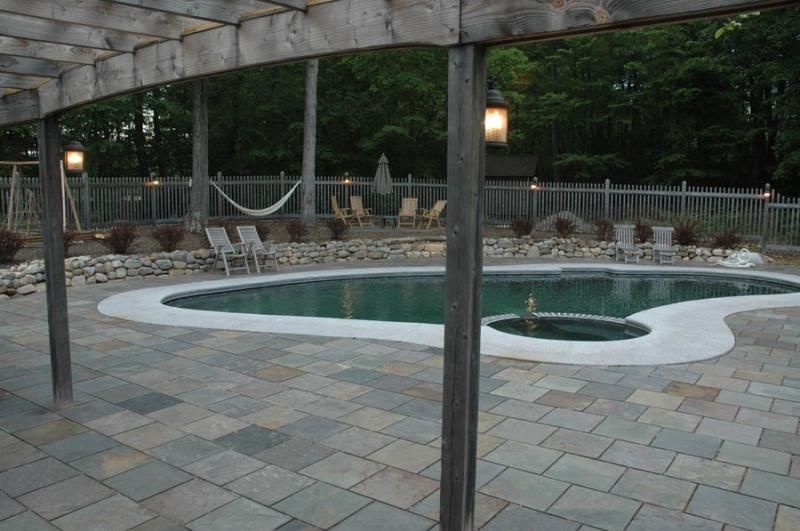
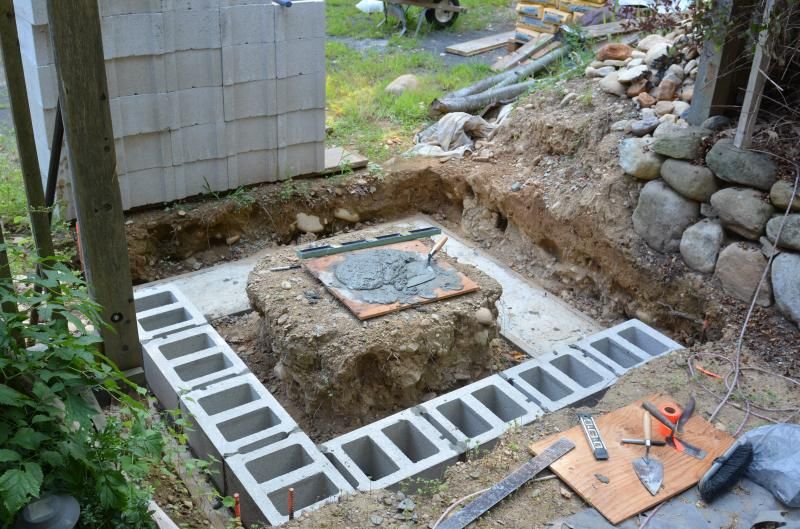
In the following photo, the currently mulched area between the slate patio and the stone retaining wall is where my "cooking area" will go. The mulch will eventually be a hard surface. I'll remove the sloped section of fence on the left and the oven footprint will straddle the fence line, with 4' outside of the fence (to the left) and 2' of it inside of the fence, with the oven opening facing to the right.
If you can make out a "campfire area" recessed into that retaining wall, that'll be replaced with a roughly 6'-8' long raised firebrick hearth, to accommodate a rotisserie for pig roasts, etc. That hearth will still be able to serve as a campfire area. The area to the right, where the edge of the patio is curved, will be where my grill will go.
Overall the cooking area will have a "U" shape; the wood oven on the left, the 6-8' long raised firebrick hearth in the center, and the grill to the right.
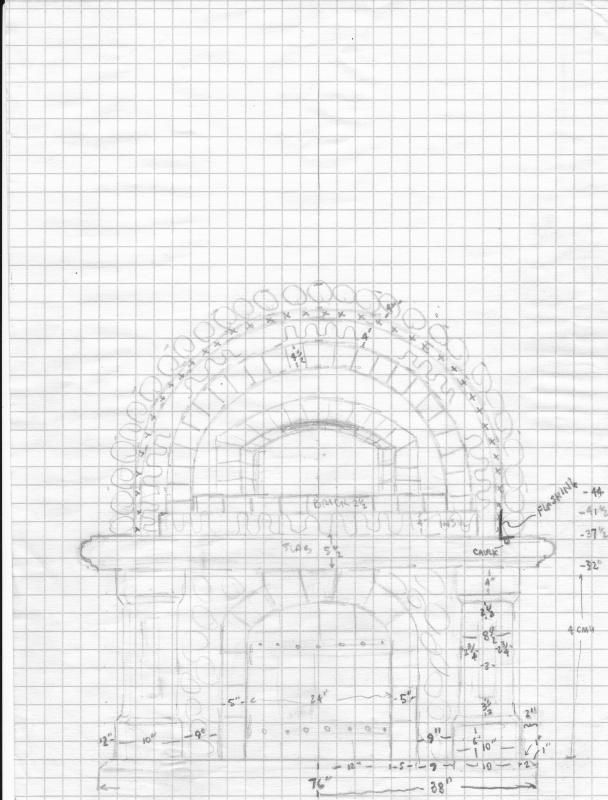
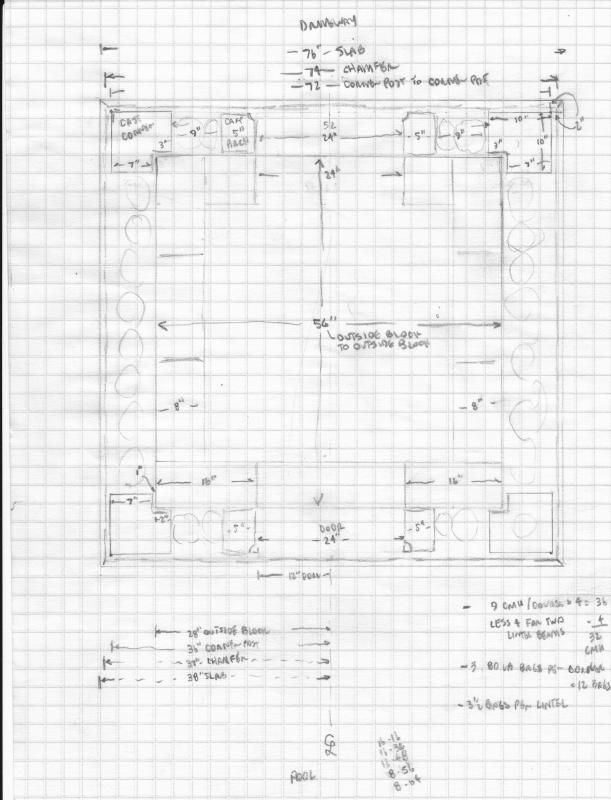
I got nixed when trying to post this for having six linked images, so I'll start the thread with this "generic pool area" post and include the oven design in the next post.
Cut and paste had better work...lol
Planning a 42" build out by my pool. The pool setting is fairly subdued with regards to the color palette. Natural setting, neutral colors. Some stone, weathered cedar fencing, weathered wood pergola, etc. The entire pool area is DIY with the exception of the pool shell.
In the following photo, the currently mulched area between the slate patio and the stone retaining wall is where my "cooking area" will go. The mulch will eventually be a hard surface. I'll remove the sloped section of fence on the left and the oven footprint will straddle the fence line, with 4' outside of the fence (to the left) and 2' of it inside of the fence, with the oven opening facing to the right.
If you can make out a "campfire area" recessed into that retaining wall, that'll be replaced with a roughly 6'-8' long raised firebrick hearth, to accommodate a rotisserie for pig roasts, etc. That hearth will still be able to serve as a campfire area. The area to the right, where the edge of the patio is curved, will be where my grill will go.
Overall the cooking area will have a "U" shape; the wood oven on the left, the 6-8' long raised firebrick hearth in the center, and the grill to the right.
I got nixed when trying to post this for having six linked images, so I'll start the thread with this "generic pool area" post and include the oven design in the next post.
Cut and paste had better work...lol
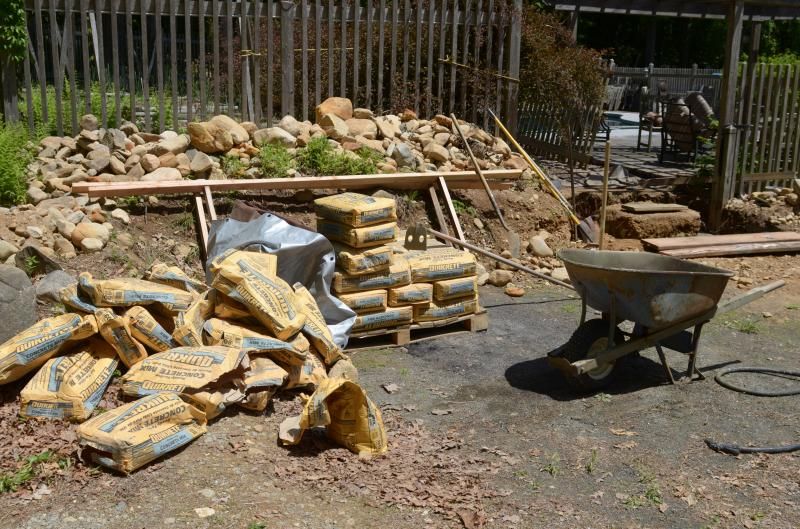
 just saw a wheelbarrow sitting in the back ground.
") If you did, I would not want to get in any tussle with you
If you did, I would not want to get in any tussle with you
Comment