Announcement

Collapse
No announcement yet.

dmun's 36" geodesic oven

Collapse
X
 
  • Filter
  • Time
  • Show
Clear All
new posts

  • #76
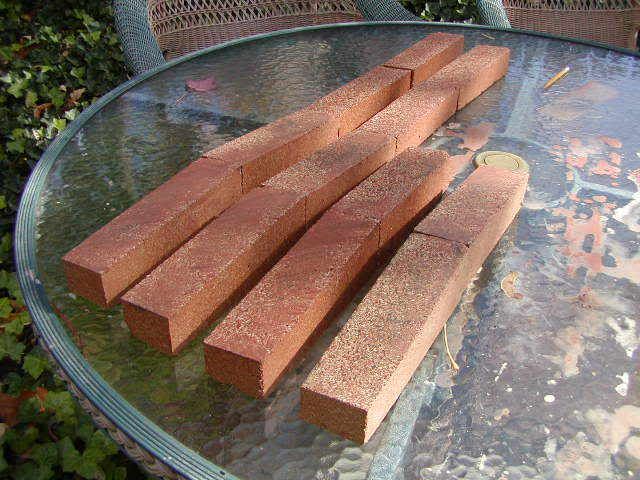
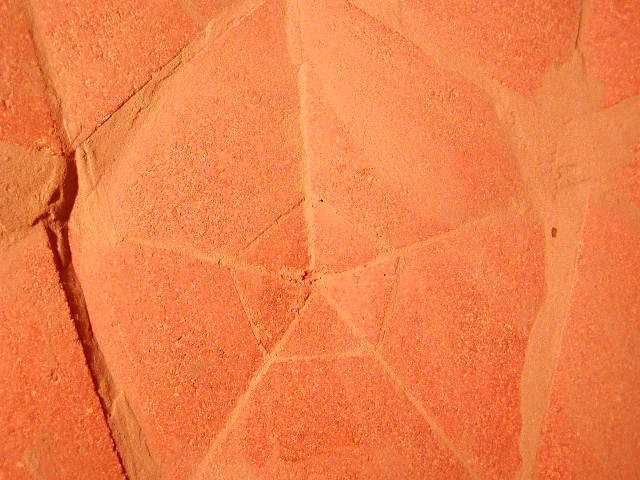
    Yeah, that variance looks like a problem

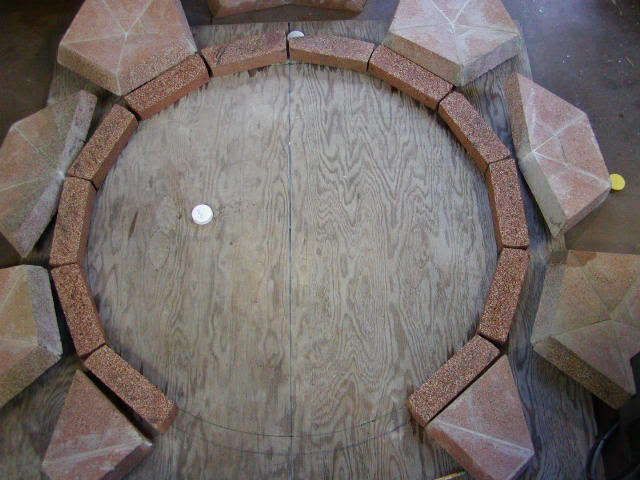
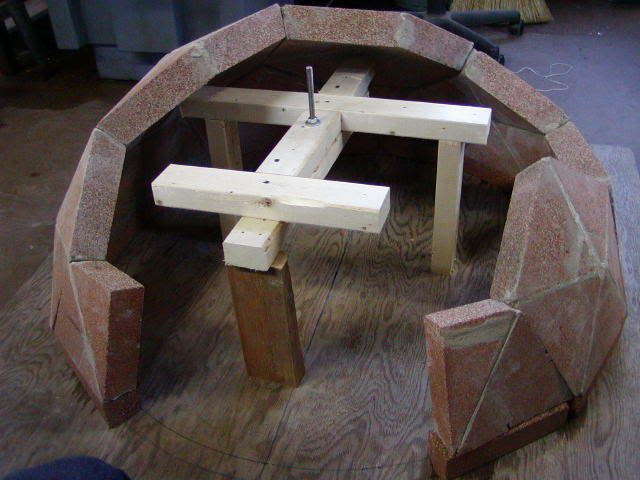
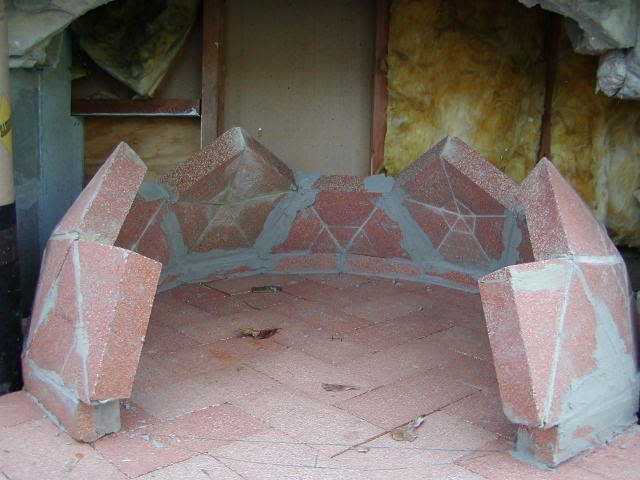
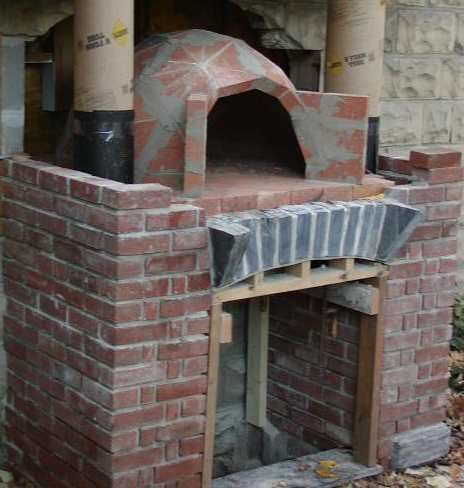
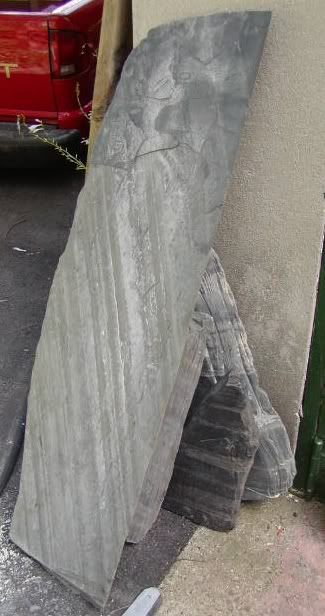
    The size of those pieces looks like they will need good support until cured. You don't have the advantage of building self supporting courses, but it will have tight seams. I'm guessing you have a support structure in the works. I like it.

    Comment


    • #77
      firebrick floor

      It poured rain the day I was going to work this weekend, but I managed to dry fit my floor:


      It's not as flat and smooth as a billiard table, but I think it's more than good enough for this application.

      When you get your bricks, pick out the crisp clean ones for the floor. You don't want the bunged and chipped ones here. That wouldn't be a problem for most people who build their floor before their dome.
      Last edited by dmun; 10-30-2006, 09:39 AM.
      My geodesic oven project: part 1, part 2

      Comment


      • #78
        David,

        We are all so impressed. This is just wonderful. I can't wait to see how she does under "fire".

        One thought on our billiardball comment. I did get one brick too high relative to the rest of the cooking floor, where it would bounce the pizza peel. Many firings later, I have knocked the edge off that brick with my peel (and probably should have crawled into the oven and hit it with a sander), but as a general comment, that might be a good rule. Take a pizza peel and push it across the floor and see if anything catches.

        James
        Pizza Ovens
        Outdoor Fireplaces

        Comment


        • #79
          geodesick!

          DMUN, you are a true innovator. Tha fact that your oven is being documented so generously makes me truly happy that I live in this technologicaly awakened era.

          Comment


          • #80
            Soldier course

            Here are the half bricks cut for the soldier course:


            From my preliminary assembly, I thought that I needed more than the 5/16 ramp up in the center of the half-hexagons, so I cut them with a steeper angle. That didn't work at all, and I had to trim them to the drawn angle.


            Here's the preliminary layout with the first course laid down next to it.

            Here's the dome set up with the six-point armature I built to support each polygon at its center:


            My geodesic oven project: part 1, part 2

            Comment


            • #81
              first course

              Here's the soldier course mortared down, as well as the beginning of the first course of polygons:


              The soldier course didn't come all the way to the door arch: I cut too much off the corners of the soldier course bricks. I'll fix this when I build the entry walls.
              My geodesic oven project: part 1, part 2

              Comment


              • #82
                very nice.

                Regarding the hearth bricks, if you do have enough height irregularity to catch the edges of a peel consider using a spare firebrick as a plane to grind them down - you won't end up with low spots ("pillows") as some have described with the use of a grinder.

                I wonder if anyone is copying your approach at this time? The way your mock ups have fit together and the very clean appearance of the inside of the oven (once you wash off the extra mortar) are very appealing. The tight seams should lead to a very solid oven as well. Now that you have done all the design calculations it should be perhaps easier than constructing a normal brick dome.

                Comment


                • #83
                  top of dome

                  Here's what I started with the afternoon I started to finish the dome:


                  Assembling the next level of the dome was difficult and frustrating. The polygons didn't fit together very well, most particularly the front two partial hexagons surrounding the door. A large strip had to be cut off the meeting edges of those two parts in order for them to fit. The pentagon at the top had to have two sides trimmed to accomodate the steeper angle created. The end result was that the interior of the dome wasn't a seamless fit. I had to ramp the non-meeting edges with mortar, to get them even somewhat smooth. The wooden armature I built was not needed after the second hexagon was set, and was actively in the way when I placed the third. I was involved with the process, and hence, you don't have process pictures, but here's what it looked like at the end of the day:


                  The good news is that the dome is done, and that the worst thing is that I have some joints that don't meet precicely. It's still an oven dome with closly fit, true refractory, joints, and even the worst of my gaps is no more than the back of any two bricks in a pompeii design.
                  My geodesic oven project: part 1, part 2

                  Comment


                  • #84
                    Entry walls

                    Here's a picture of laying up the flared walls of the oven entry. This wasn't as deep as I drew, but my fireplace vent took more room than intitally designed, pushing the oven assembly to the front.


                    This is no shallower than the entry on a F-B casa modular oven, and should be fine.
                    My geodesic oven project: part 1, part 2

                    Comment


                    • #85
                      Night scrub

                      Since it gets dark at dinner time with the arrival of eastern-standard-time, my oven scrub was in the dark. The oven, which looked so small laid out on the workshop floor, seemed immense when I had to reach to the back to scrub mortar joints.


                      My trouble-light illuminated oven looks like James' avatar, huh?
                      My geodesic oven project: part 1, part 2

                      Comment


                      • #86
                        Lessons learned

                        What did I learn yesterday?

                        First, don't build your oven on the first of November. The chance of getting a string of sunny seventy degree days this time of year is slim-to-none. I was very lucky, it's raining today.

                        Second, spring for the refractrory adhesive to glue your floor down to your insulating board. You build your oven kneeling in it, and it's disconcerting at best to have your oven floor creeking underfoot.

                        Third, and most important, if you build a geodesic oven, don't pre-assemble anything except the pentagon at the top. If I had laid my oven up out of triangles in individual courses, I could have made small corrections as needed with the wet saw. It would have been an easier job, and gotten better results. I could have used the string to center point method to determine that the dome was truely hemispherical as it went up, rather than have a rude surprise at the end.

                        Here's a couple of interior views, of the pentagon cap, you can see one of the ramped mortar joints to compensate where edges didn't meet.


                        My geodesic oven project: part 1, part 2

                        Comment


                        • #87
                          That's still dramatically smoother on the inside than any brick oven, probably the closest thing to a cast refractory oven that you can make at home. I suspect that while you had some joints that need to be ramped you probably saved significantly on the hassle factor of trying to piece together multiple small pieces (with wet seams).

                          I'm interested to know more about how it came together - you indicated the armature was not needed after the second hexagon was set - were you able to mortar them in place without support from where you left off the day before? Were they firm once in place or just stable enough that they did not need support?

                          Comment


                          • #88
                            Everything went fine until the hexagon layer. The hexagon pieces, although light enough to pick up, are a different story when you are trying to stick them to slippery mortar layer, that you don't want to mush away. Also, they are getting close to horizontal at that point. The heat stop refractory mortar, when applied to even a wet joint, will still get some of the water sucked up, and firm up the joint within a couple of minutes. It's still free to come loose, and when it does, the mortar is too stiff to re-adhere, so this is both good and bad. So, the first two hexagons, secured into their notches on the bottom, and leaning against one another are pretty secure. I think the same thing would apply if you were gluing individual triangles. You could easily lift one with one hand. The fitted joints, and firming mortar would hold them in place. The main problem is that the big polygons are too cumbersome to handle easily, and the errors accumulate toward the top of the dome, so the big problems are coming at the point where the units are hardest to handle.

                            The main forces in the dome are pushing outward, as I learned in my dry test assembly, but a day old underlayer constrains these forces, the parts don't tend to cave in, because the fitted joints lean against each other.
                            Last edited by dmun; 11-02-2006, 02:47 PM.
                            My geodesic oven project: part 1, part 2

                            Comment


                            • #89
                              Wow! Great progress! You are going to be cooking in no time.

                              It looks like you are going to have a shelf out in front of the landing. What material are you going to use that?

                              Really cool!

                              Drake
                              My Oven Thread:
                              http://www.fornobravo.com/forum/f8/d...-oven-633.html

                              Comment


                              • #90
                                shelf

                                I have a big piece of matching slate for that:


                                I know, not the best material, subject to staining, but it's here, and will complement the rustic look of the oven.
                                My geodesic oven project: part 1, part 2

                                Comment

                                Working...
                                X