Re: 81 Inch First Build (and first post)
A coil above the firebrick would give you some future options to heat water. If there is no water introduced in it and it is left open to the air it should not cause any problem until you determine what you want to do The same should apply to a tank..


-
Re: 81 Inch First Build (and first post)
Originally posted by lwalper View Post
Regarding the "heating" system, it would have to be drained and dry, but I am going to try to heat my domestic hot water for dishes with it, so mine may never be drained. And when the hot water needs are satisfied, the water will just flash off the surface of the tank on the oven.
On the steam injection, be careful with how you introduce the water, cause the steam will come right back at ya when the water hits the hot pipe, the pressure will go both ways in the pipe.
Finally got some time to lay a few more brick last night. I am out of my "new old stock" firebrick and had to buy 250 to continue..these standard size are alot smaller than my old ones.
RogerLeave a comment:
-
Re: 81 Inch First Build (and first post)
WOW!!! Now that's an oven. Yep, I was thinking about some sort of water heating system too, but couldn't get my head around that "excess" heat problem. An open, vented system would work, but I'm still wondering about those times when you don't need all that heat in the building and you shut down the pumps? That hot water's gotta go somewhere?
I am going to install a jury-rigged steam injection thingy ? just a bit of pipe (no dependent swags) running across the dome that I plan to squirt water into, terminating in a cast iron receptacle of some sort. If it's not steam before it gets into the oven it will certainly be that way when it hits the pot on the other end of the trip.Leave a comment:
-
Re: 81 Inch First Build (and first post)
Mitchamus, what is that whitish/gray stone matl you used for the floor of the oven?Leave a comment:
-
Re: 81 Inch First Build (and first post)
Hey Roger..
We havent heard from you in a while.. How is the oven coming ??
MarkLeave a comment:
-
Re: 81 Inch First Build (and first post)
I would think that an oven with that mass, no matter how well insulated is going to give off a great deal of heat into the building. I would think that the trick would be to circulate that heat where it is needed.Leave a comment:
-
Re: 81 Inch First Build (and first post)
Hey Wind,
I was just on ebay,, Look under Outdoor wood boilers, they have all kinds of parts and things needed to build one.. they have a set of plans for a side arm boiler that sounds exactly what you are talking about,,,
Cheers
MarkLeave a comment:
-
Re: 81 Inch First Build (and first post)
hey wind,,
THats way better then what I was thinking... I was gonna say maybe you could put a third zone in and either send it outside into the ground, or somehow back into the oven.. gonna have to think about this one,, Im sure it can be worked out...
Cheers
MarkLeave a comment:
-
Re: 81 Inch First Build (and first post)
Funny, while reading the post I just put up, the answer dawned on me....instead of tubing to pick up the heat....set a tank on the side, low on the dome (not leaning on the dome itself)....open to air, so no pressure, welded up of heavy steel. I could put a toilet fill valve in it to keep it from running dry. Something with a footprint like a five gallon bucket. I have a rocket scientist friend that can do the math to figure out the size can needed to heat the floor..
Comments?Leave a comment:
-
Re: 81 Inch First Build (and first post)
Mark, what a deviously efficient mind you have there!....in fact I have already installed PEX tubing in the concrete floor of the prep kitchen and bathrooms/ office. Those rooms were done in 2 pours, so there is 2 zones. I will use a second water heater with the "oven heat" running through a domestic arm as the resevoir, which can, by valves, either heat the floor in winter, or domestic hot water in summer.
I am thinking of about 2 wraps of 1 inch copper...my only issues, (which is very serious) is how to dispose of the surplus heat...the dilema is; once I have water in the coil, it must circulate constantly or it will flash off to steam...I could drain it between work loads, but again, steam is the issue when water is shot through it. It is one of those things, that if worked out, could be great, but if all the bugs weren't considered, could be troublesome. Last thing I need would be to have that water tube rupture somewhere under the cladding and have to tear the oven apart looking for a leak, or worse yet, repair damage to dome...
any thoughts?
Yeah, time lapse would be fun...but like most projects, I am so busy just doing it, I barely have time to document as I go...
And thanks Mark and everyone else for the encouraging words, they really do mean a lot as this project seems to be dragging on forever, (and not eveyone appreciates the work involved). I am bummed that I am not able to go to the Masonry Heater's week long seminar in NC next week...just too much to do here.
RogerLeave a comment:
-
Re: 81 Inch First Build (and first post)
Hey Wind,,,
Your oven is *&$$%@ Awesome... once you get that monster heated up you will hold the heat for days.... Doing a great job,, keep the pics coming... How about mounting a camera from the ceiling on a tripod and giving us a shot every time you lay a brick.. (just a thought, I know a little nutsy) but would be cool to do a time lapse.. With the amount of wood you will be burning in that massive monster, Have you thought about running a hot water coil around the top to heat your "hot water" to a holding tank or air handler for heat ?? I dont think it would take too much heat away from it as it is so massive....
Cheers
MarkLeave a comment:
-
Re: 81 Inch First Build (and first post)
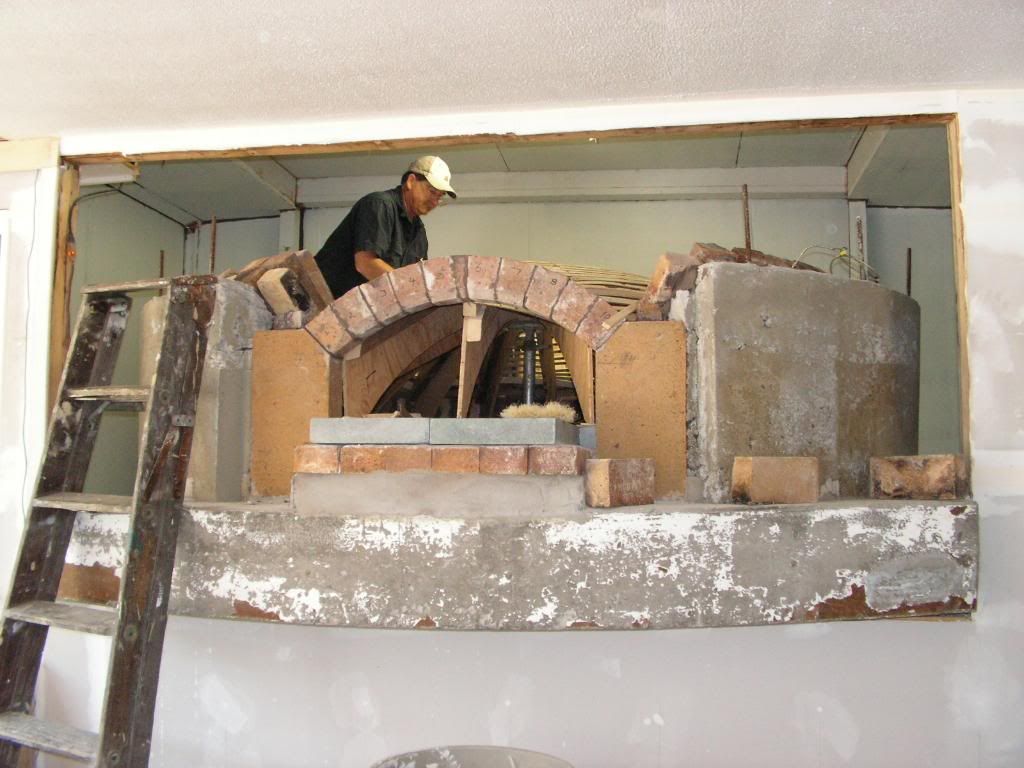
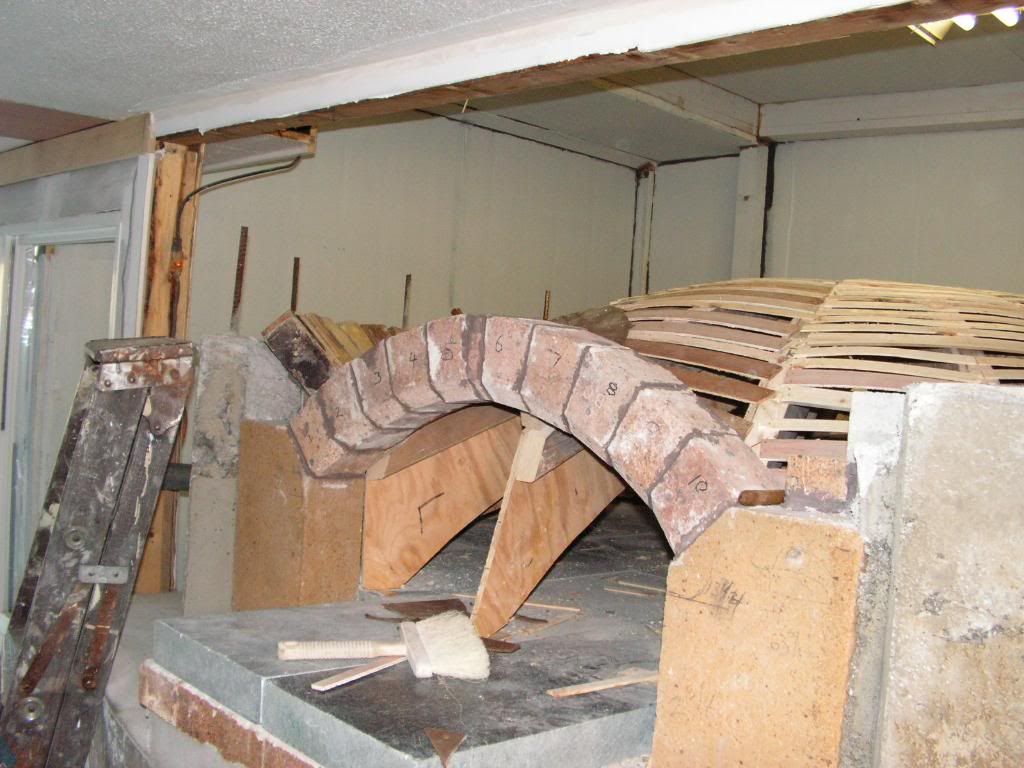
3 course laid up close to the arch..first course took 48 of the big 10 inch brick, 2nd took 44, third took 42 of #1 tapers cut to fit good. Now I am out of my "recycled" brick...time to buy new ones! 134 in the dome so far..(doesn't include the walls, floor, arch or closing in on the arch..I am guessing 250 to 300 more brick..
Leave a comment:
-
Re: 81 Inch First Build (and first post)
Hey Wind..
II picked up a nice piece of soapstone from the local guy of the website you put up.. nice stuff and cheap,,
thanks
MarkLeave a comment:
-
Re: 81 Inch First Build (and first post)
Thanks for the pointer for soapstone. I called the local outlet and was pointed to a fabricator that had a few cut offs that would work. I ended up paying $55 for a good sized 30 by 36 inch slab of 3cm material. I was hoping for 6cm but in reality 3 is going to do everthing I need and then some. I'll post progress in my thread. Thanks Again Windage!
ChrisLeave a comment:
-
Re: 81 Inch First Build (and first post)
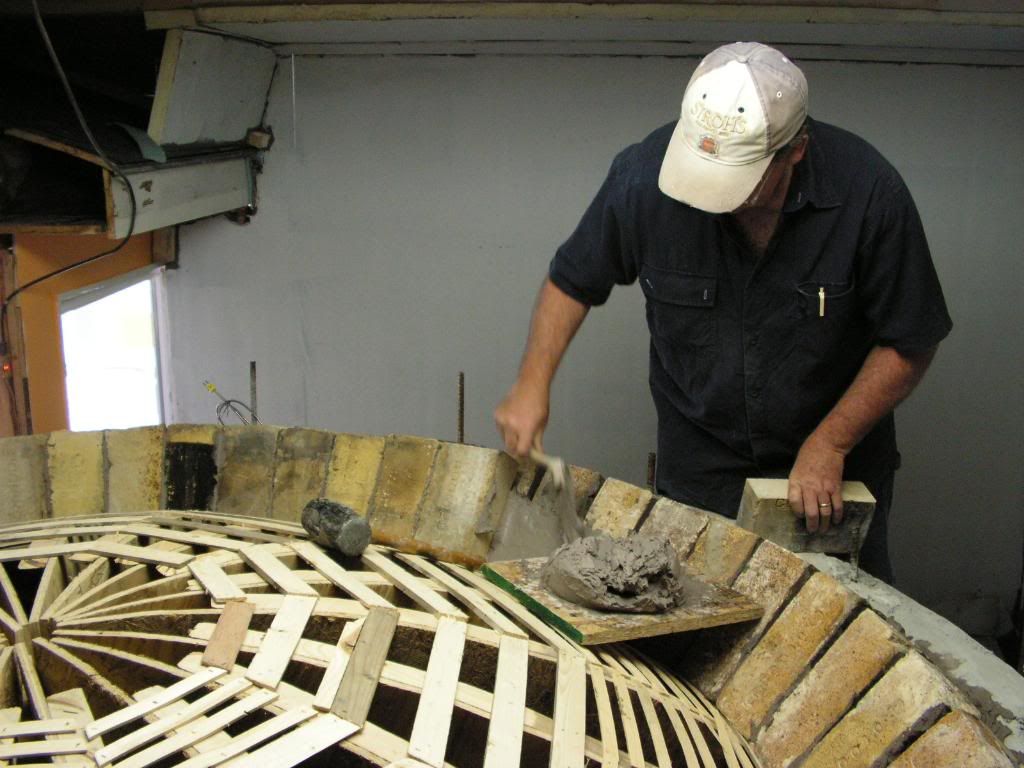
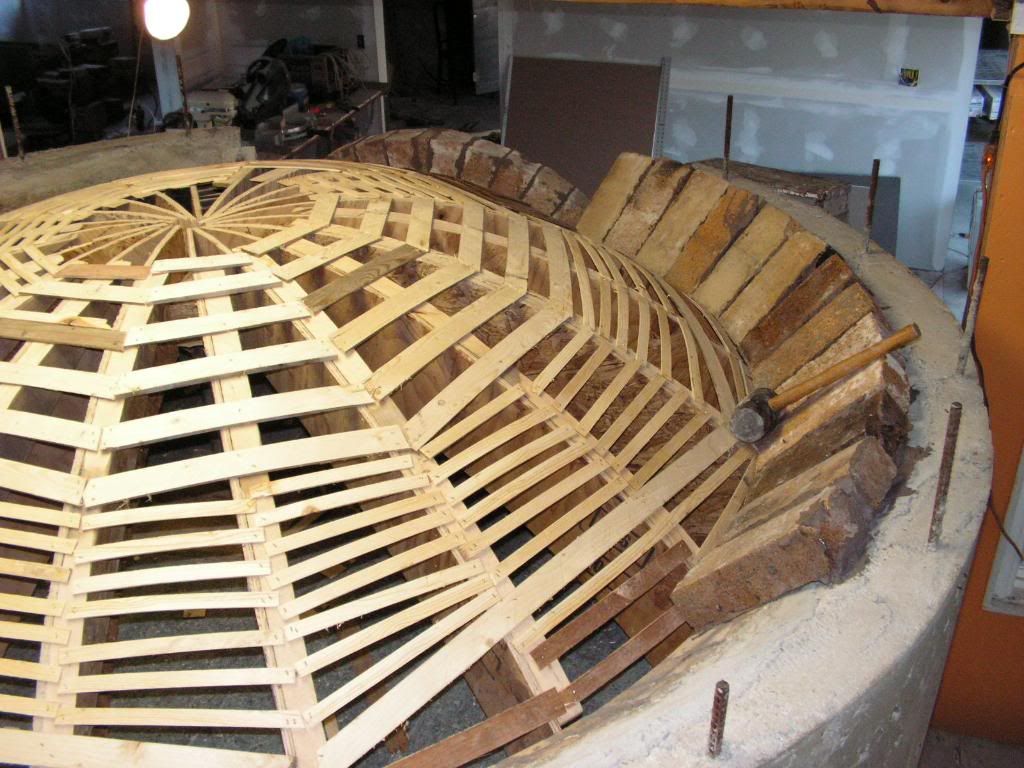
Finally to the stage where I can lay up the dome brick...! Got a few down (up?) last night.

the extra layers of masonite is an attempt at creating a slight bulge in the roof to form a tunnel for exhaust air to the arch/ flue. My theory is to direct both the incoming air and outgoing gases to create a slow swirl in the bake chamber, at least down at the arch height.

Leave a comment:
Leave a comment: