Announcement

Collapse
No announcement yet.

Modified 3G Masterly Tail Build

Collapse
X
 
  • Filter
  • Time
  • Show
Clear All
new posts

  • #76
    Re: Modified 3G Masterly Tail Build

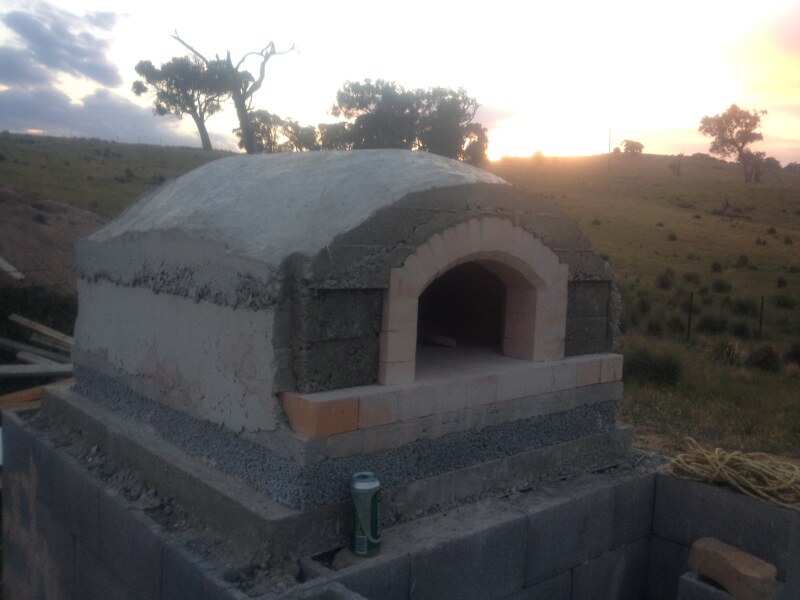
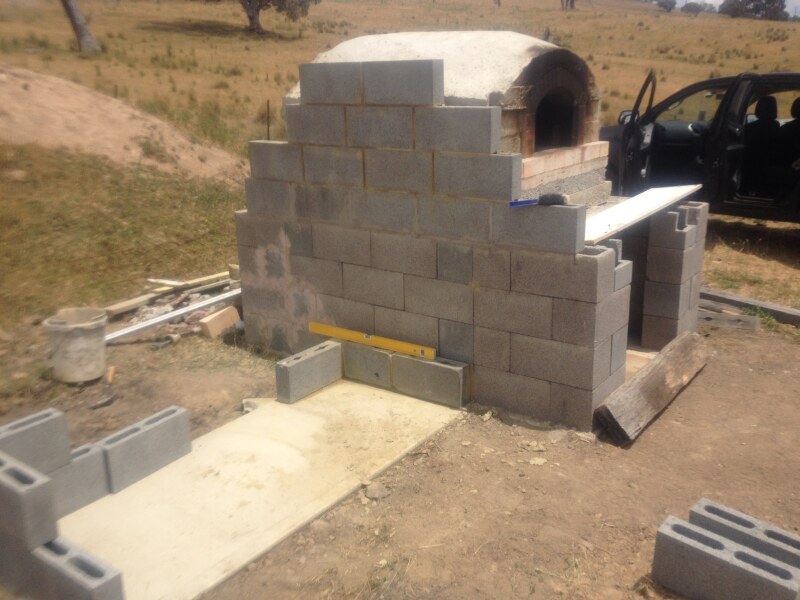
    This is all I'm doing for the rest of the year.

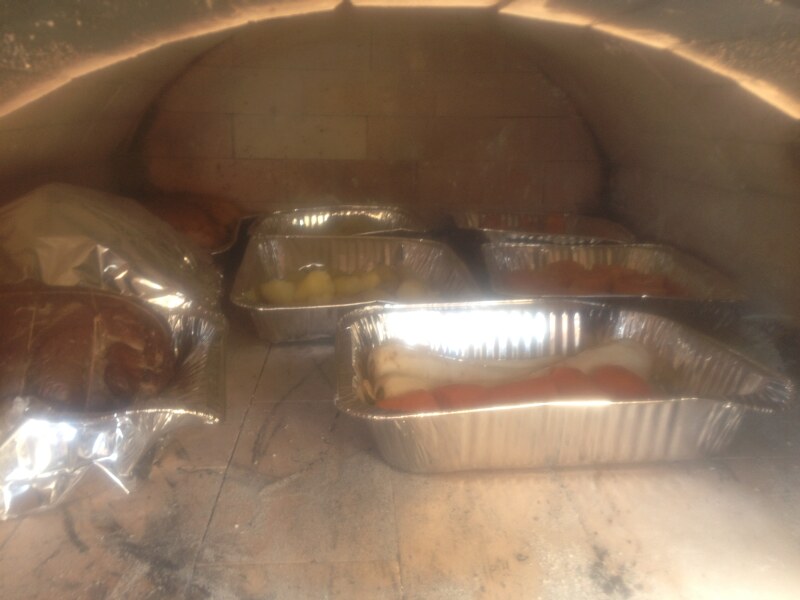
    I'm cooking xmas lunch in it, so I will post some pics of that.

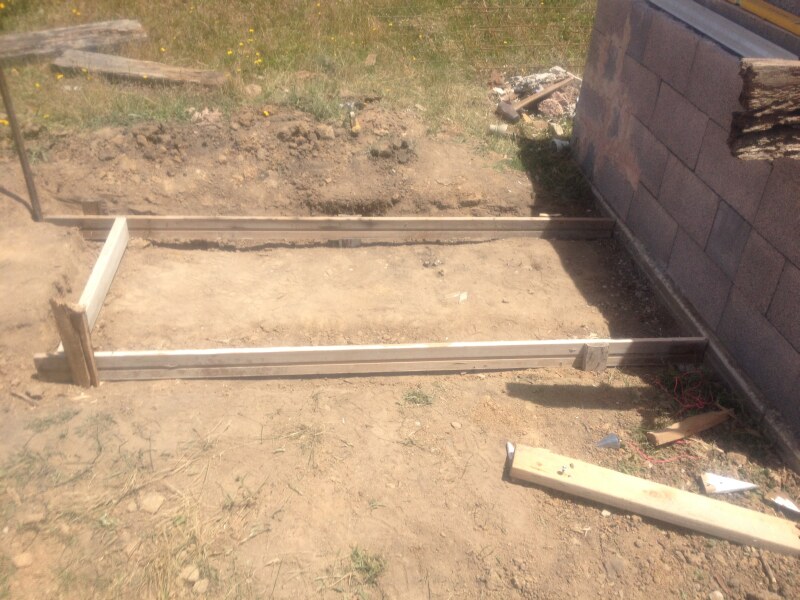
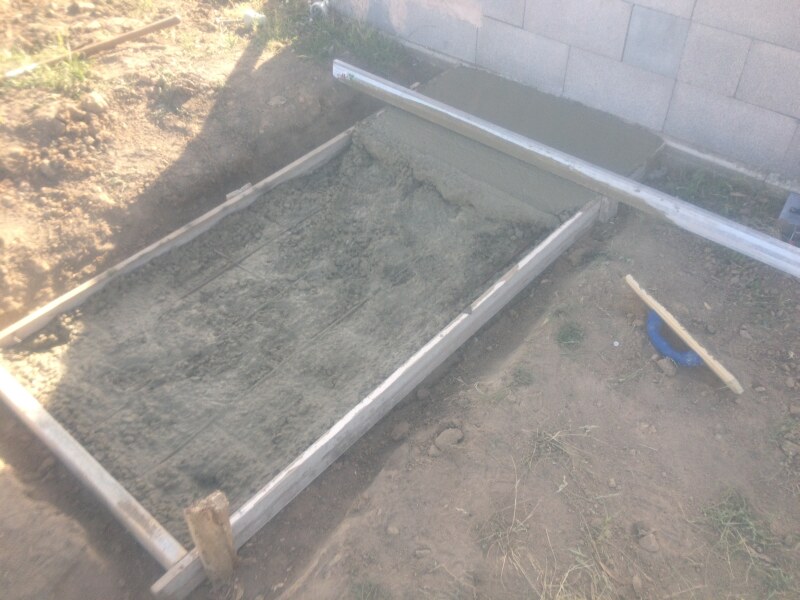
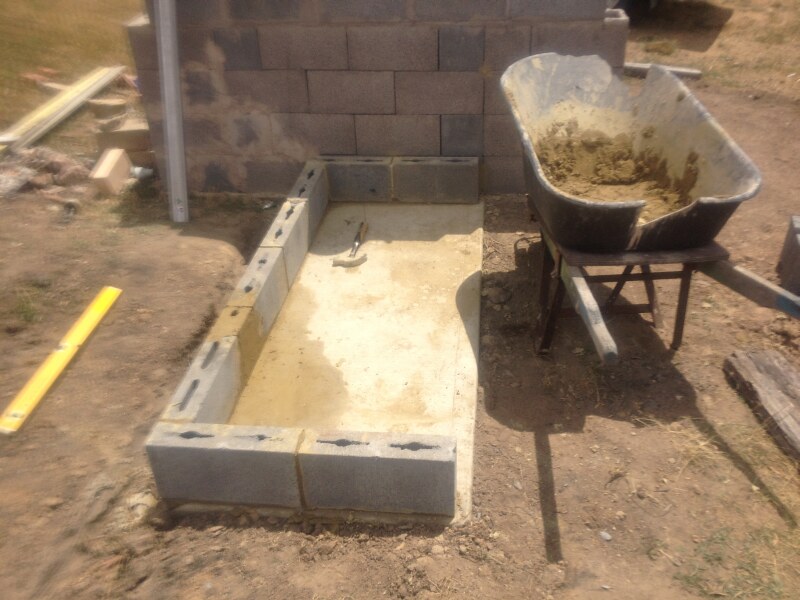
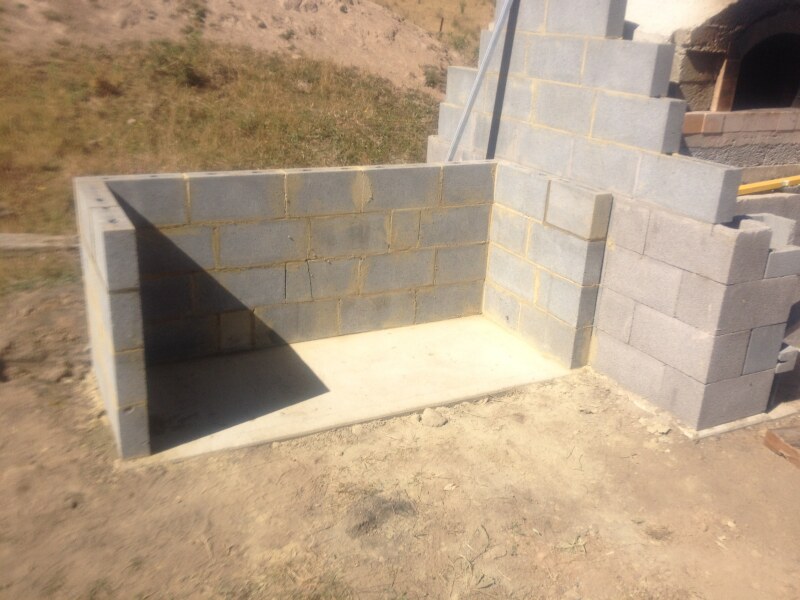
    next steps are to complete the landing & chimney which I will hopefully start in January ...maybe. Lots of other work on the Farm has been put on hold for this project.
    -------------------------------------------
    My 2nd Build:
    Is here

    Comment


    • #77
      Re: Modified 3G Masterly Tail Build

      here are some more pics:

      Thermal mass (cladding) unveiled


      First fire ever!


      Makeshift chimney


      Xmas Lunch: 2 chickens, leg of pork, rolled leg of Venison & 5 trays of veg!
      Last edited by Mitchamus; 01-05-2014, 03:18 PM.
      -------------------------------------------
      My 2nd Build:
      Is here

      Comment


      • #78
        Re: Modified 3G Masterly Tail Build

        Setting up the formwork for the prep-bench


        adding the concrete


        All done!


        bench mockup - it will eventually be 5 courses high, not 4
        Last edited by Mitchamus; 01-05-2014, 03:17 PM. Reason: typo
        -------------------------------------------
        My 2nd Build:
        Is here

        Comment


        • #79
          Re: Modified 3G Masterly Tail Build

          This sleeper will be the lintel over the front wood storage.


          Starting to add the sides...
          -------------------------------------------
          My 2nd Build:
          Is here

          Comment


          • #80
            Re: Modified 3G Masterly Tail Build

            Interesting build Mitchamus,i was originally going to do a similar oven but i got convinced to do one with less thermal mass and more insulation but i really like what you've done.
            Hey why did you taper the inner arch bricks with a bevel cut?Wont it make it harder to put on a door?
            Regards,John.
            --------------

            John

            My Build ......... http://www.fornobravo.com/forum/f51/...ney-20053.html

            Comment


            • #81
              Re: Modified 3G Masterly Tail Build

              Originally posted by chubbybones View Post
              Interesting build Mitchamus,i was originally going to do a similar oven but i got convinced to do one with less thermal mass and more insulation but i really like what you've done.
              Thanks John. There really isn't that much extra thermal mass in it (comparatively speaking) only 2". (which is what FB recommends for multiple baking sessions)
              I'll still be adding 2" of blanket all over, and also filing any left over space with loose Perlite, so it will still be heavily insulated too.

              There will also be a thermal break between the oven and the chimney in the form of insulating bricks. The landing will also be isolated from the stand using bricks as well.


              Thermal mass is a bit of a taboo subject on this site... As I want to also use this oven for lots of Baking the extra thermal mass will help me out there a lot and save the hassle of multiple firings. I want to be able to make pizza the night before and then cook multiple batches of bread straight away the next morning.

              Over Christmas/new year, the oven was constantly hot/warm for a little over a week. I kept a fire ticking over in it most days and overall I am impressed with it's performance so far, even though there is no insulation or even a cover on it yet, heat up time is acceptable for me already, and it will only get better. I have an unlimited supply of firewood. (well.... only limited by laziness! )

              Originally posted by chubbybones View Post
              Hey why did you taper the inner arch bricks with a bevel cut?Wont it make it harder to put on a door?
              Regards,John.
              Just because I like the look of it...no other reason... It might make it a little harder to put on a door.... my plans are for a Hebel plug bolted to a hardwood fascia that will over-lap the taper.
              Last edited by Mitchamus; 01-05-2014, 04:54 PM. Reason: reworded sentence about thermal mass
              -------------------------------------------
              My 2nd Build:
              Is here

              Comment


              • #82
                Re: Modified 3G Masterly Tail Build

                Gudday
                I'm a bit confused on this thermal mass issue.
                Your last post you said 2 in or 50 mm mass? Is that 50 mm extra mass on to of the brick at 115mm edge giving you 165 mm or roughly 6 1/2 ins.
                That's not a lot of mass actually as lot of ovens are a half brick 110mm with 25mm cladding giving you 135mm or 5 1/2 ins.
                Regards dave
                Measure twice
                Cut once
                Fit in position with largest hammer

                My Build
                http://www.fornobravo.com/forum/f51/...ild-14444.html
                My Door
                http://www.fornobravo.com/forum/f28/...ock-17190.html

                Comment


                • #83
                  Re: Modified 3G Masterly Tail Build

                  Hi Dave, Sorry - I was speaking in terms of 'added' or 'extra' mass

                  total mass including the fire bricks:

                  Floor = 75mm+50mm (extra) = 125mm (5")
                  Walls & Vault = 115mm+50mm(extra) = 165mm (6.6")
                  -------------------------------------------
                  My 2nd Build:
                  Is here

                  Comment


                  • #84
                    Re: Modified 3G Masterly Tail Build

                    Ok so made some more progress on the weekend. I started laying the blocks for the side of the oven where the prep bench will join it, and pretty much finished off the prep bench.

                    Still not decided on the final height of the bench, so decided to stop at 4 courses high. I may lay another half course on top, but it will depend on the thickness of the counter top, which will be concrete at this stage.

                    I managed to break a block on one side while I was cutting it, you won't be able to see it once the cupboards are in, so I just used it anyway.


                    anyway here are some pics...


                    -------------------------------------------
                    My 2nd Build:
                    Is here

                    Comment


                    • #85
                      Re: Modified 3G Masterly Tail Build

                      Looking good.I realised pretty quickly i needed a prep area as soon as i made my first pizza.Unfortunately i didnt have the room to make one.
                      Somehow I have a feeling though space is not an issue for you
                      --------------

                      John

                      My Build ......... http://www.fornobravo.com/forum/f51/...ney-20053.html

                      Comment


                      • #86
                        Re: Modified 3G Masterly Tail Build

                        Yeah there is a lot of space there to be filled up...
                        Lots of landscaping yet to come... (my back hurts just thinking about it )
                        -------------------------------------------
                        My 2nd Build:
                        Is here

                        Comment


                        • #87
                          Re: Modified 3G Masterly Tail Build

                          hi guys, long time no post... so here are some more pics on the progress...


                          -------------------------------------------
                          My 2nd Build:
                          Is here

                          Comment


                          • #88
                            Re: Modified 3G Masterly Tail Build

                            In case you hadn't noticed - we could really do with some decent rain


                            -------------------------------------------
                            My 2nd Build:
                            Is here

                            Comment


                            • #89
                              Re: Modified 3G Masterly Tail Build

                              So hopefully finishing off the rear wall this weekend.

                              I'm still undecided on what to use for the oven landing, I have my eye on some granite step treads - two of which will see it finished, but with a horizontal join midway across the landing.

                              The landing area is a little smaller than 1200 x 650.

                              If not for the cost, I would just get a rough/natural edged piece of granite cut to fit in there. something like the pic below...


                              The problem will then be getting some decorative bricks to match the stone landing.
                              -------------------------------------------
                              My 2nd Build:
                              Is here

                              Comment


                              • #90
                                Re: Modified 3G Masterly Tail Build

                                Mitchamus,

                                Loving the dialogue and the build. I am in the planning stages to do a barrel "homebrew mix" style oven. Could you please let me know your cladding recipe? Is it the Rado mix or did you create one. After all my research, I have found your method of adding the 2" cladding on top of the vermiculite to be sound. I plan on incorporating the technique onto my build.
                                Also, are you planning on adding an additional 2 to 3" cladding on top, then on to blanket insulation?

                                PS: Have you thought about making your counter out of cement, sand, superplasticizer,etc. (the GFRC method) You can create the ridges, similar to the image, add some color and it will look like granite or natural stone, giving you creative freedom and saving you some monies.
                                Last edited by Saovicente; 03-04-2014, 07:28 PM.

                                Comment

                                Working...
                                X