


 Tweet
Tweet
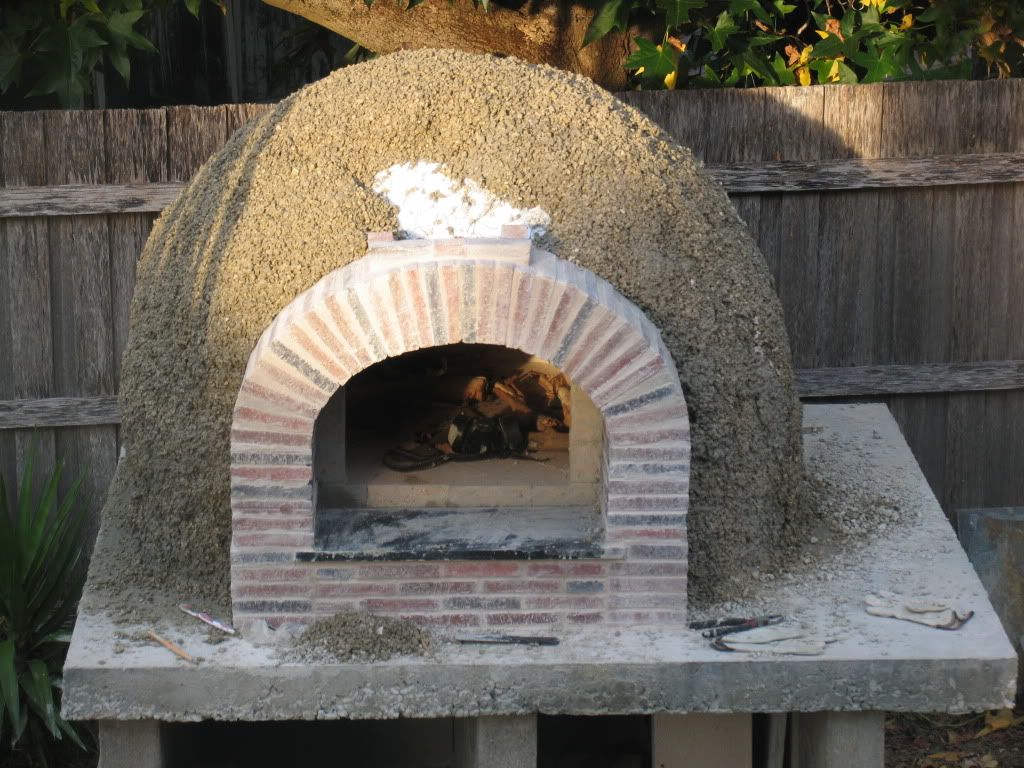
Re: My 32" oven build has begun
John is just up the road from me so I might have to drop in for a visit.
I just experimented using the butane solderer on the hebel. My solderer can heat up to about 1000c and after 5 min on the hebel the top layer (1mm) rubbed of easily as you said it would.
John is just up the road from me so I might have to drop in for a visit.
I just experimented using the butane solderer on the hebel. My solderer can heat up to about 1000c and after 5 min on the hebel the top layer (1mm) rubbed of easily as you said it would.

Comment