


 Tweet
Tweet
Re: Mongo's 42" CT Build
Monago,
"What they said" .
.
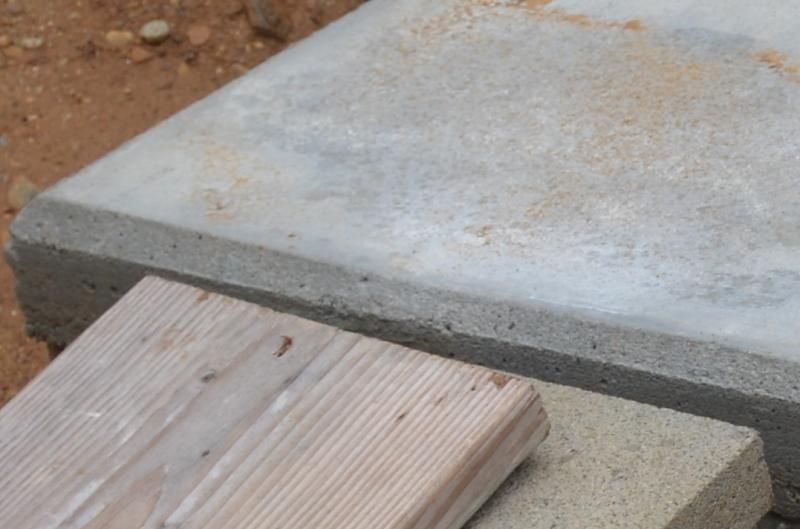
I see a marked discoloration in the top inch or so of your slab. Is that an acrylic that you applied before or after wrecking the forms?
Monago,
"What they said"
.I see a marked discoloration in the top inch or so of your slab. Is that an acrylic that you applied before or after wrecking the forms?


Comment