


 Tweet
Tweet
Originally posted by SableSprings
View Post
 ).
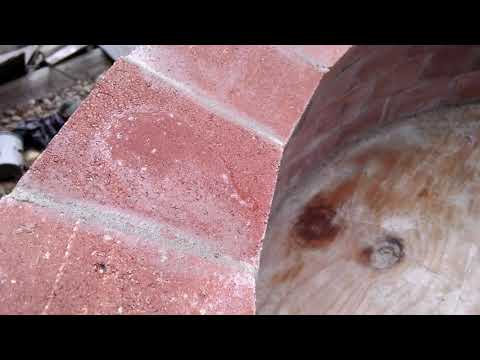
).The PVC pipe is a really nice way to soften the look of a hard material like concrete. It's shockingly easy to fabricate the form as well. Double bonus.
Comment