Re: K79 Oven Build
Ok guys, my 36" oven..... do I use a 7" or 6" chimney as the FB plans call for? Also the height of my chimney... 36" or 48". Either one will clear the top of my enclosure. There's nothing around my WFO to obstruct air flow like trees etc...


-
Re: K79 Oven Build
K 79,
Filled all the core!!, not moving any where. You might want to consider drilling some rebar pins in the green cores to so you can tie your hearth rebar grid to the dry stack. May not be a big deal but cheap insurance.Leave a comment:
-
Re: K79 Oven Build
Hey Guys...
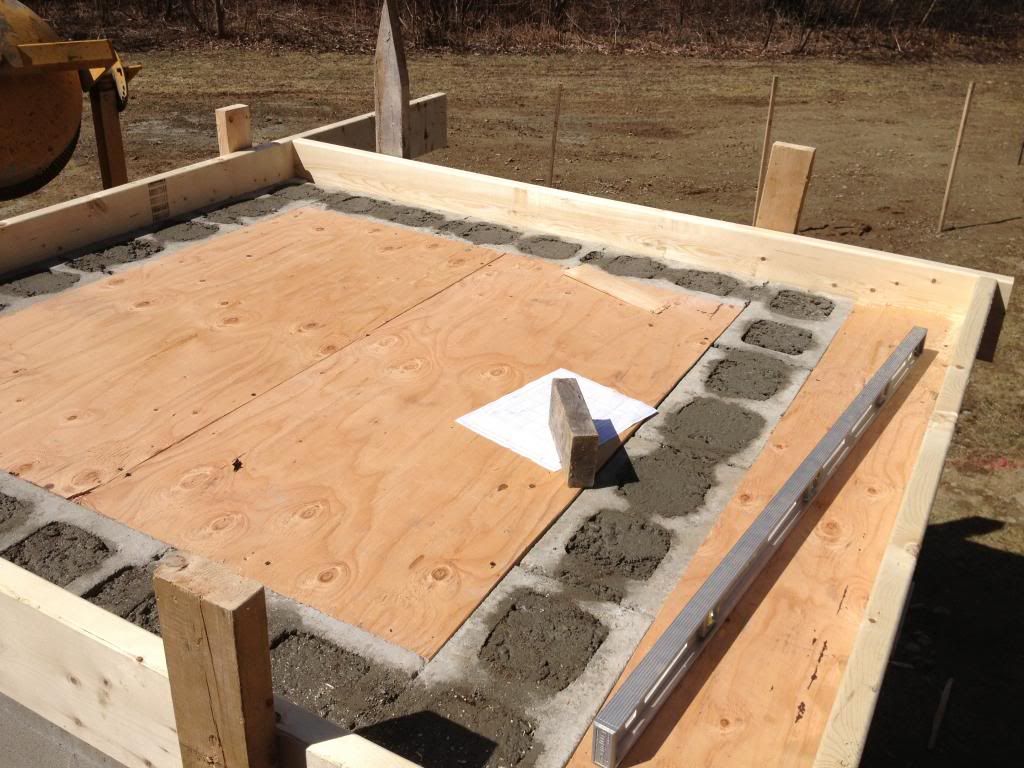
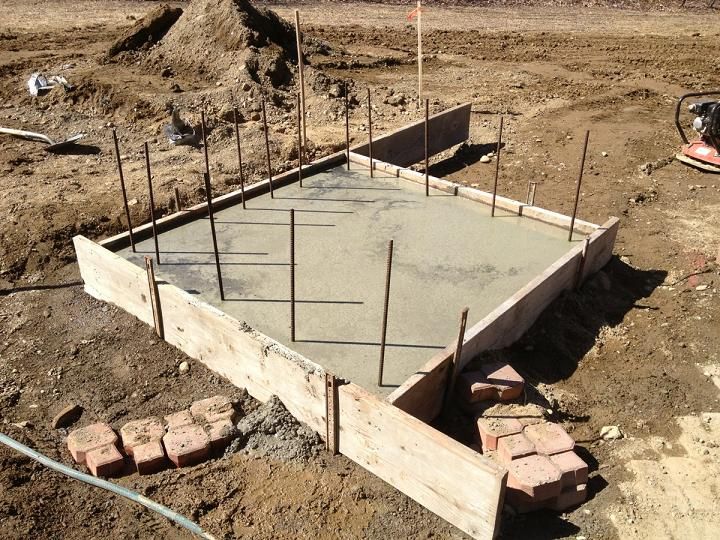
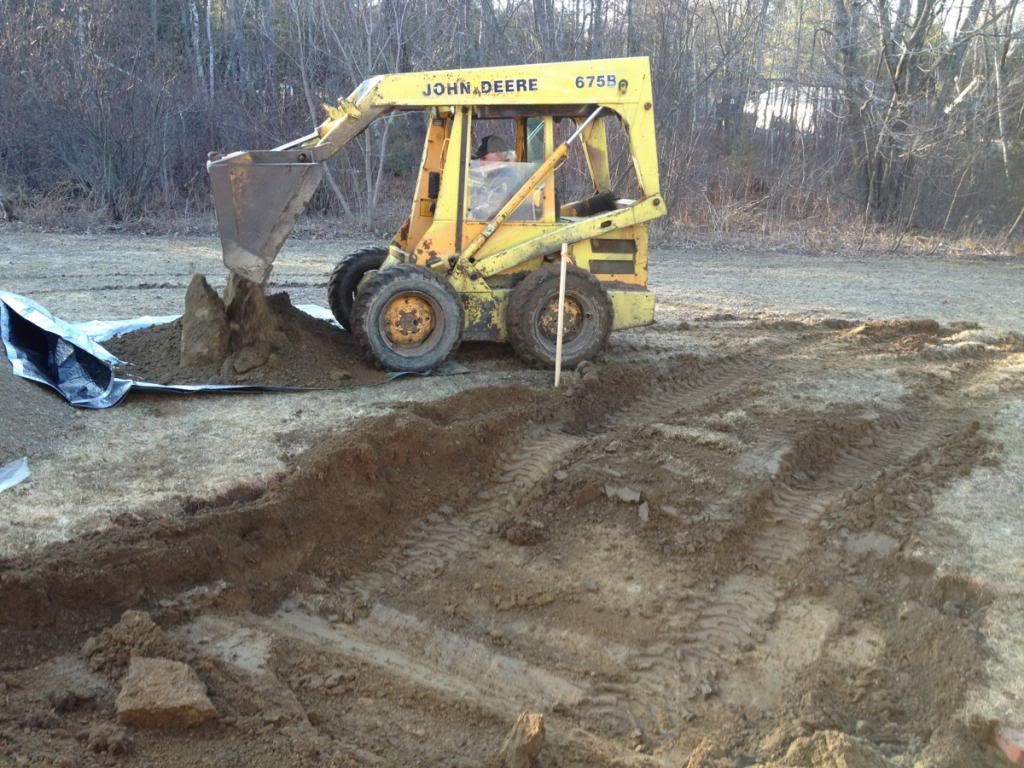
Status update. Block wall up and hearth slab framed out. I'll be pouring that tomorrow afternoon.
Then I'll be laying about 620 sf of patio pavers over the weekend +/- a few days
Then back to the oven. I need to get my lawn re seeded so I figured I might as well get the patio out of the way ! Right")
Leave a comment:
-
Re: K79 Oven Build
Mortar, getting first course level most important. BTW nice start. saw the plate compactor in the background of one of your pics, doing it right.Leave a comment:
-
Re: K79 Oven Build
When dry stacking cinder blocks what do you use if you need to shim a little to level out your block stand?Leave a comment:
-
Re: K79 Oven Build
By the time you core fill them they aren't going anywhere. Part of the text in your post was lost. I assume that is where the numbers are hidden. You might try making the pics a bit smaller, that is probably the cause.
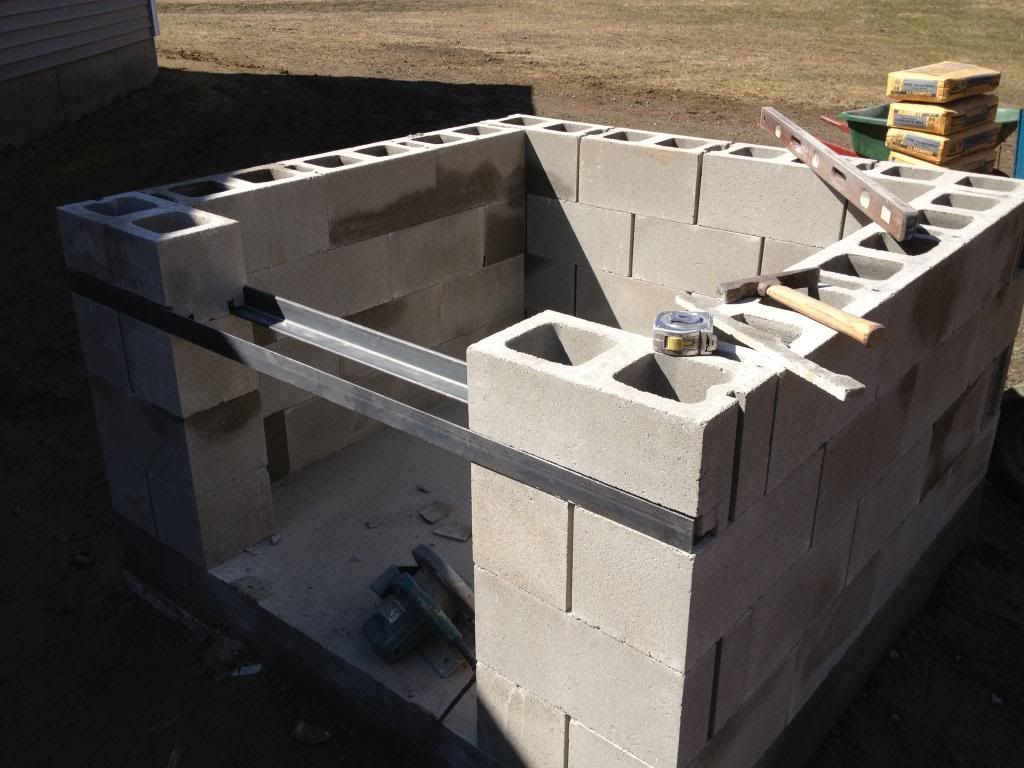
You shouldn't end up with significant gaps. I ended up with a couple about 10mm in mine but I filled those with a view to plastering the lot when I am done.
Happy stacking
SteveLeave a comment:
-
Re: K79 Oven Build
Good morning everyone,
I got my slab poured this weekend. Now I'm curious when dry stacking my block stand is it ok to have some gaps between the blocks? Due to the fact that an 8x8x16 cinder block isn't exactly those dimensions I need to put a little space between them so that my stand is square. Is this ok to do? What is the max gap if it's acceptable?
 Last edited by K79; 04-08-2013, 06:50 AM.
Leave a comment:
-
Re: K79 Oven Build
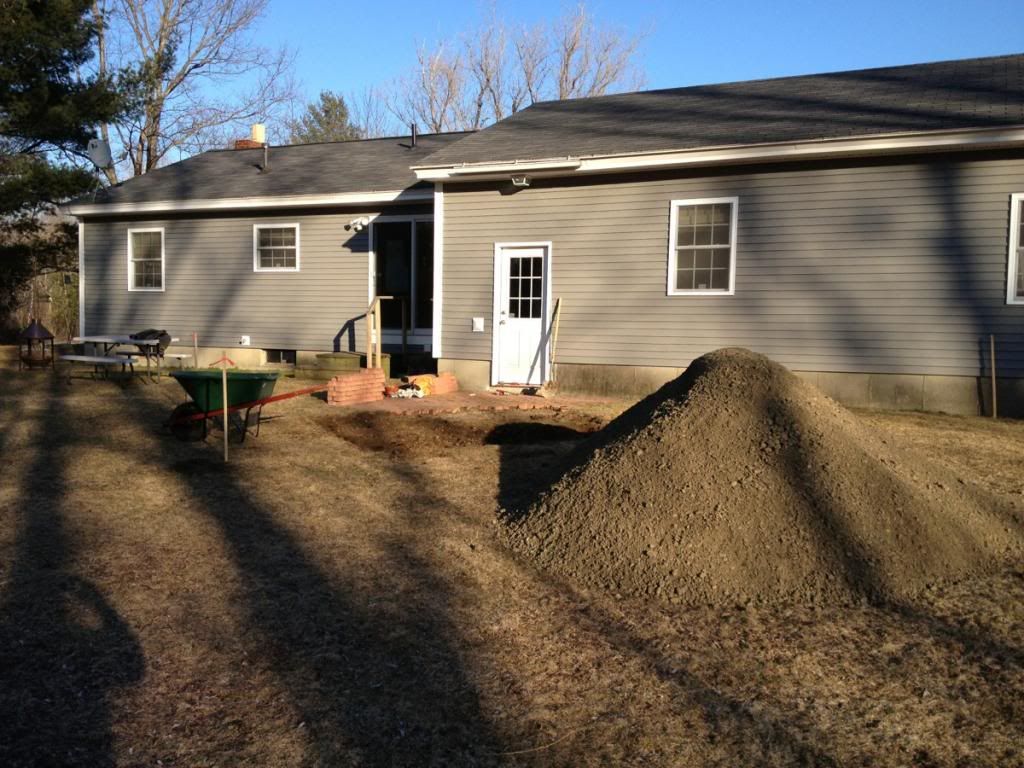
So I finally broke ground last night. I had to bust through 1' of frost. I came across a little seedbump in the last photo but nothing major
Leave a comment:
-
Re: K79 Oven Build
I think pre drying is a good idea less chance for trapped moisture.Originally posted by K79 View Post
Oh, by the way most of us have tools we use to build our ovens but for the life of me I cannot figure out what you are using the bicycle pump and tree trimmer for...
ChipLeave a comment:
-
Re: K79 Oven Build
Hi K79,
I start curing mine a week before I insulated. I also it to sun and wind dry a week before the first curing fire, I wanted to drive as much moisture out, before insulation. Firing does not effect the drying of the stucco, because a well insulated oven's exterior doesn't above ambient temperture.Leave a comment:
-
Re: K79 Oven Build
Ok, I know I'm definitely thinking ahead here but your first fire and your subsequent ones to help cure the dome; shouldn't those be done before the insulation blanket goes on? I just watched two new video's on YouTube where they were done after the blanket was put on and one after the stucco was put on.
I now know that I've been worrying too much about mortar joints. Both ovens in the video's I watched had mortar joints well over an inch !!! I'm still aiming for my 1/8" mortar joints
Leave a comment:
-
Re: K79 Oven Build
If you are doing a housing, you don't need to wrap it with chicken wire, and I don't think you want to compress it (not that you could compress it much anyway). I found that a spool of rebar wire worked really well to anchor it to the dome. I wrapped a ring around the bottom of the dome, and then criss-crossed wire from that to hold the insulation in place. It doesn't take too much pressure to hold it.Leave a comment:


Leave a comment: