Re: K79 Oven Build
Kbartman, you really do not want to use that refractory cement on your build. It is made for MAXIMUM joint width of 1/4". It is also water soluble, so wetting it is not doing any good. It is a heat-set mortar.
For Heatstop, mix no more than you will use in 10-15 minutes. Slowly add water until is a tad wetter than peanut butter. Once it begins to set, you can re-temper it once (remix it), but after that throw away any left and mix a new batch. It does not need to be kept moist to cure.


-
Re: K79 Oven Build
thanks kbartman. I'm using Heat Stop for my high heat mortar. No instructions on the bag. I'm going to try and give them a call. What is the normal procedure? You need to spray the mortar until it cures? Roughly how long is that? I'm planning to cover my dome while not working on it with a tarp?Leave a comment:
-
Re: K79 Oven Build
I'm using a square edge trowel about a 1 1\2" I bought a V type trowel also and haven't found it useful. I am using Demon High heat mortar a Premixed in 3 gal pail made by Plybricko. When I opened the pail the first time quite a lot of liquid was on top after mixing the consistency of maybe peanut butter but a lot more slippery. I found that in order to get a good bond on all surfaces was to apply a very thin layer of mortar to all joining surfaces first, then butter for thickness. I am shooting for 1/8” joints. Which to my surprise was the just about enough with very thin layer first applied. Carful on tapping brick this will affect the adjacent fresh lay of brick. A wiggle works best to squeeze out excessive mortar. I tightened the mortar joints on the next courses.
Ps. Soak bricks I was suprised of all the air coming out of the brick when placed in water.
Hope this helps
Leave a comment:
-
Re: K79 Oven Build
Any special trowel you guys use? I'm taking off work this Tuesday and Wednesday to start my brickwork !!! Also, what would you guys say is the correct consistency for the high heat mortar? Also I have a very large print out of my oven floor on paper. Can I lay that down on my hearth slab and build my oven over that? It'll just burn over time, I can't think of any negative effects.Last edited by K79; 04-26-2013, 10:51 AM.Leave a comment:
-
Re: K79 Oven Build
Originally posted by K79 View Post
Take this with a grain of salt, only from the experiences of my first three courses. I would say the more the merrier. If your quick and able to keep the bricks and mortar moist……….. I found that you can tap concentrically inward around the courses, tighten and correct any angle error and levelness across the course, if it stays moist. Gravity is our friend; the higher we get up in courses the tighter they will bond if they are moist enough and the whole course is completed. I also think several courses at a time would apply. I also found that as the mortar begins to set and becomes firmer. I will check for voids in the mortar joints any voids are easily found by compressing the joint a little, if it remains firm it is void free. Using firm mortar easily found around the oven in different states of dryness you can find the right firmness to pack the joints tightly. Use a tool the size of the joints, Allen wrenches work well. This may be may be my anal retentiveness kicking but I think it will make a better build.
Pics included of the anlge locator tool used to check angle of each brick and a level for leveling across the courses.Leave a comment:
-
Re: K79 Oven Build
I'm wondering how many layers of brick you can do at once when you first start laying brick. Should you only do one "ring" at a time and let the mortar harden before you start the next layer?Leave a comment:
-
Re: K79 Oven Build
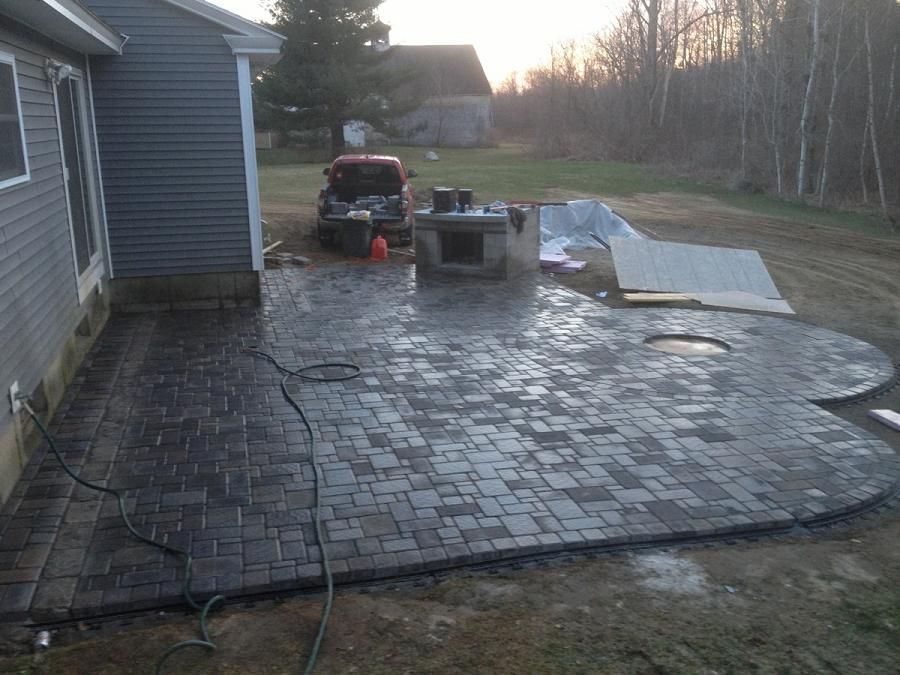
Nice looking paver patio to compliment your WFO.Leave a comment:
-
Re: K79 Oven Build
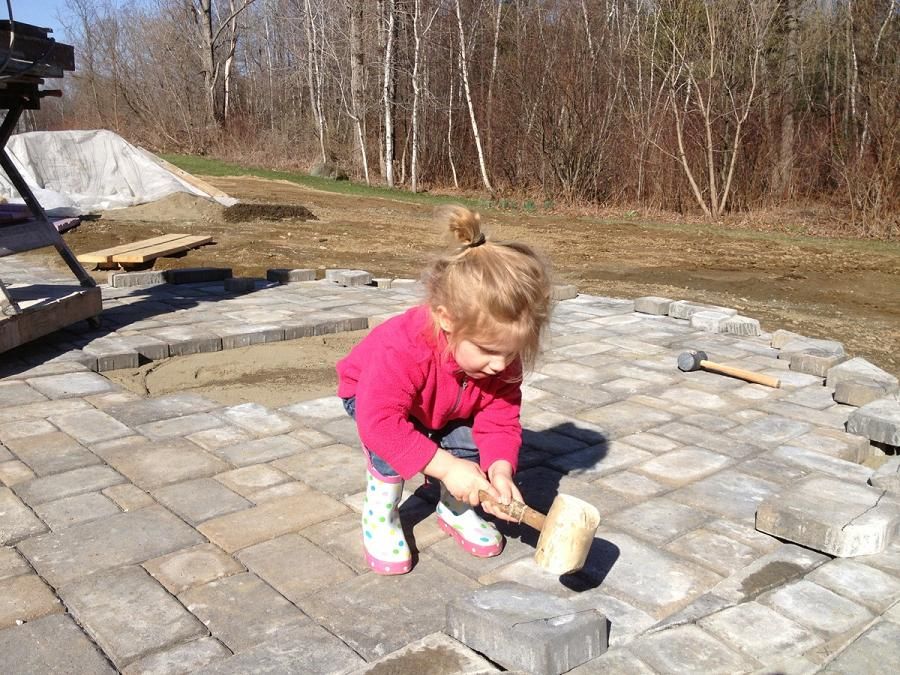
Shows great promise. I hope your apprentice is going to stick with the whole build.
Cheers ............ Steve
Leave a comment:
-
Re: K79 Oven Build
Ok so this isn't my oven, but it's part of my master plan. I finished my 620 sf patio in 3 days. All that's left to do is the firepit, some planters, and my WFO !!
Here's a picture of the hardest worker on the job !
Leave a comment:
-
Re: K79 Oven Build
For a 36" oven a 6" flue is adequate, but you need to go to 8" for a 42" oven. So a 7" should be plenty for yours. If you use a 6", then perhaps use the taller flue. Like as has been said before, you can't really over flue a front flued oven, but you can under flue it.Originally posted by K79 View PostLeave a comment:
-
Re: K79 Oven Build
It is not so much the oven size as it is the inner door opening size.Leave a comment:


Leave a comment: